Astro Van M L4-151 2.5L (1985)

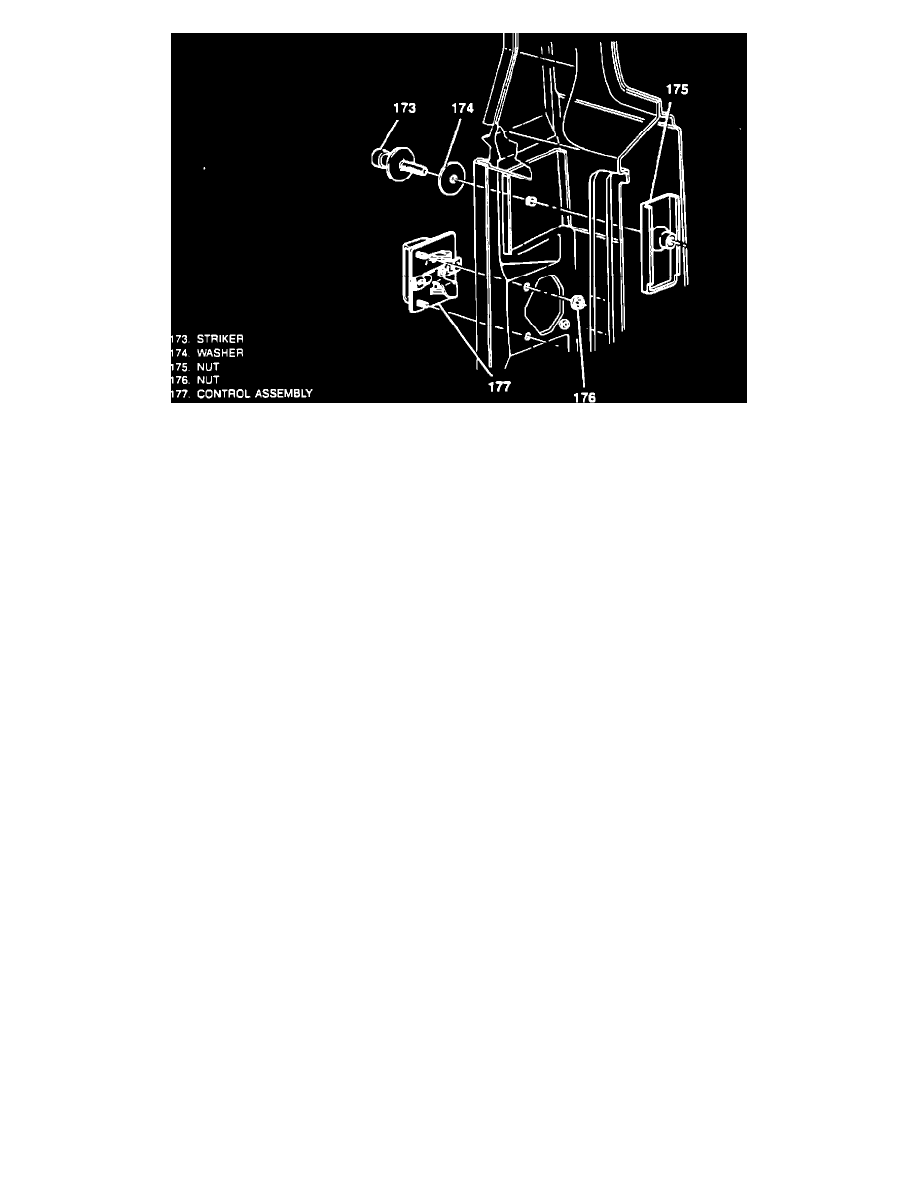
FIGURE 4
SERVICE PROCEDURE:
(Figures 1-4)
Remove or disconnect
1.
Negative battery cable.
2.
If door can be opened, proceed to step 5.
3.
Center punch the top and bottom bolts holding the handle to the door and drill a 1/8" centering pilot hole. Increase the drill hole size to 1/4". The
handle will then be free from the door.
4.
Reach inside the handle opening and manually release the lock mechanism to open door.
5.
Remove door trim panel if equipped.
6.
Disconnect the control rods from the lock assembly.
-
Pry the clip anchor out of the hole, and push the tip away from the lever.
-
Pull the rod and clip away from the lever
7.
Door to lock screws (Figure 2, 169).
8.
Lock (Figure 2, 170) from the vehicle.
9.
Door jamb handle cover plate.
10.
Inspect left rear door upper/lower latch (Figure 3) and remote lock assembly (Figure 4) for corrosion/inoperable assemblies. Clean all moving
surfaces with a wire brush or equivalent and apply lubricant (GM P/N 1052497) liberally.
Note:
If necessary, replace left rear door upper latch assembly, lower latch assembly, or the remote lock assembly with the new part numbers
listed in parts information below. Refer to section 10A1-doors in the appropriate service manual.
Install or Connect:
1.
Lock assembly (P/N 15650814) and retaining screws.
2.
Clips to the lock.
3.
Control rods to the lock assembly through the lock clips.
