
Astro Van M L4-151 2.5L (1985)
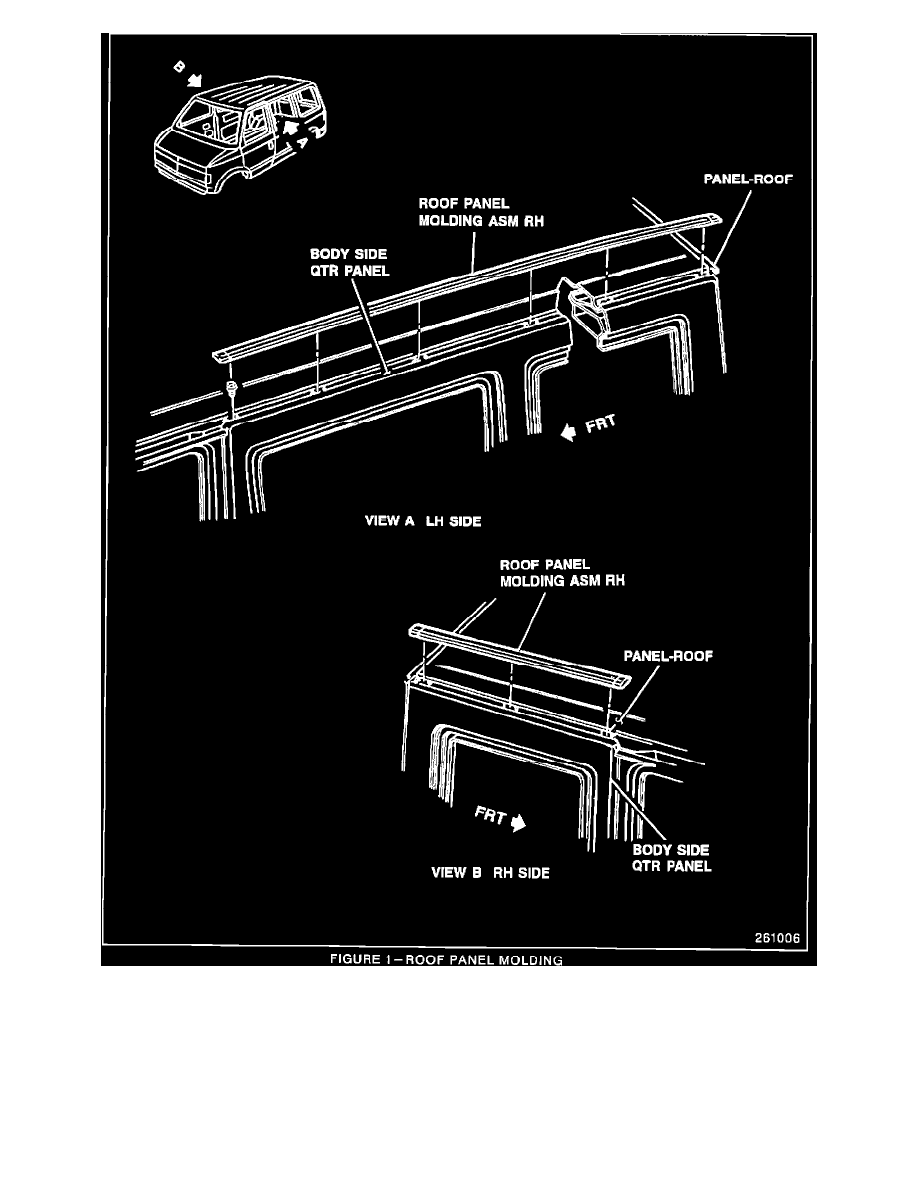
SERVICE PROCEDURE: (Figure 1)
1.
Remove the right and left drip moldings from the vehicle and discard.
2.
To ensure proper adhesion of the molding to the roof, clean the roof ditch with a grease and wax remover or equivalent.
3.
Remove adhesive cover strips.
4.
Install the new roof ditch moldings to the ditch by heating the molding and the body of the vehicle with a heat gun or equivalent to approximately
80-100 degrees Fahrenheit (this will promote adhesion). Use a rubber roller or equivalent to ensure that the molding is fully seated in the ditch.