
Avalanche 1500 2WD V8-5.3L (2008)
Bar and Support Assembly Replacement (Bushing Style))Torsion Bar and Support Assembly Replacement (Link Style) (See: Torsion Bar/Service
and Repair/Torsion Bar and Support Assembly Replacement (Link Style)) .
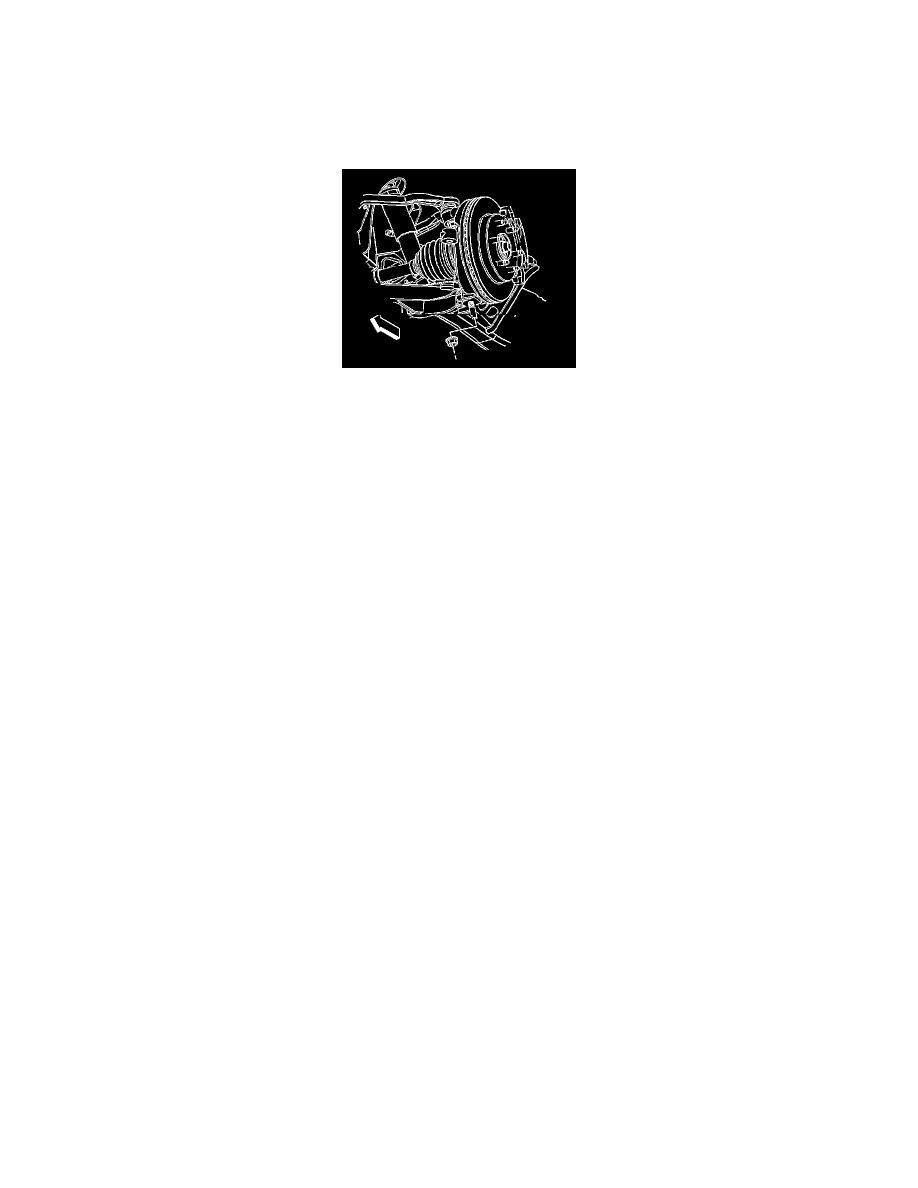
6. Install the lower ball joint into the steering knuckle.
7. Install the wheel drive shaft. Refer to Wheel Drive Shaft Replacement (2500) (See: Transmission and Drivetrain/Drive Axles, Bearings and
Joints/Axle Shaft Assembly/Service and Repair/Wheel Drive Shaft Replacement - 2500 Series)Wheel Drive Shaft Replacement (1500) (See:
Transmission and Drivetrain/Drive Axles, Bearings and Joints/Axle Shaft Assembly/Service and Repair/Wheel Drive Shaft Replacement - 1500
Series) .
8. Install the lower ball joint retaining nut.
Tighten nuts to 110 N.m (81 lb ft).
9. Install the shock absorber. Refer to Shock Absorber Replacement (2500 Series) (See: Suspension Strut / Shock Absorber/Service and
Repair/Front Suspension Shock Absorber/Shock Absorber Replacement (2500 Series)) .
10. Remove the support for the knuckle and upper control arm.
11. Install the stabilizer shaft link to the lower control arm. Refer to Stabilizer Shaft Replacement (2500) (See: Stabilizer Bar/Service and
Repair/Front Suspension/Stabilizer Shaft Replacement (2500))Stabilizer Shaft Replacement (1500) (See: Stabilizer Bar/Service and Repair/Front
Suspension/Stabilizer Shaft Replacement (1500)) .
12. Install the tire and wheel. Refer to Tire and Wheel Removal and Installation (See: Wheels and Tires/Service and Repair) .
13. Remove the supports and lower the vehicle.
14. Verify the front end alignment. Refer to Wheel Alignment Measurement (See: Alignment/Service and Repair/Wheel Alignment Measurement) .