
Blazer 4WD V6-4.3L VIN X (2005)
1. If installing the right side bearing and/or seal, perform the following steps:
1.1.
Install the bearing with the square shoulder in using the J42211 and the J8092.
1.2.
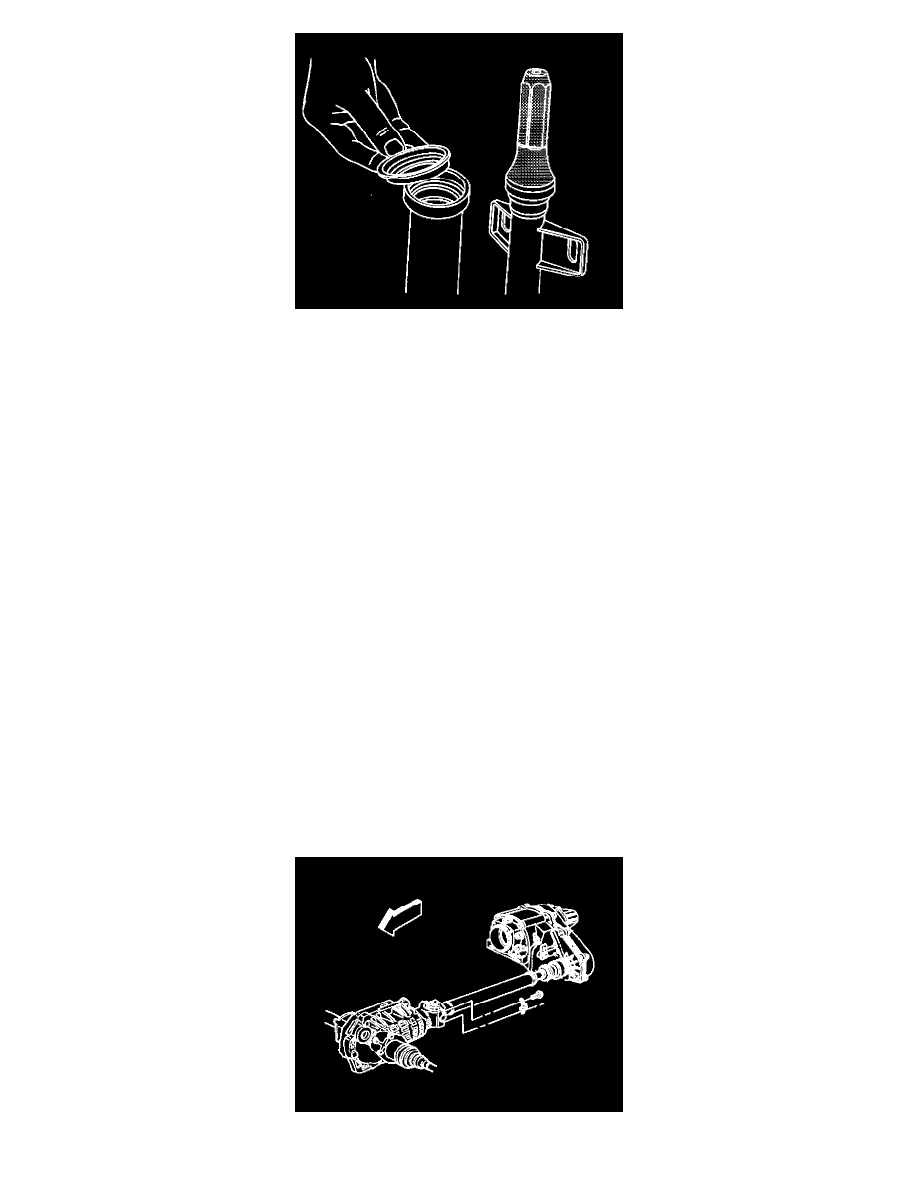
Install the new axle shaft seal using the J42738.
1.3.
Install the inner axle shaft to the inner axle shaft housing.
1.4.
Install the inner axle shaft and housing assembly.
2. If installing the left side bearing and/or seal, perform the following steps:
2.1.
Install the bearing with the square shoulder in using the J42211 and the J8092.
2.2.
Install the new axle shaft seal into the inner axle shaft seal cover using the J42738.
3. Install the inner axle shaft seal cover.
Notice: Refer to Fastener Notice in Service Precautions.
4. Install the inner axle shaft seal cover bolts.
Tighten the inner axle shaft seal cover to 25 Nm (18 ft. lbs.).
5. For Oldsmobile only, install the left inner axle shaft.
Carefully tap the inner axle shaft into place with a soft mallet.
6. Install the wheel drive shaft.
7. Inspect the axle lubricant level and add, if necessary.
8. Lower the vehicle.
Differential Drive Pinion Flange Yoke, Seal, and Dust Deflector Replacement - Front
Differential Drive Pinion Flange Yoke, Seal, and Dust Deflector Replacement - Front
Tools Required
^
J33782 Pinion Seal Installer
^
J8614-01 Flange and Pulley Holding Tool
Removal Procedure
1. Raise the vehicle. Refer to Vehicle Lifting.
2. Remove the tire and wheel assemblies.
3. Remove the brake calipers.
4. Remove the brake rotors.