
C 1500 Truck 2WD V8-5.3L VIN T (1999)
11. Inspect the caliper and mounting bracket.
INSTALLATION PROCEDURE
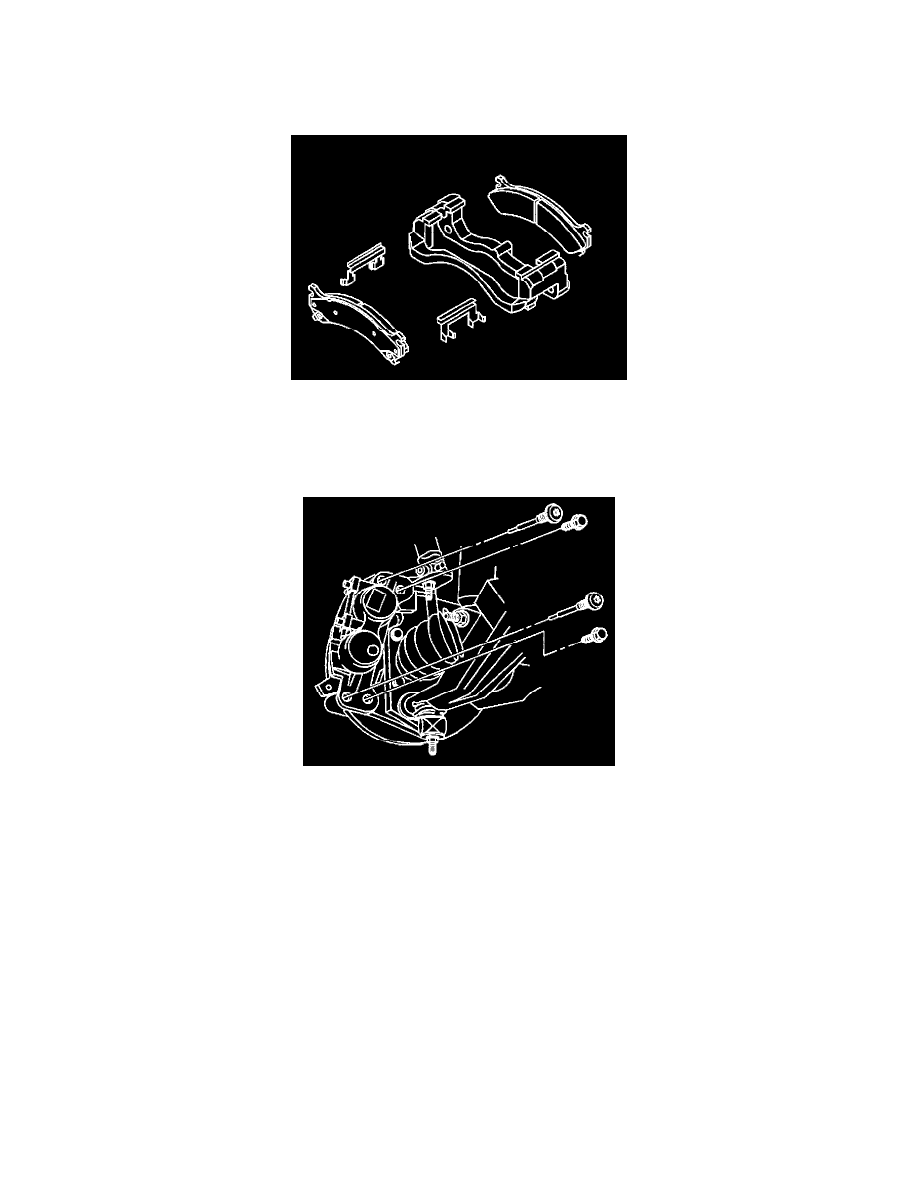
1. Install the clips to the inside ends of the caliper mounting bracket.
2. Install the brake pads to the caliper mounting bracket.
-
Install the inner pad (1 wear indicator).
-
Install the outer pad (2 wear indicators).
3. Install the caliper mounting bracket to the steering knuckle assembly.
IMPORTANT: The caliper mounting bracket bolts contain a special adhesive locking patch that is not reusable. It is recommended that the bolts
be replaced with new service bolts and torqued to the recommended specification. If the bolts must be reused, follow the adhesive patch
replacement procedure.
4. Perform the following procedure if you are reusing the bolts.
4.1.
Remove all traces of the original adhesive patch.
4.2.
Clean the threads of the bolt with brake parts cleaner or the equivalent and allow to dry.
4.3.
Apply Threadlocker GM P/N 12345493 or Red LOCTITE (TM) #272 to the threads of the bolt.
NOTICE: Refer to Fastener Notice in Service Precautions.
5. Install the caliper mounting bracket bolts to the steering knuckle.
-
Tighten the brake caliper mounting bracket to 175 Nm (129 ft. lbs.) (15 series).
-
Tighten the brake caliper mounting bracket to 300 Nm (221 ft. lbs.) (25 series).
6. Install the caliper.
7. Install the tire and wheel assembly.
8. Remove the safety stands.
9. Lower the vehicle.
10. Refill the master cylinder to the proper level with fresh brake fluid.
11. Pump the brake pedal slowly and firmly in order to seat the brake pads.