
C 1500 Truck 2WD V8-5.3L VIN T (1999)
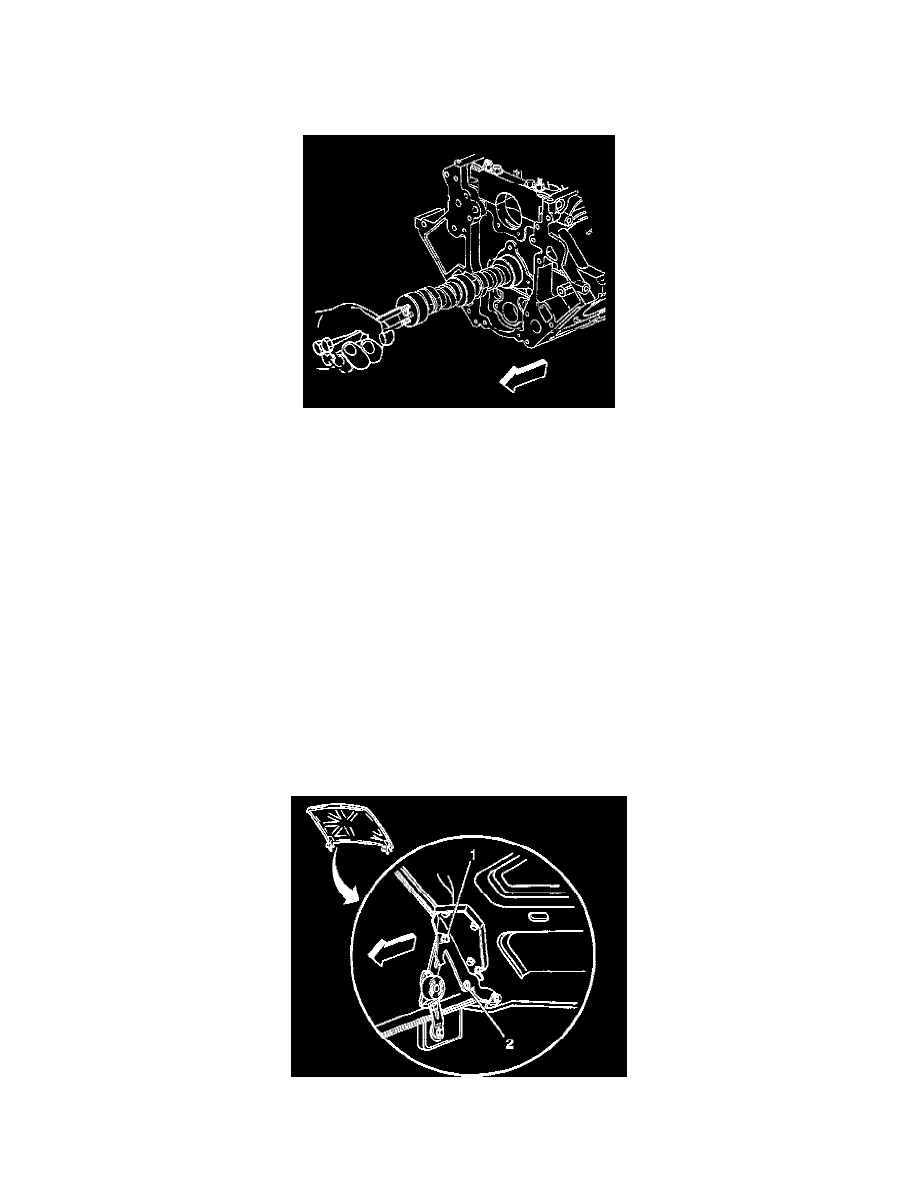
25. Remove the camshaft.
26. Clean and inspect all sealing surfaces.
INSTALLATION PROCEDURE
1. Install the camshaft to the engine.
2. Install the camshaft sprocket and timing chain.
3. Install the valve lifters.
4. Install the cylinder heads.
5. Install the engine front cover to the engine.
6. Install the engine oil pan.
7. Install the right side close-out cover.
8. Install the starter motor to the engine. Refer to Starter Motor Replacement in Starting and Charging.
9. Install the crankshaft balancer to the crankshaft.
10. Install the water pump to the engine. Refer to Water Pump Replacement in Cooling System.
11. Connect the electrical wiring harness to the thermostat housing.
12. Install the A/C drive belt, if equipped.
13. Install the drive belt.
14. Install the engine sight shield.
15. Install the A/C pressure hose to the A/C compressor, if equipped. Refer to Compressor Hose Assembly Replacement in Heating and Air
Conditioning.
16. Install the radiator support and radiator. Refer to Radiator Support Replacement (General) in Body and Frame.
17. Install the A/C condenser mounting bolts, if equipped. Refer to Condenser Replacement in Heating and Air Conditioning.
18. Install the Cooling System fan. Refer to Fan Clutch Replacement in Cooling System.
19. Install the air cleaner duct. Refer to Air Cleaner Assembly Replacement in Powertrain Management.
20. Connect the battery negative cable to the battery.
21. Lower the hood. Refer to Hood Replacement in Body and Frame.
22. Connect the negative battery cable.