
C 1500 Truck 2WD V8-5.3L VIN T (1999)
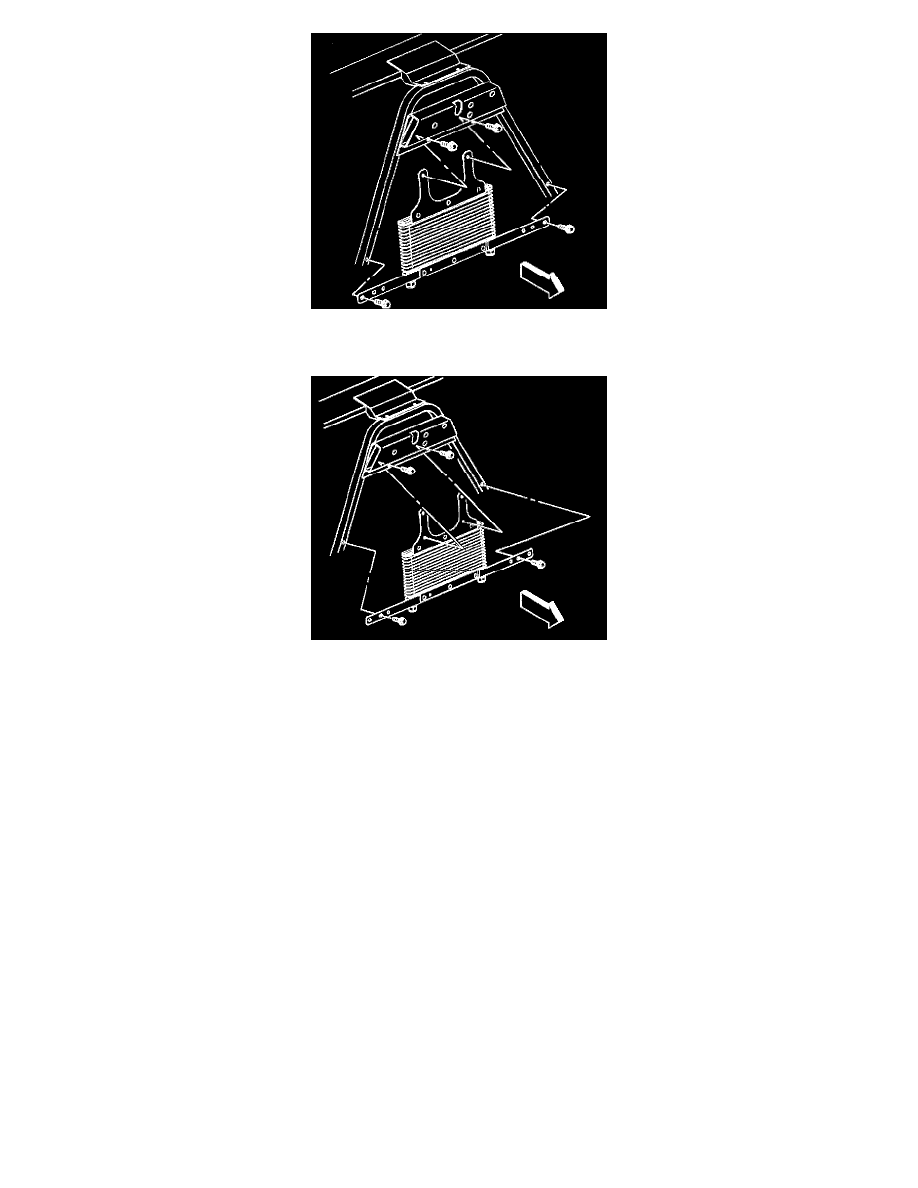
1. For vehicles not equipped with the 4.3L engine, install the four bolts securing the oil cooler to the radiator support.
^
Tighten the bolts to 10 Nm (89 inch lbs.).
2. For vehicles equipped with the 4.3L engine, install the four bolts securing the oil cooler to the radiator support.
^
Tighten the bolts to 10 Nm (89 inch lbs.).
A/T Oil Cooler Flushing
^
Special Tools
-
J 35944-A Cooler Flushing Tool
1. After the repaired or replacement transmission is installed in the vehicles, do not reconnect the oil cooler lines.
2. Remove the fill cap on the J 35944 and fill the can with 0.6 L (20-21 oz.) of flushing solution. Do not overfill.
3. Install the fill cap on the J 35944 and pressurize the flusher can, using a shop air supply regulated at 550 - 700 kPa (80 - 100 psi).
4. Connect the J 35944 discharge hose to the oil cooler return line.
5. Clip the discharge hose onto the oil drain container.
6. Attach the J 35944 to the undercarriage of the vehicle with the hook provided and connect the hose from the J 35944 to the other (feed) oil cooler
line.
7. With the water valve on the J 35944 in the OFF position, connect the water hose from the water supply to the J 35944.
8. Turn ON the water supply at the faucet.
Initial Flush
1. Turn the water valve on the J 35944 to the ON position and allow the water to flow through the oil cooler lines for 10 seconds to remove any
remaining transmission fluid. If the water does not flow through the cooler and lines, the cause of the blockage must be diagnosed and the plugged
component must be repaired or replaced. Continue with the cooler flushing and flow check procedure once the blockage is corrected.
2. Turn the water supply on the J 35944 to the OFF position and clip the discharge hose onto the five gallon pail with a lid.
3. Turn the water valve on the J 35944 to the ON position and depress the trigger to mix cooler flushing solution into the water flow. Use the clip
provided on the handle to hold the trigger down. The discharge will foam vigorously when the solution is introduced into the water stream.
4. Flush the oil cooler and lines with water and solution for two minutes. During this flush, attach the air supply to the air valve located on the J
35944 for 3 to 5 seconds at the end of even 15 to 20 second interval to create a surge action.
5. Release the trigger and turn the water valve on the J 35944 to the off position.