C 1500 Truck 2WD V8-5.7L VIN R (1996)

Crankshaft Main Bearing Seal: Service and Repair
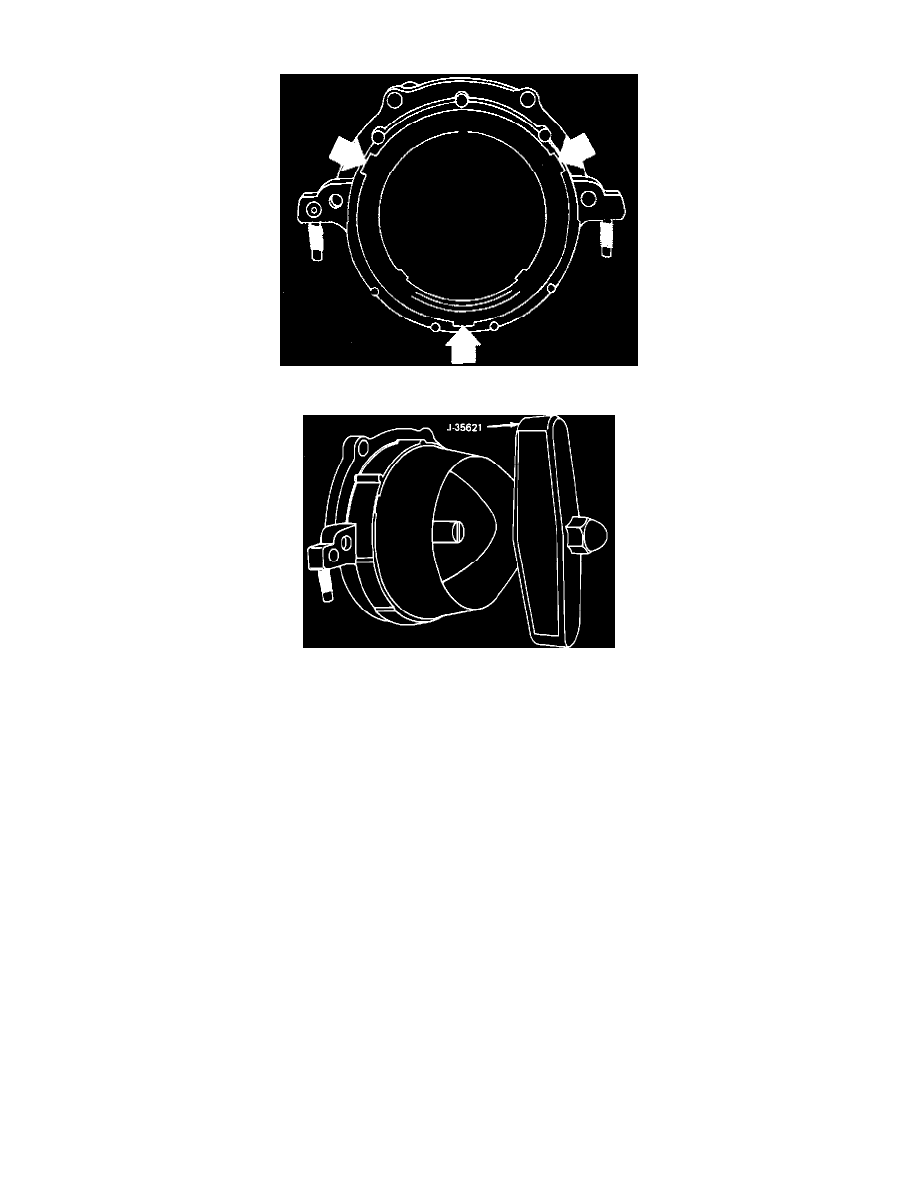
Fig. 10 Seal Removal Notches
Rear oil seal installation
REMOVAL
1. Disconnect battery ground cable.
2. Remove transmission assembly.
3. Remove clutch, flywheel or flex plate.
4. Insert suitable screwdriver into notches provided in the seal retainer, Fig. 10, and remove rear oil seal. Carefully remove seal to avoid nicking
the crankshaft sealing surface.
INSTALLATION
1. Using rear crankshaft seal installer tool No. J-35621, or equivalent, install crankshaft rear oil seal as follows:
a. Using clean engine oil, lubricate inner and outer diameters of seal.
b. Install new seal onto tool, Fig. 11.
c. Thread attaching screws into the tapped holes in the crankshaft.
d. Using a screwdriver, tighten attaching screws. This will ensure the seal is installed properly over crankshaft assembly.
e. Turn tool handle until it bottoms out.
f.
Remove tool.
