
C 1500 Truck 2WD V8-6.5L DSL Turbo VIN S (1997)
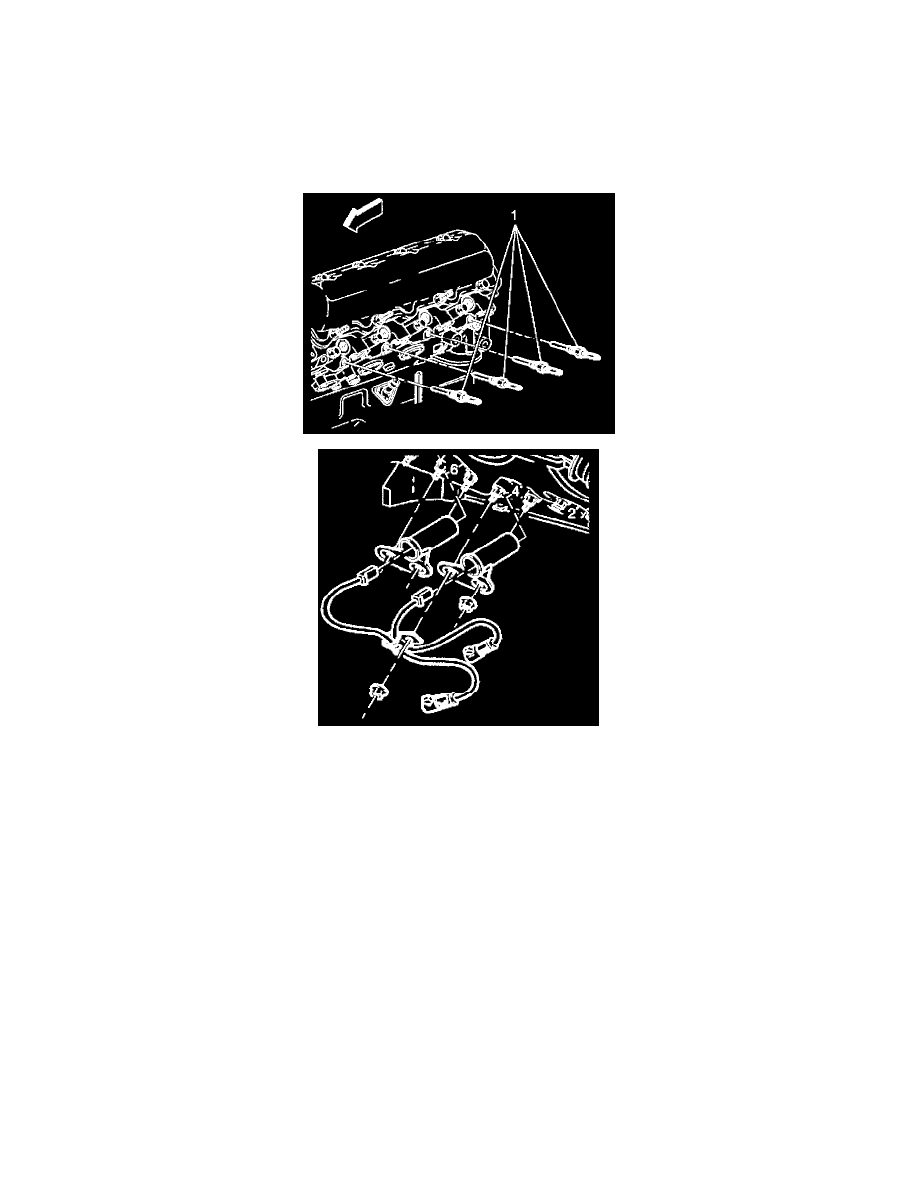
1. Install the glow plugs.
Tighten
^
Tighten the glow plugs to 17 Nm (13 lb. ft).
2. Connect the lead wires to the glow plugs.
3. Connect the negative battery cables.
Right Side
REMOVAL PROCEDURE
1. Raise the vehicle.
2. Remove the right front tire.
3. Remove the splash shield from the right front wheel well.
4. Remove the lead wire from the glow plug in the 2 cylinder.
5. Remove the lead wires for the glow plugs in cylinders 4 and 6 at the harness connectors.
6. Remove the heat shroud for the glow plug in cylinder 4.
7. Remove the heat shroud for cylinder 6.
^
Slide the shrouds back far enough in order to allow access for unplugging the wires at cylinder 4 and 6 glow plugs.
^
Use J 39083 in order to disconnect the glow plug wires.
CAUTION: Serious engine damage will occur if the damaged glow plug is not retrieved from the cylinder. There are two methods that are used
in order to remove glow plugs with blistered or swollen heater coil sheaths.
Method I
1. Remove the injector nozzle from the failed glow plug cylinder.
2. Place a shop towel in the precup chamber in order to capture the glow plug tip when it breaks off from the glow plug shell upon removal (this will
keep the tip from dropping into the cylinder).
3. Use a pair of needle nose pliers (or other griping device) in order to grasp the tip and remove it from the precup chamber.
4. Remove the shop towel and reinstall the injector nozzle.
Method II