
C 1500 Truck 2WD V8-6.5L DSL Turbo VIN S (1997)
Install or connect the following:
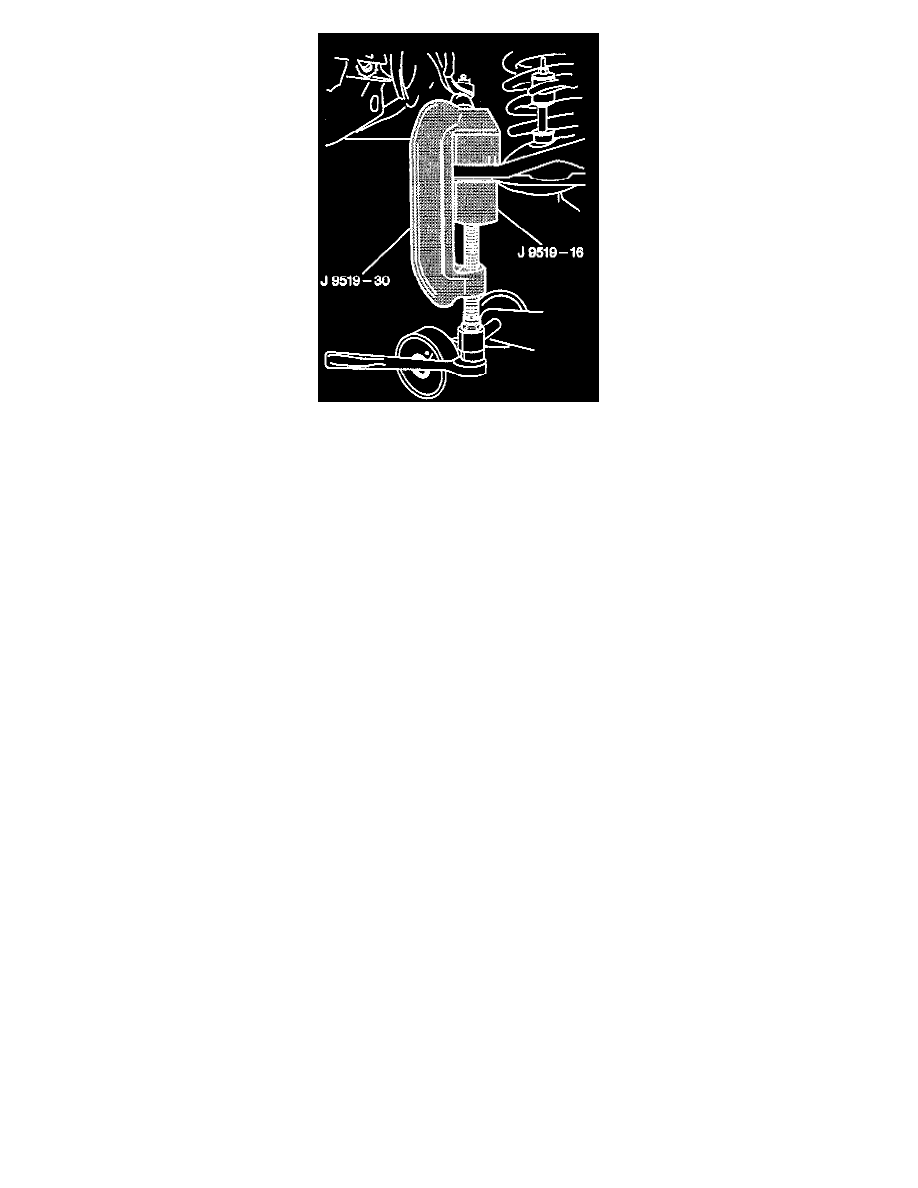
1. New ball joint (69) into the lower control arm (40).
-
Press in the ball joint using tools as shown in the image. The ball joint will bottom on the control arm.
2. Ball joint stud into the steering knuckle.
3. Stud nut (67) onto the stud. Tighten (67) to 128 Nm (94 ft. lbs.) and align the slot in the stud nut with the hole in the stud by tightening.
4. New cotter pin (68) to the stud.
5. Brake caliper.
6. Tire and wheel assembly.
-
Lower the vehicle.
NOTE: Check the front wheel alignment.