
C 20 3/4 Ton Pickup 2WD V8-305 5.0L VIN H 4-bbl (1982)
Wheel Bearing: Service and Repair
Front
Front Wheel Hubs, Bearings 2WD
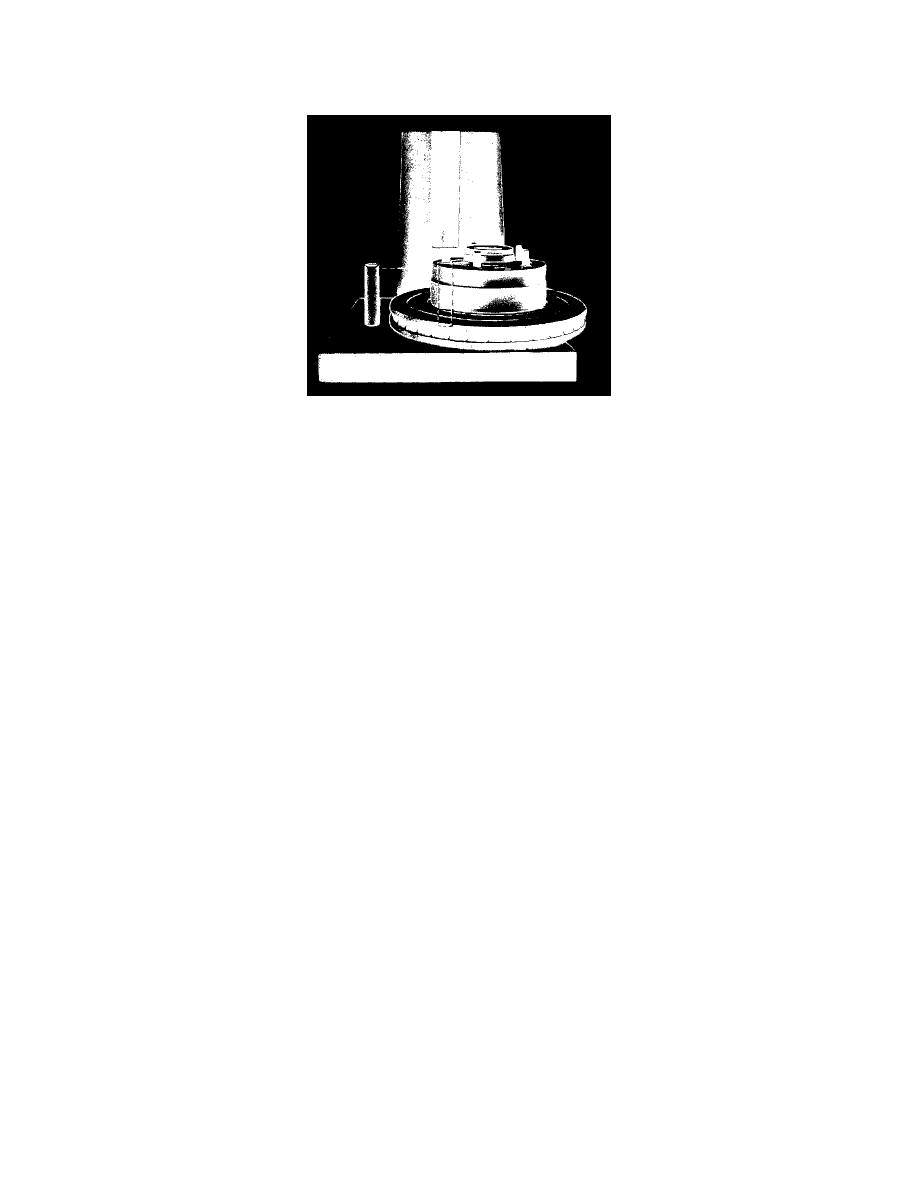
Figure 3C-14
Removal
1. Raise vehicle on hoist and remove wheel and tire assembly. Remove dust cap from end of hub and withdraw cotter pin.
2. Remove the brake caliper and hang by wire to the suspension. Do not allow the caliper assembly to hang by the brake flex line.
3. Remove hub and disc assembly.
4. Remove outer bearing from hub. The inner bearing will remain in the hub and may be removed by prying out the inner grease seal.
5. Wash all parts in cleaning solvent.
Inspection
1. Check all bearings for cracked cages, worn or pitted rollers.
2. Check bearing races for cracks, scoring, check brake discs for out-of-round or scored conditions and check bearings outer races for looseness in
hubs.
Repairs
Replacement of Bearing Cups
If necessary to replace an outer race, drive out old race from the hub with a brass drift inserted behind race in notches in hub. Install new race by
driving it into hub with the proper race installer J-8457, J-8849, or J9276-2. Remove and install the inner race in the same manner.
Notice: Use care when installing new races to start it squarely into hub, to avoid distortion and possible cracking.
Wheel Stud Replacement
(See Figure 3C-14) Use a piece of water pipe or other similar tool to support the hub while pressing a wheel stud either in or out.
Installation
1. Clean off any grease in the hub and spindle and thoroughly clean out any grease in the bearings. Use cleaning solvent. Use a small brush with no
loose bristles to clean out all old grease. Do not spin the bearings with compressed air while drying it or the bearings may be damaged.
2. Use a GM approved high temperature front wheel bearing grease or equivalent. Do not mix greases as mixing may change the grease properties
and result in poor performance.
3. Apply a thin film of grease to the spindle at the outer bearing seat and at the inner bearing seat, shoulder, and seal seat.
4. Put a small quantity of grease inboard of each bearing cup in the hub. This can be applied with your finger forming a dam to provide extra grease
availability to the bearing and to keep thinned grease from flowing out of the bearing.
5. Fill the bearing cone and roller assemblies 100 percent full of grease. A method for doing this is with a cone type grease machine that forces
grease into the bearing. If a cone grease is not available, the bearings can be packed by hand. If hand packing is used, it is extremely important to
work the grease thoroughly into the bearings between the rollers, cone, and the cage. Failure to do this could result in premature bearing failure.
6. Place the inner bearing cone and roller assembly in the hub. Then using your finger, put and additional quantity of grease outboard of the bearing.
7. Install a new grease seal using a flat plate until the seal is flush with the hub. Lubricate the seal lip with a thin layer of grease.