
C 2500 Suburban 2WD V8-6.0L VIN U (2002)
Lower Side Moulding / Trim: Service and Repair
Molding Replacement - Rear Body Side - Lower Front
Molding Replacement - Rear Body Side - Lower Front
Removal Procedure
Important: When any molding is removed, all retaining clips must be replaced if the molding is to be reused.
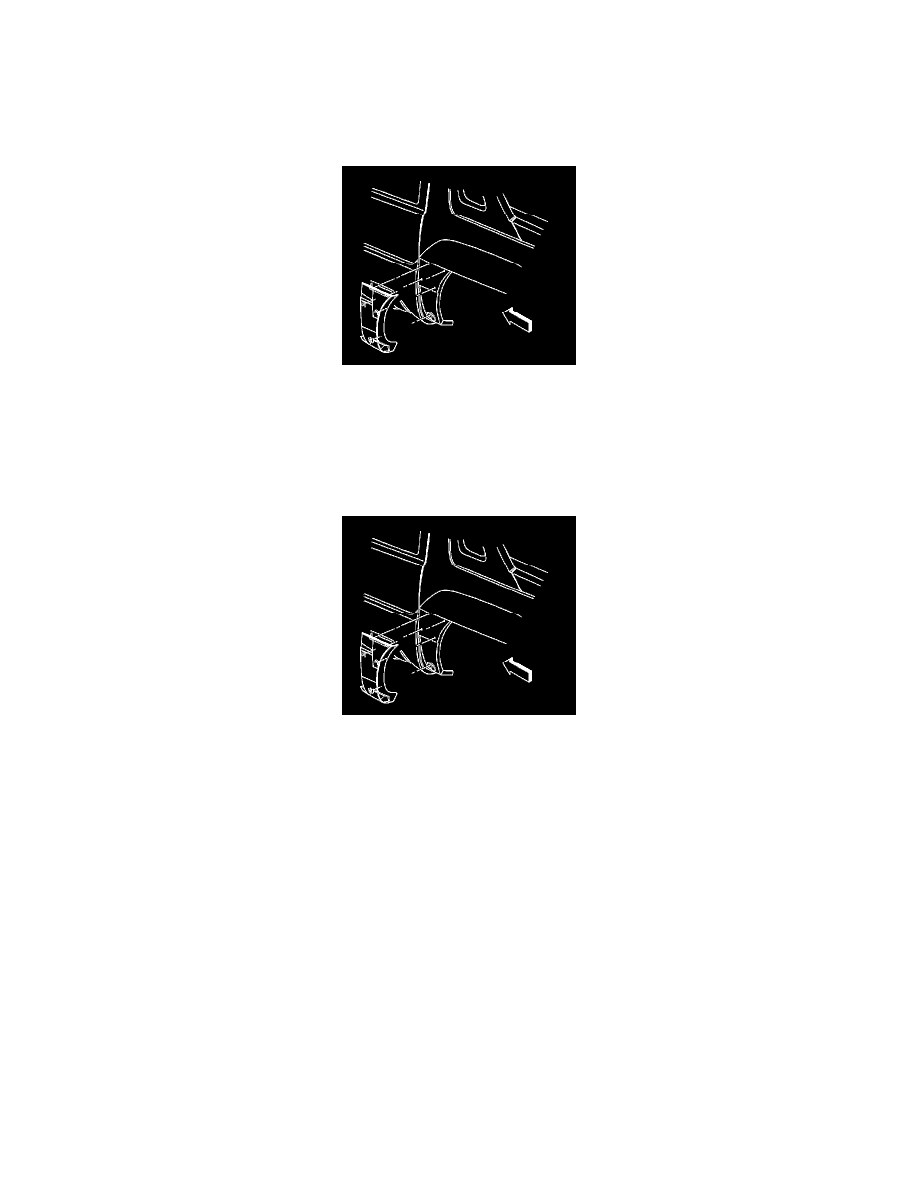
1. Remove all retaining screws.
2. Grasp the lower part of the molding.
3. Pull outward in order to release the clips from the body panel.
Installation Procedure
1. Use a 3M(TM) Scotch Brite molding adhesive remover disc, P/N 07501, or equivalent, in order to remove any adhesive tape on the body panel.
2. Remove the protective lining of the adhesive tape.
3. Align the retaining clips in the respective holes.
4. Press firmly on the molding until all of the retaining clips are completely seated.
5. Press on the top part of the molding so that the tape adheres to the body panel.