
C 2500 Suburban 2WD V8-6.0L VIN U (2002)
1. Align the drain valve into the opening in the floor.
2. Press down on the drain valve to fully seat the valve into the floor.
3. Install the cargo box.
4. Install the compartment cover.
5. Close the end gate.
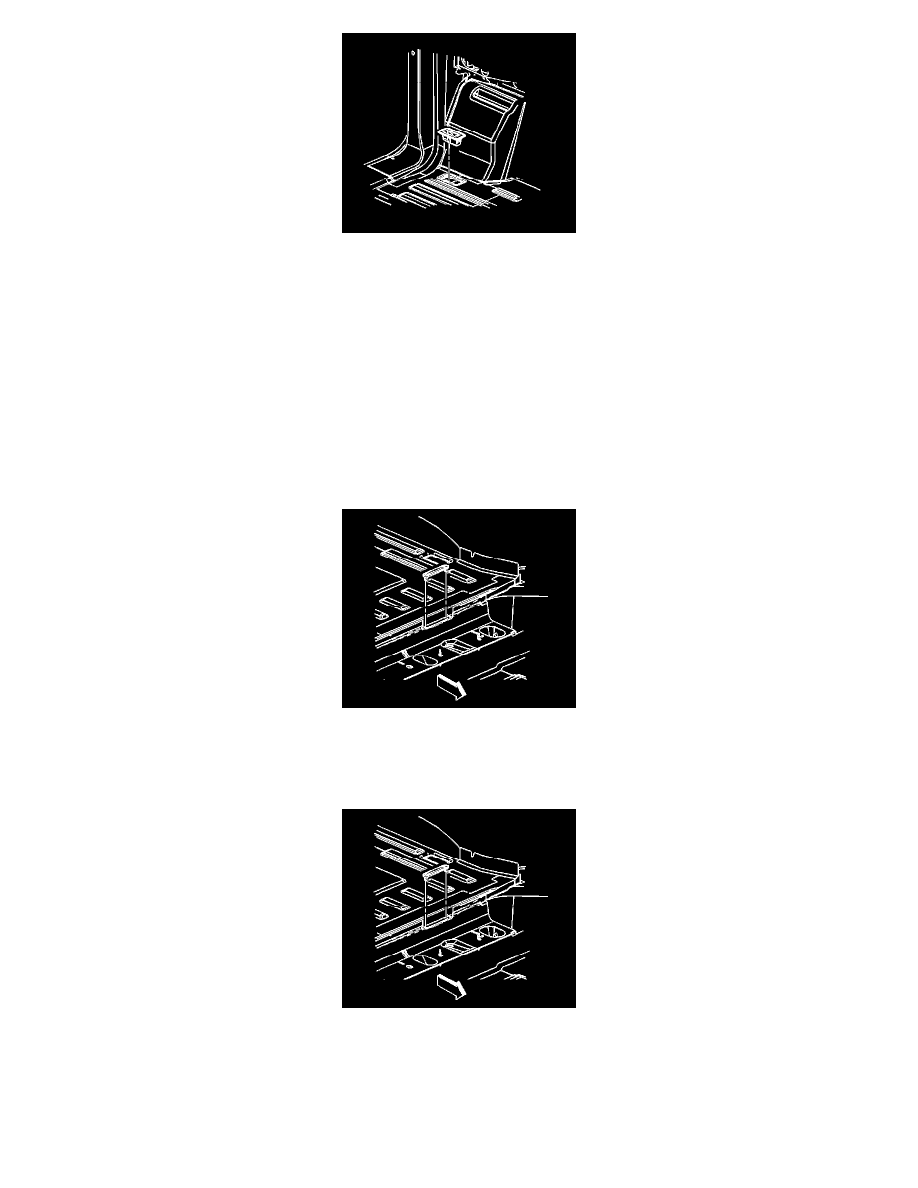
Rear Body Opening Frame Load Floor Grate Drain Valve Replacement
Rear Body Opening Frame Load Floor Grate Drain Valve Replacement
Removal Procedure
1. Lower the end gate.
2. Remove the compartment cover.
3. Remove the load floor grate.
4. Using a flat bladed tool or suitable replacement to pry the front drain valve from the floor.
5. Remove the valve from the vehicle.
Installation Procedure
1. Install the front drain valve into the floor.
2. Press down on the front drain valve using firm pressure to firmly seat the valve into the floor.
3. Install the load floor grate.
4. Install the compartment covers.
5. Close the end gate.
Rear Body Opening Frame Mid-Gate Drain Valve Replacement