
C 2500 Truck 2WD V8-5.7L VIN R (1997)
Tape Player: Service and Repair
A tape player that is not cleaned regularly can cause reduced sound quality, ruined cassettes or a damaged mechanism. Cassette tapes should be stored in
their cases away from contaminants, direct sunlight and extreme heat.
For the best operation of the cassette tape player, do not use cassette tapes that are longer than 90 minutes in playback time (45 minutes per side).
Cassette tapes longer than 90 minutes may cause tape slippage or jamming.
Tape Head and Capstan Cleaning
There are two parts that are cleaned on a tape player: the head and the capstan. Since they can be reached through the tape door, leave the tape
player in the vehicle. This service should be performed every 50 hours of operation.
To clean the head and capstan, use a cotton swab dipped in ordinary rubbing alcohol, or use a cleaning cassette.
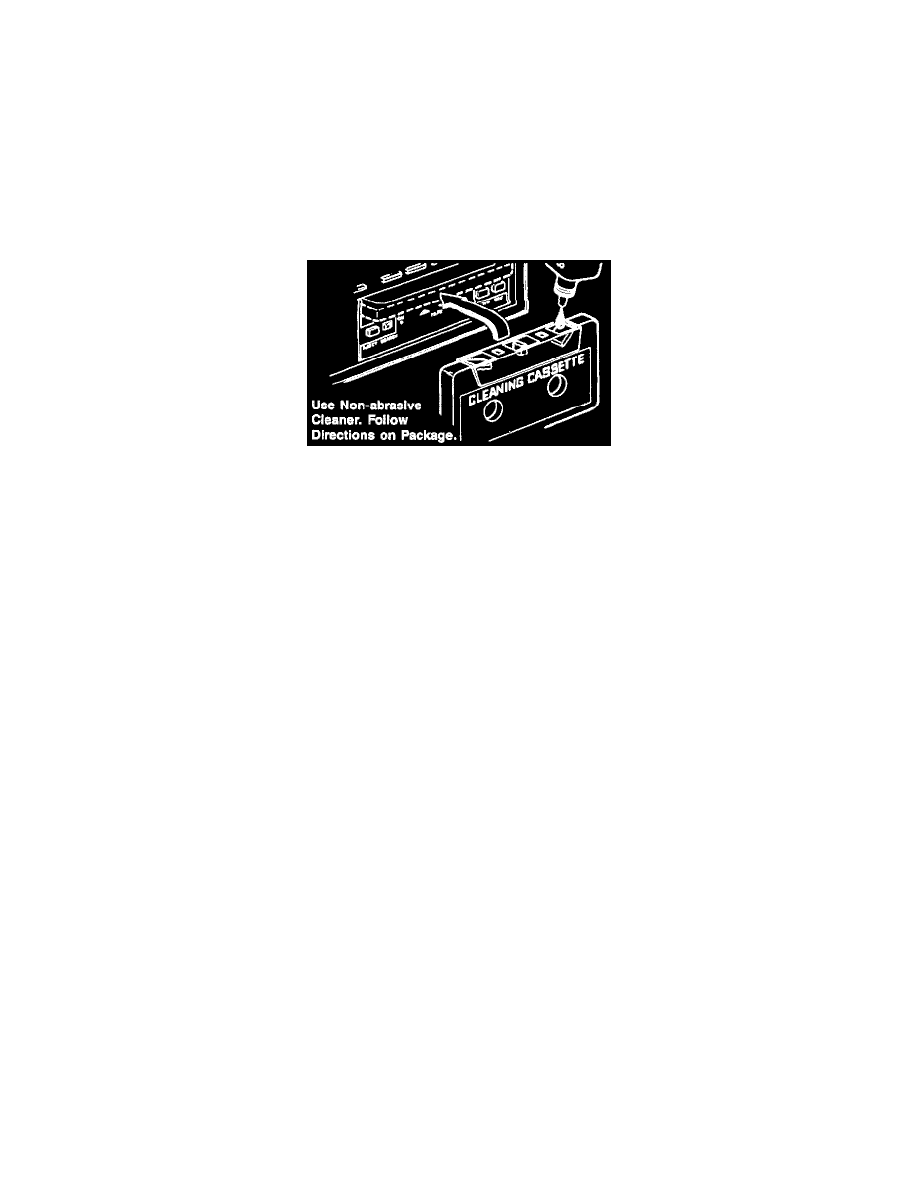
Using A Cleaning Cassette
As an alternate way to clean the head and capstan, a cleaning cassette kit may be purchased Follow the instructions included with the kit to clean
the tape player.
Do not contact the tape head with magnetized tools. If the head becomes magnetized, cassette sound quality will be degraded.
No service is performed on tapes. Warranty of these tapes is handled by the cassette manufacturer, not by the dealer.
Clean Tape Indicator Feature
The cassette and remote cassette units will remind the user to clean the cassette head. After 50 hours of cassette operation, CLN will appear briefly
in the display when a cassette is inserted or when the power is cycled in cassette mode. The feature will be canceled and the timer reset when the
eject button is pressed and held for approximately five seconds. When the feature has been canceled,"---" appears in the display.