C 2500 Truck 2WD V8-5.7L VIN R (1997)

Connecting Rod Bearing: Testing and Inspection
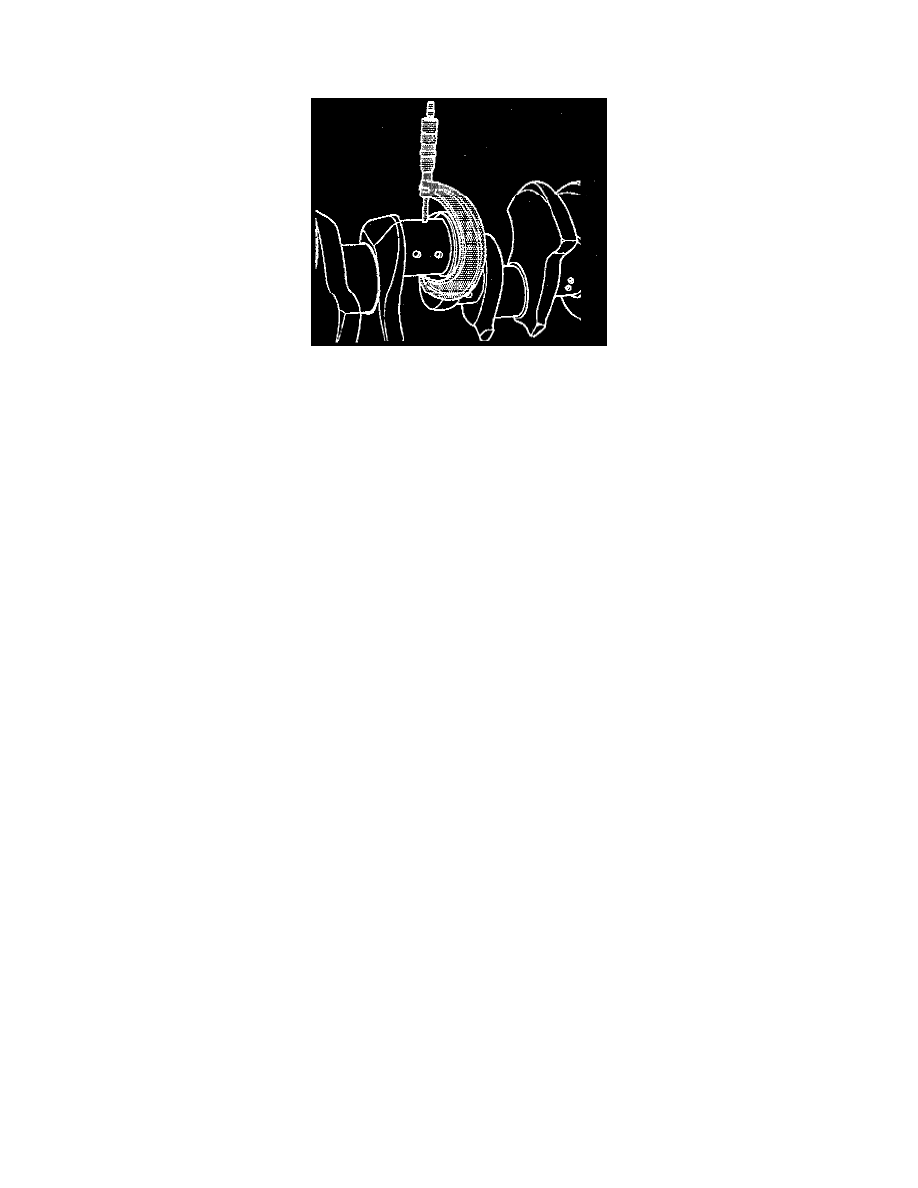
Micrometer Method
CAUTION: Do not shim, scrape, or file bearing inserts. Do not touch the bearing surface of the insert with bare fingers. Skin oil and acids will etch the
bearing surface.
1. Measure the crankpin diameter with a micrometer in several places, approximately 90 degrees apart, and average the measurements.
2. Determine the taper and the out of round.
Taper
-
Production: 0.007 mm (0.0003 inch) max.
-
Service limit: 0.025 mm (0.0010 inch) max.
Out-of-round
-
Production: 0.007 mm (0.0003 inch) max.
-
Service limit: 0.025 mm (0.0010 inch) max.
3. Install the connecting rod bearings into the connecting rod bearing cap and the connecting rod.
4. Install the connecting rod bearing caps and the nuts and tighten.
a. On the first pass, tighten the nuts evenly to 27 Nm (20 ft. lbs.).
b. On the final pass, use the J 36660 in order to tighten the nuts an additional 55°.
5. Measure the bearing inside diameter (ID) using an inside micrometer.
6. Compare the connecting rod bearing clearance specifications.
-
Production: 0.033-0.088 mm (0.0013-0.035 inch)
-
Service limit: 0.025-0.076 mm (0.0010-0.0030 inch)
7. If the bearing clearance is within specifications, the bearing is satisfactory. If the clearance is not within specifications, replace the bearing. Always
replace both the upper and the lower bearings as a unit.
8. A standard or undersize bearing combination may result in the proper clearance. If the proper bearing clearance cannot be achieved using the
standard or the undersize bearings, it will be necessary to replace or repair the crankshaft.
