
C 2500 Truck 2WD V8-5.7L VIN R (1997)
Piston: Service and Repair
Installation
-
Tools Required
-
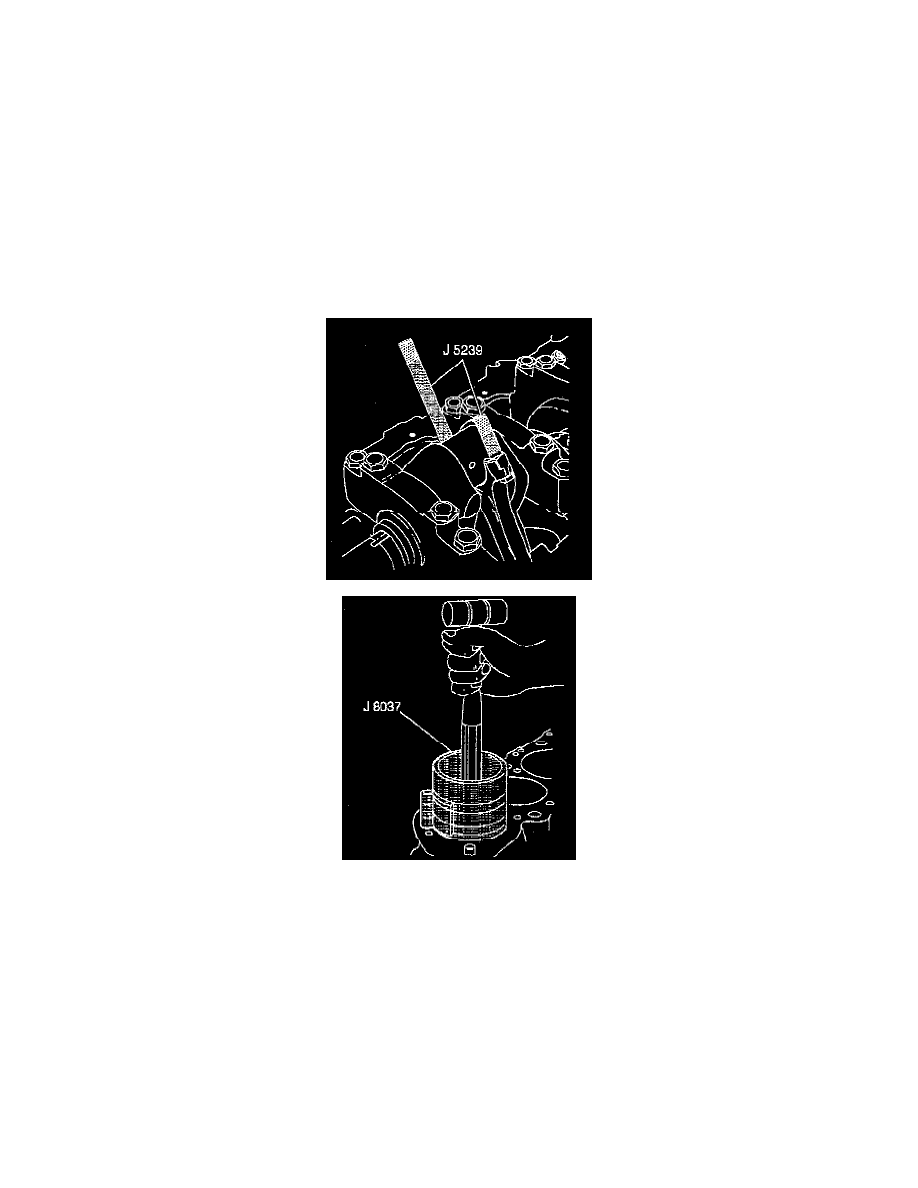
J 5239 Guide Set
-
J 8037 Piston Ring Compressor
-
J 36660 Torque Angle Meter
1. Coat the following components with clean engine oil:
-
The piston
-
The piston rings
-
The cylinder bore
-
The bearing surfaces
2. Install the piston with the stamped arrow facing forward.
3. Install the piston assembly into its matched bore.
When assembled, the flanges on the connecting rod and cap should face to the front in the left bank and to the rear in the right bank.
4. Use the J 8037 and the J 5239 and lightly tap the top of the piston with a wooden hammer handle.
-
Hold the J 8037 firmly against the engine block until all of the piston rings enter the cylinder bore.
-
Use the J5239 in order to guide the connecting rod onto the crankshaft journal.
5. Remove the J 5239.
6. Install the connecting rod cap and nuts.
-
On the first pass, tighten the nuts evenly to 27 Nm (20 ft. lbs.).
-
On the final pass, use the J 36660 in order to tighten the nuts an additional 55°.
7. When all of the connecting rod bearings are installed, tap each connecting rod assembly lightly parallel to the crankpin in order to make sure that
they have clearance.