
C 2500 Truck 2WD V8-5.7L VIN R (1997)
Intake Manifold: Service and Repair
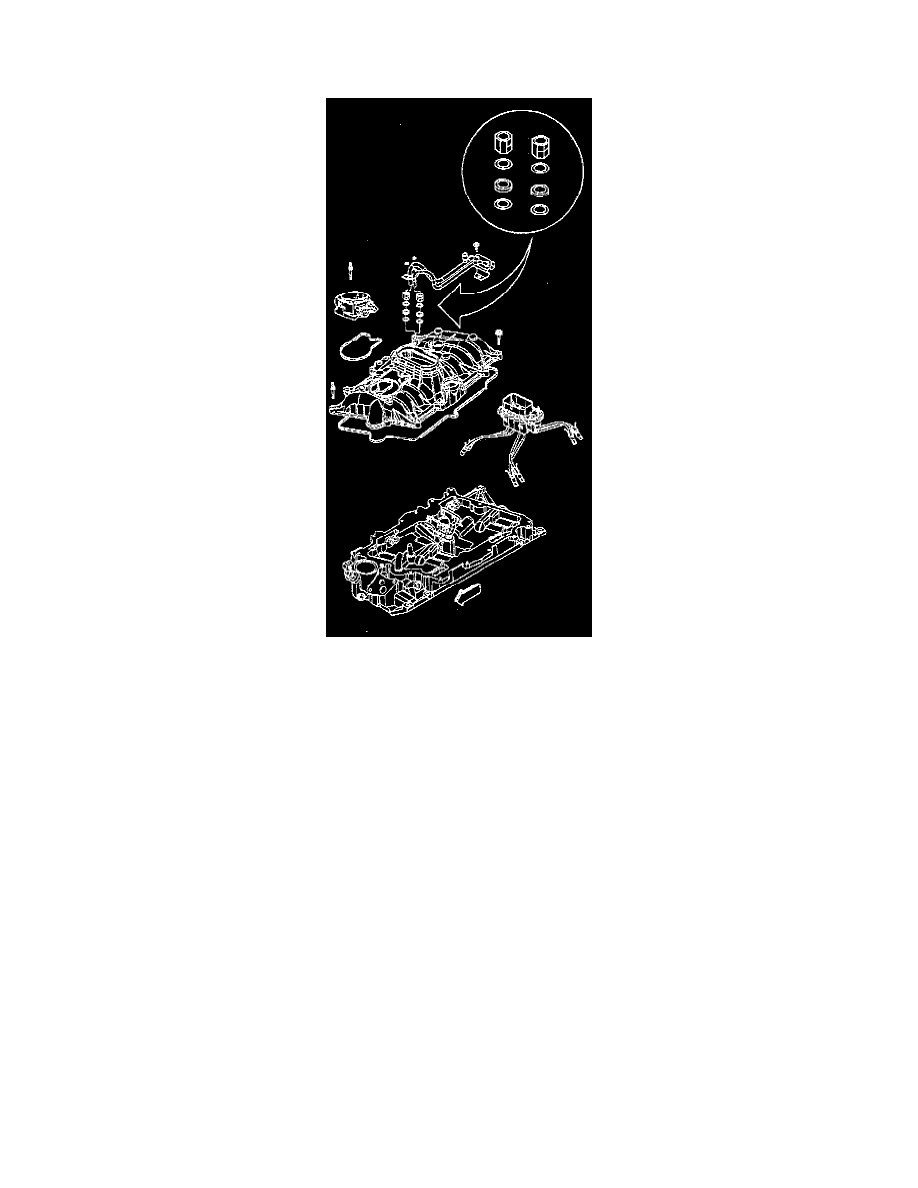
Intake Manifold Replacement (Upper)
REMOVAL
1. Disconnect the battery negative cable assembly from the battery negative terminal.
2. Remove the air cleaner assembly. Refer to Powertrain Management.
3. Remove the wiring harness connectors and the brackets and move aside.
4. Remove the throttle cable and the bracket from the upper intake manifold.
5. Remove the cruise control cable, (if equipped).
6. Remove the fuel lines from the intake to the rear of the block. Refer to Powertrain Management.
7. Remove the ignition coil and the bracket. Refer to Starting and Charging
8. Remove the upper intake manifold.
INSTALLATION
1. Install the upper intake manifold gasket.
2. Install the upper intake manifold. Use care not to pinch the injector lines between the upper and lower intake manifolds.
3. Install the upper intake manifold bolts. Note the marks made at disassembly for proper stud location. Install the two corner studs first in order to
help align the two halves.
4. Tighten the bolts in two steps:
a. Tighten the bolts on the first sequence to 5 Nm (44 inch lbs.).
b. Tighten the bolts on the final sequence to 10 Nm (88 inch lbs.).
5. Install the purge solenoid and bracket. Refer to Powertrain Management.
6. Install the ignition coil and bracket. Refer to Starting and Charging.
7. Install the PCV hose et the upper intake manifold.
8. Install the fuel lines from the intake at the rear of the block. Refer to Powertrain Management.
9. Install the cruise control cable (if equipped).
10. Install the throttle cable and bracket from the upper intake manifold. Refer to Powertrain Management.