
C 2500 Truck 2WD V8-5.7L VIN R (1997)
-
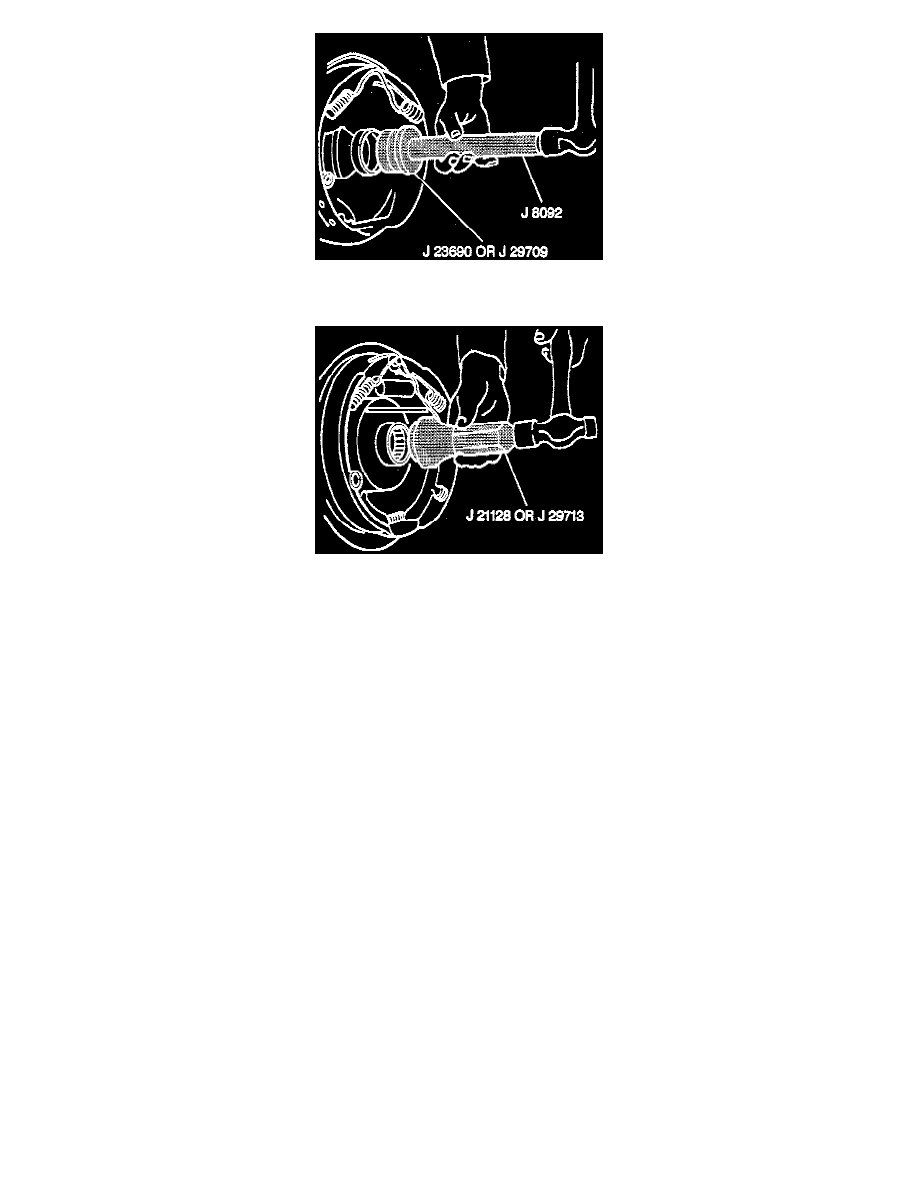
Bearing into the axle housing until the tool bottoms against the tube.
-
Use J 21128 for 8 1/2 and 8 5/8 inch ring gear axle and J 29713 for the 9 1/2 inch ring gear axle.
-
Drive the tool into the bore until the seal bottoms flush with the end of the tube.
3. Axle shaft.
-
Be careful not to damage the seal when inserting the axle shaft.
-
Slide the axle shaft into place allowing the splines to engage the differential side gear (F).
4. Lock.
-
Without locking differential:
A. Place the lock on the button end of the axle shaft, then pull the shaft flange outward to seat the lock in the differential side gear.
-
With locking differential:
A. Keep the pinion shaft partially withdrawn.
B. Place the lock in the position shown. Pull the shaft flange outward to seat the lock in the differential side gear.
5. Pinion shaft.
-
Align the hole in the pinion shaft with the screw hole in the differential case.
Important: Anytime a differential pinion shaft locking screw is removed, it is important to coat the screw threads with Loctite 242 before
reinstalling. These screws are coated with an adhesive which helps to prevent the screw from loosening in the case. When this screw is
removed, the adhesive is also removed.
6. Screw (A).
-
Tighten screw to 34 Nm (25 ft. lbs.).
7. Carrier cover gasket or RTV (if used).
8. Carrier cover.
9. Bolts and clip.
-
Bolts in a crosswise pattern to 27 Nm (20 ft. lbs.).
10. Brake drum.
11. Wheel and tire assembly.
-
Lower the vehicle.
12. Axle lubricant. Fill to the filler plug hole level.