
C 2500 Truck 2WD V8-5.7L VIN R (1997)
paints, lubricants, or corrosion inhibitors on fasteners or fastener joint surfaces inless specified. These coatings affect fastener torque and joint
clamping force and may damage the fastener. Use the correct tightening sequence and specifications when installing fasteners in order to avoid
damage to parts and systems.
9. Install the three wire hall effect switch connector to the base of the distributor.
10. Install the spark plug and the ignition coil wires to the distributor cap.
Important: If a check engine light is illuminated after installing the distributor and a DTC P1345 is found, the distributor has been installed
incorrectly. Refer to procedure B for proper distributor installation.
Installation Procedure B
1. Rotate the number 1 cylinder up to Top Dead Center (TDC) of the compression stroke.
2. Remove the distributor cap screws and the distributor cap to expose the rotor.
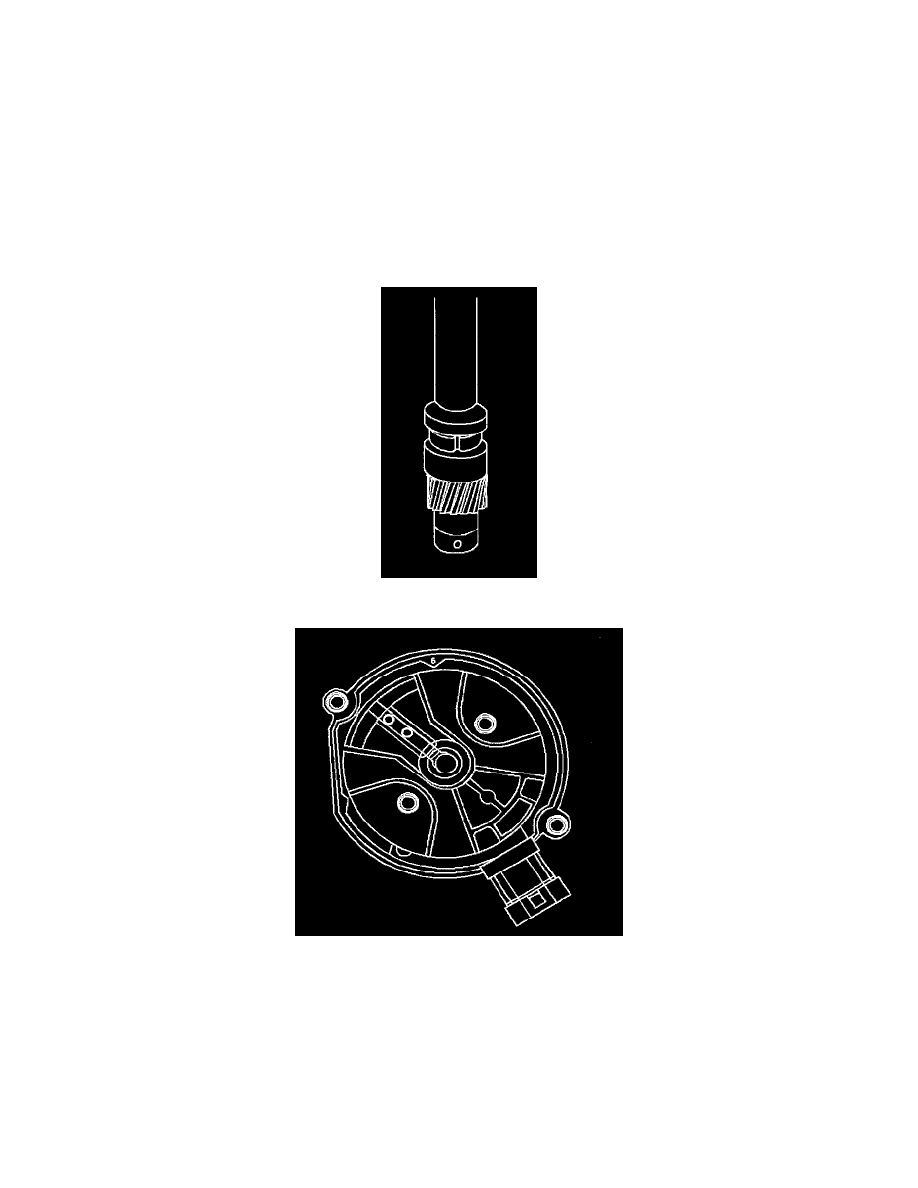
3. Align the pre-drilled indent hole in the distributor driven gear with the white alignment line on the lower portion of the shaft housing.
4. The rotor should point to the cap hold down mount nearest the flat side of the housing.