
C 2500 Truck 2WD V8-5.7L VIN R (1997)
ASSEMBLE
1. Frame and field assembly onto the armature.
A. Clean the contact faces of the brushes and the commutator with a soft cloth.
B. Push the brushes into the brush holders and hold them in place while installing the frame.
C. Align the scribe mark on the frame with the scribe mark on the drive end frame.
D. Release the brushes onto the commutator, making sure all four brushes move freely and contact the commutator.
2. Brake washer to the armature assembly.
3. Drain tube to the frame, if it was removed.
4. End frame to the field frame.
-
If the end frame bearing shows no lubrication or looks damaged, replace it.
-
Recess the new bearing 2 mm (0.08 in) into the housing.
-
The bearing is pre-lubricated. Do not add lubricant.
5. Identification tag over the hole in the end frame with the fluted end around the bearing well.
6. Through-bolts in their original locations.
Tighten
-
Through-bolts to 8.5 N.m (75 lb in).
7. Motor field lead over the motor terminal on the solenoid.
8. Field lead attaching nut.
Tighten
-
Field lead attaching nut to 11 N.m (95 lb in).
9. Solenoid shield onto the protruding ends of the solenoid attachment screws.
10. Shield attaching nuts.
Tighten
-
Shield attaching nuts to 8 N.m (70 lb in).
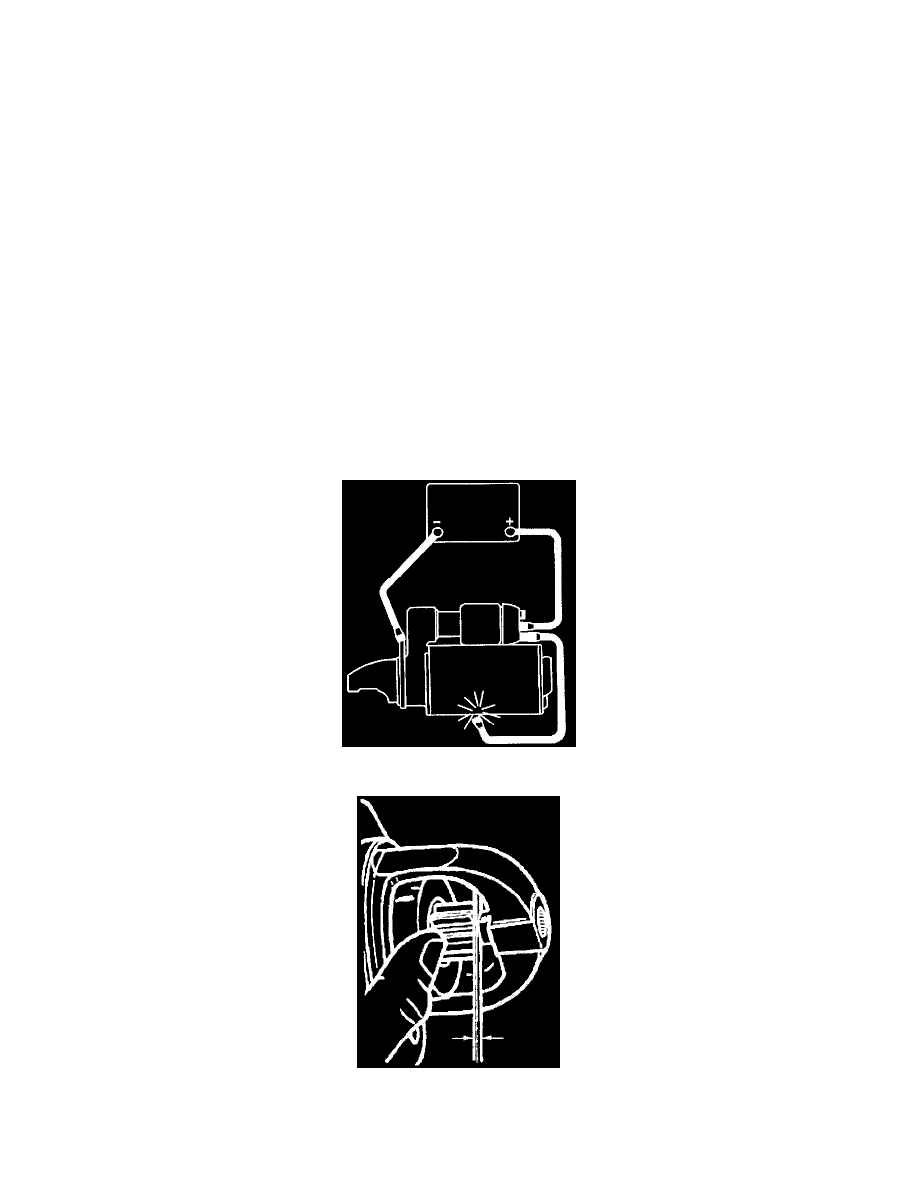
Pinion Clearance Check
Pinion Clearance Check
Measuring Pinion Clearance
The pinion clearance should be checked after reassembly of the motor. It cannot be adjusted. Improper clearance is an indication of worn parts.