
C 2500 Truck 2WD V8-5.7L VIN R (1997)
Clutch Disc: Service and Repair
-
Tool Required:
-
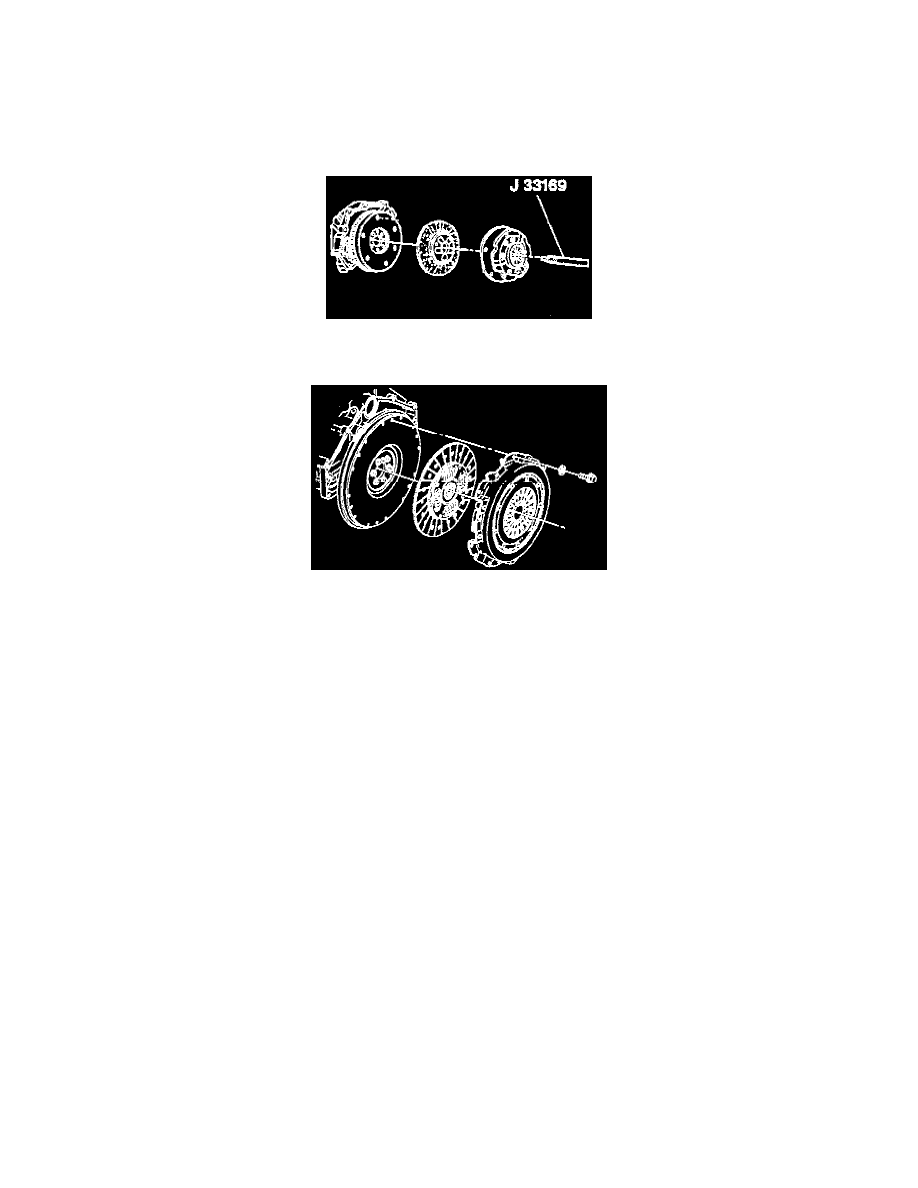
J 33169 Clutch Alignment Tool
REMOVE OR DISCONNECT
Important:
-
Install J 33169 clutch alignment tool or a used clutch drive gear to support the clutch.
-
Mark the flywheel, clutch cover, and a clutch plate lug for alignment when installing.
1. Clutch cover bolts and washers.
2. Clutch cover and the clutch plate. Remove the clutch alignment tool.
Clean
1. All parts with a clean, water dampened cloth to remove any fibers.
2. Flywheel housing with solvent. Wipe dry.
Inspect
-
All parts for wear and damage.
-
Contact surfaces for scoring and flatness with a straight edge. Driven plate run out must not be more than 0.508 mm (0.020 inch).
-
Friction pads for scoring, gouges, and loose rivets. Check to see if they are oil soaked.
-
All splines for nicks, burrs, and sliding fit.
-
Clutch cover spring for bending and breaks.
INSTALL OR CONNECT
1. Clutch plate and clutch cover assembly.
Important:
-
Install J 33169 clutch alignment tool or a used clutch drive gear to support the clutch cover and clutch plate.
-
Align the marks made during removal or, if new, align the lightest part of the clutch cover, identified by a yellow dot, with the heaviest part of
the flywheel, identified by an "X".
2. Clutch cover to flywheel with washers and bolts.
Important:
-
Tighten each bolt one turn at a time to avoid warping the clutch cover.
-
Remove the clutch alignment tool.
Tighten
-
Clutch cover to the flywheel bolts to 40 Nm (29 ft. lbs.).
3. Transmission.