
C 3500 HD Truck 2WD V8-6.5L DSL Turbo VIN F (2001)
9. Remove the lower intake manifold bolts from the cylinder head.
10. Remove the lower intake manifold and the gasket from the cylinder heads.
11. Clean and check the sealing surfaces of the cylinder head and the engine block.
Installation Procedure
1. Install the intake manifold and gaskets.
Notice: Refer to Fastener Notice in Service Precautions.
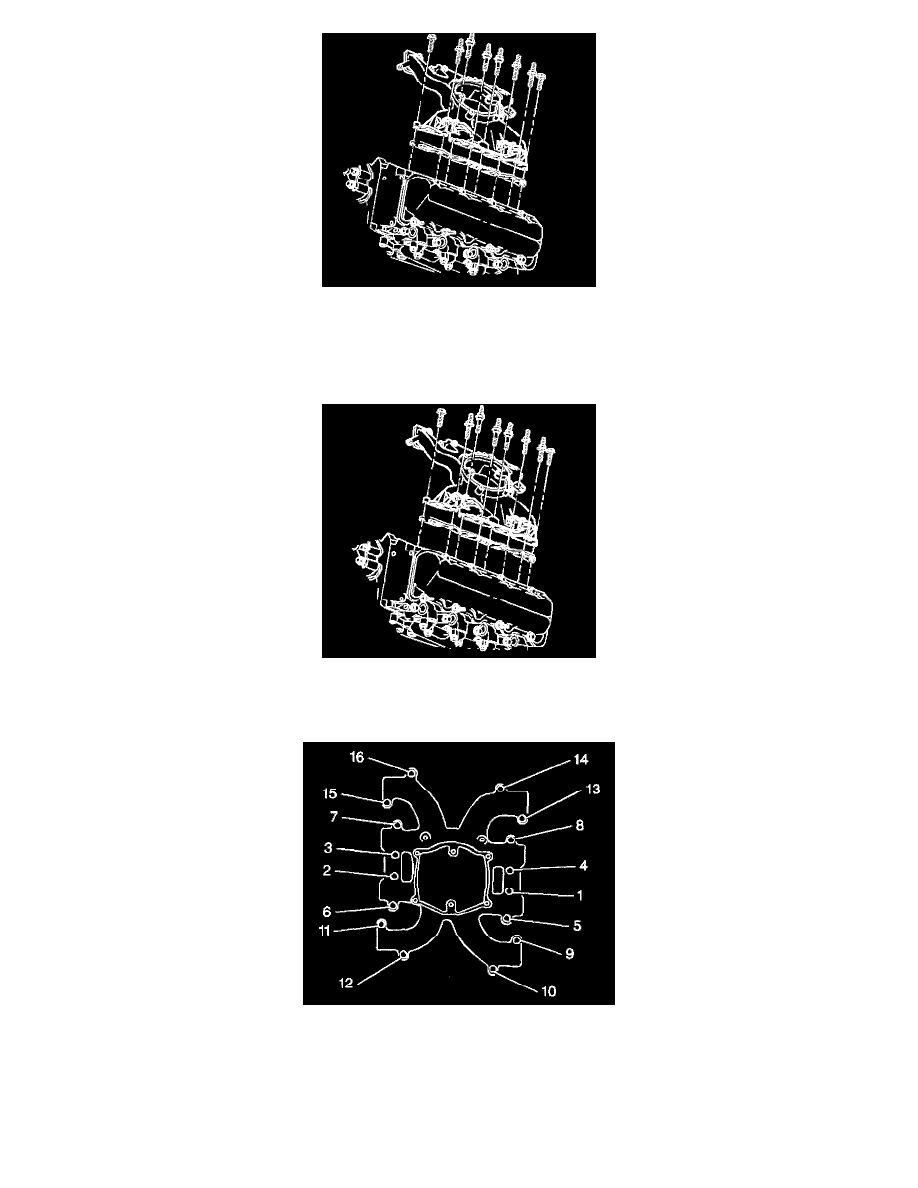
2. Install the intake manifold bolts/studs and fuel line clips.
^
Use Teflon sealer to seal the four bolts, numbers 9, 11, 13, and 15 that are exposed to the crankcase.
^
Apply threadlocker GM P/N 12345493 to the threads of the bolts and the studs that are not numbered 9, 11, 13, or 15.
Tighten the intake manifold bolts/studs, in sequence, to 42 Nm (31 ft. lbs.).
3. Install the grounds straps to the right rear of the cylinder head.