C 3500 HD Truck 2WD V8-6.5L DSL Turbo VIN F (2001)

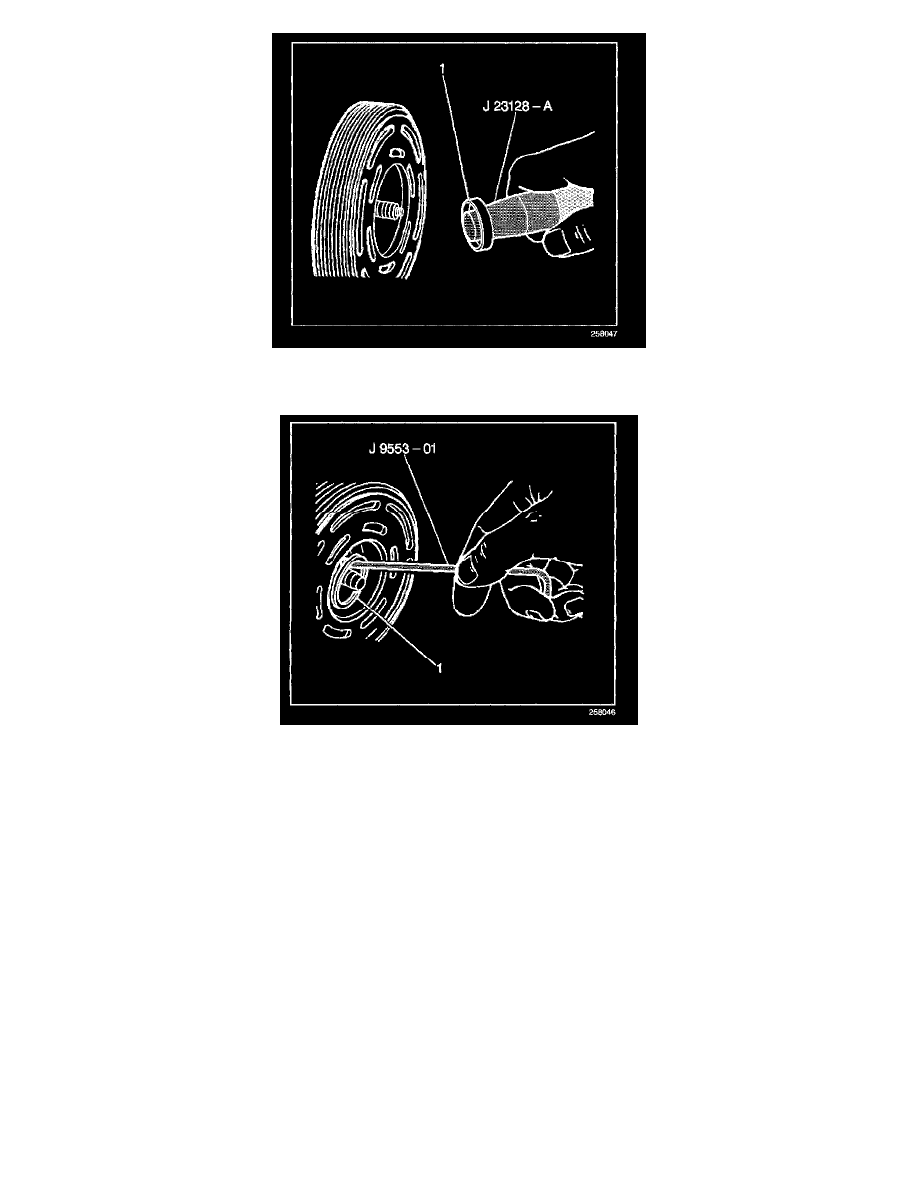
6. Remove the seal (1) from the compressor using a rotary-pulling motion. Discard the seal.
7. Securely hand-tighten the handle. Do not use a wrench or pliers.
8. Remove and discard the seal seat O-ring (1) from the compressor neck using the J 9553-01.
9. Inspect the shaft and the inside of the compressor neck for dirt or foreign material. Ensure that the shaft and the inside of the compressor neck are
perfectly clean before installing the new parts.
10. Thoroughly clean the O-ring seal groove in the front head.
For a description of the RPO Code(s) shown in this article/images refer to the RPO Code List found at Vehicle/Application ID See: Application and
ID/RPO Codes
