C 3500 HD Truck 2WD V8-6.5L DSL Turbo VIN F (2001)

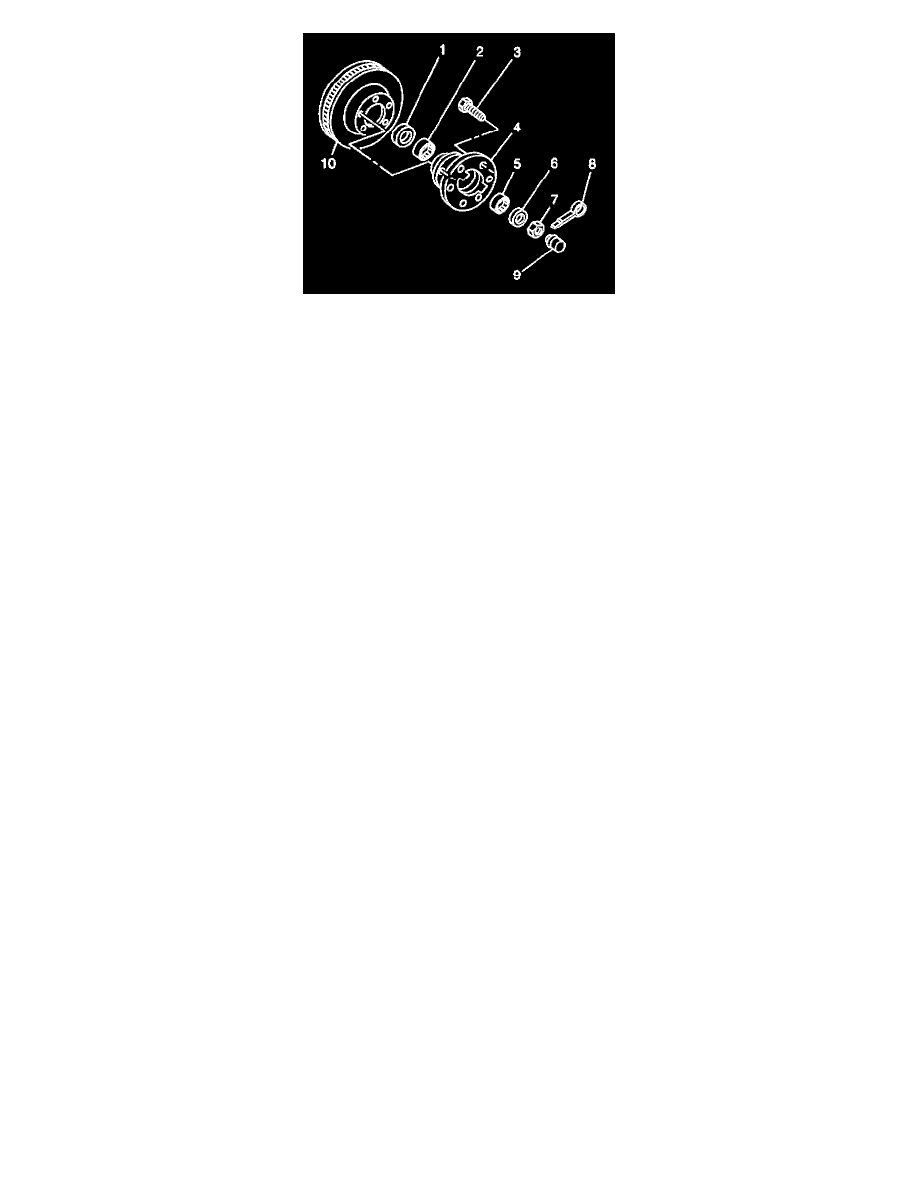
1. Install the races into the hub/rotor.
2. Use a press to install the outer bearing race into position.
Make sure the bearing race is seated fully.
3. Install the inner bearing race into position.
Make sure the bearing race is seated fully.
Important:
^
Use an approved, high-temperature front wheel bearing grease in order to lubricate the bearings. Refer to Fluid and Lubricant Recommendations.
^
Do not mix different greases because mixing may change the grease properties, resulting in poor performance.
4. Apply a thin film of grease to the steering knuckle spindle at the outer wheel bearing seat and at the inner wheel bearing seat, the shoulder, and the
seal seat.
5. Apply a small amount of grease inboard of each wheel bearing retainer/cap.
Notice: Failure to completely pack the wheel bearing (cones, rollers, and cage) with grease will result in premature wheel bearing damage and/or
wear.
6. Fill each wheel bearing (cone and roller assembly) full of grease.
^
Use a cone-type grease machine that forces grease into the bearing.
^
If a cone-type grease machine is not available, pack the wheel bearing by hand. When packing the wheel bearing by hand, work the grease into
the bearings between the rollers, the cones, and the cage.
7. Install the inner wheel bearing into the hub/rotor. Put an additional quantity of grease outboard of this bearing.
8. Install the new seal.
8.1.
Using a seal installer or a block, install the seal in order to ensure that the seal is flush with the hub/rotor flange.
8.2.
Lubricate the seal lip with a thin-layer of grease.
9. Install the hub/rotor. Do not damage the steering knuckle spindle threads.
10. Install the outer wheel bearing. Slide the bearing over the spindle until the wheel bearing fully seats against the hub/rotor outer race.
Notice: Refer to Fastener Notice in Service Precautions.
11. Install the washer, the nut, and the cotter pin. Do not place the cotter pin through the hole in the spindle until the wheel bearings are adjusted.
^
Tighten the nut to 16 Nm (12 lb ft), while turning the hub/rotor assembly by hand.
11.1.
Apply an additional amount of grease outboard of the wheel bearing.
11.2.
Adjust the wheel bearings. Refer to Wheel Bearing Adjustment.
12. Install the cotter pin.
13. Install the retainer/cap in place.
14. Install the brake caliper. Refer to Brake Caliper Replacement - Front in Brakes and Traction Control.
15. Install the tire and wheel. Refer to Tire and Wheel Removal and Installation.
16. Lower the vehicle.
