
C 3500 HD Truck 2WD V8-6.5L DSL Turbo VIN F (2001)
Engine Control Module: Service and Repair
Powertrain Control Module (PCM) Replacement
Service of the Powertrain Control Module (PCM) should normally consist of replacement of the PCM
If the diagnostic procedures calls for replacing the PCM, perform the following procedures in the following order:
1. Programming the PCM
2. Passlock Learn Procedure
3. Programming the Top Dead Center (TDC) offset
Removal Procedure
CAUTION: Refer to Battery Disconnect Caution in Service Precautions.
1. Remove the negative battery cables.
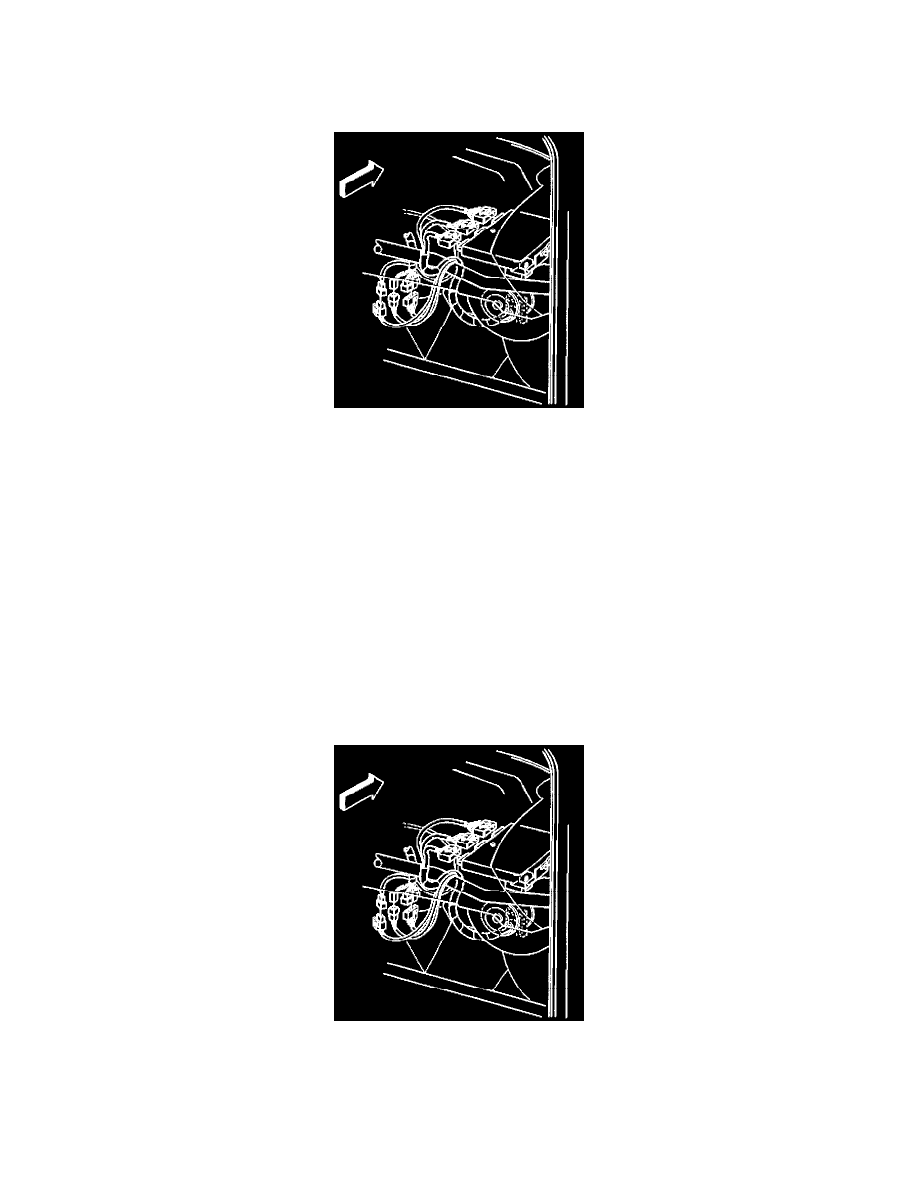
2. Remove the PCM from the passenger compartment behind the glove box.
3. Remove the connectors from the PCM.
IMPORTANT: To prevent possible electrostatic discharge to the PCM, do not touch the component leads, and do not remove the integrated circuit
from the carrier.
4. Remove the PCM mounting hardware.
Installation Procedure
1. Install the PCM mounting hardware.
2. Install the connectors to the PCM.
3. Install the PCM in the passenger compartment behind glove box.
4. Install the negative battery cables.
The Malfunction Indicator Lamp (MIL), antilock and brake lamps will continue to be enabled until the PCM is programmed. Once the
programming is complete, the lamps will turn OFF and normal operation will occur.