
C 3500 Truck 2WD V8-6.0L VIN U (2001)
3.1.
Tighten the exhaust manifold bolts a first pass to 15 Nm (11 ft. lbs.). Tighten the exhaust manifold bolts beginning with the center 2 bolts.
Alternate from side-to-side, and work toward the outside bolts.
3.2.
Tighten the exhaust manifold bolts a final pass to 25 Nm (18 ft. lbs.). Tighten the exhaust manifold bolts beginning with the center 2 bolts.
Alternate from side-to-side, and work toward the outside bolts.
4. Using a flat punch, bend over the exposed edge of the exhaust manifold gasket at the front of the right cylinder head.
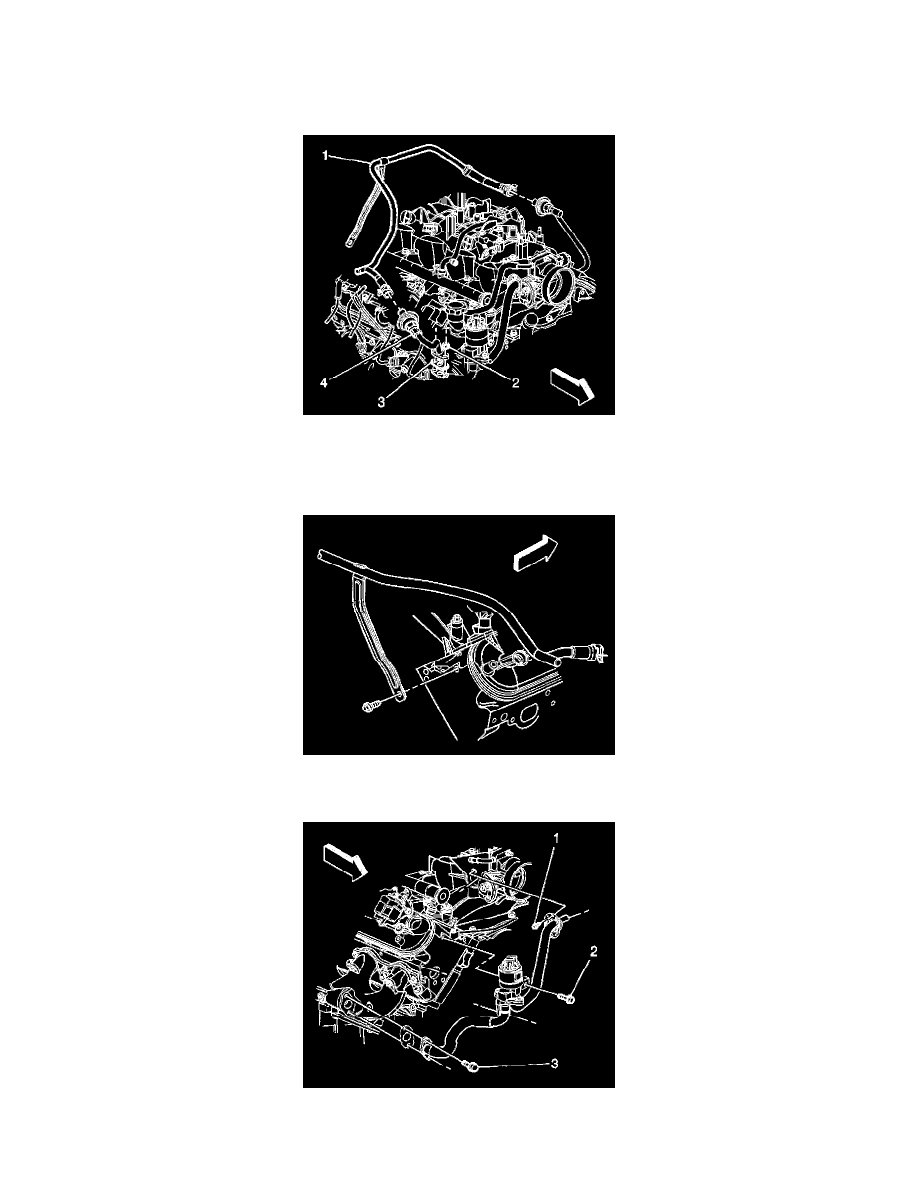
5. Install a NEW AIR check valve pipe gasket (3), the nuts (2), and pipe (with check valve) (4) to the right exhaust manifold.
^
Tighten the AIR check valve pipe nuts to 25 Nm (18 ft. lbs.).
6. Install the AIR check valve pipe (crossover) (1) to the check valves.
7. Position the AIR check valve pipe (crossover) hose spring clamps.
8. Install the AIR check valve pipe (crossover) bolt.
^
Tighten the AIR check valve pipe (crossover) bolt to 50 Nm (37 ft. lbs.).
9. Apply a light coating of clean engine oil to a NEW O-ring seal and install the seal onto the EGR valve pipe.
10. Install the EGR pipe.