
C 3500 Truck 2WD V8-6.6L DSL Turbo VIN 1 (2002)
Tighten the nut to 9 N.m (80 lb in).
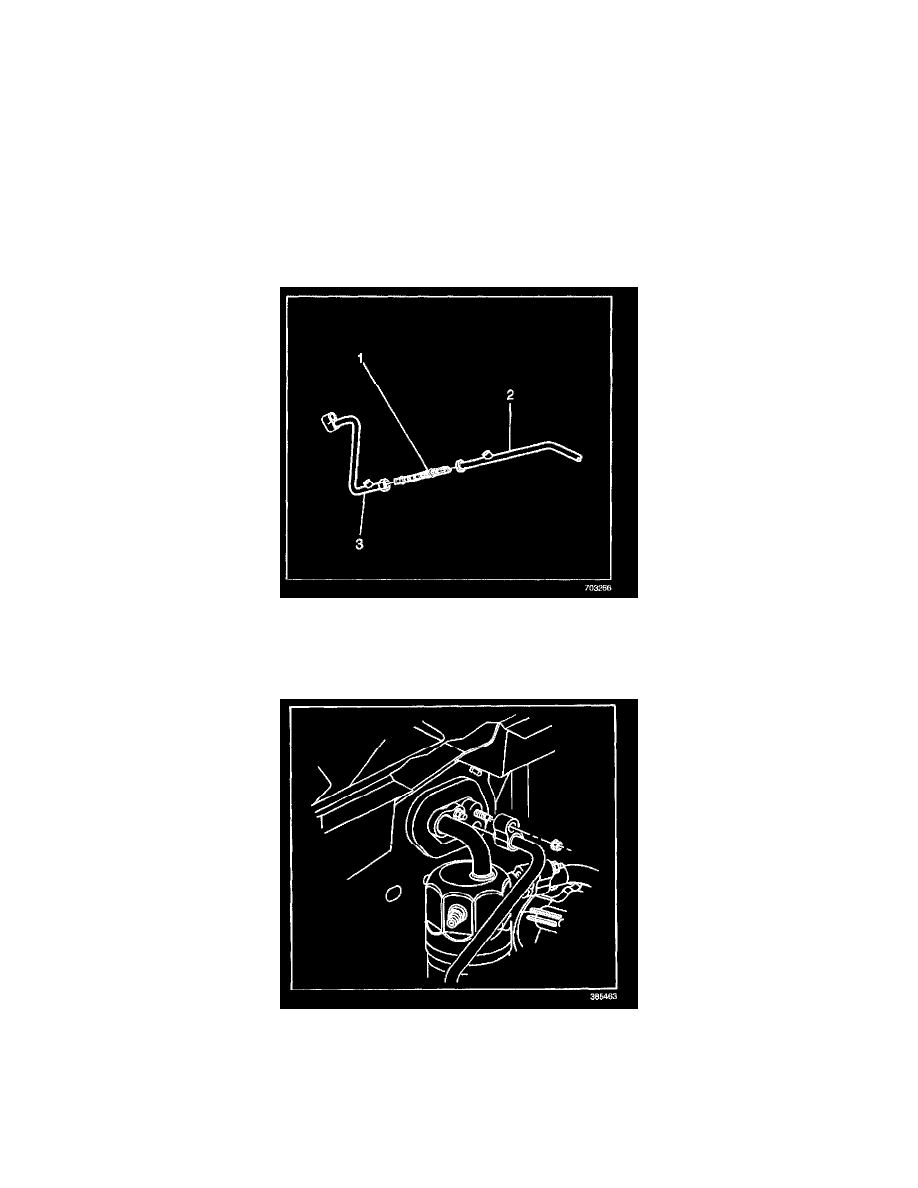
6. Install the nut (2) to the evaporator fitting.
Tighten
Tighten the nut to 16 Nm (12 lb ft).
7. Install the compressor hose to the accumulator.
8. Install the compressor hose nut to the accumulator.
Tighten
Tighten the nut to 16 N.m (12 lb ft).
9. Connect the electrical connector to the A/C low pressure switch.
10. Install the nut to the evaporator tube (3).
Tighten
Tighten the nut to 25 N.m (18 lb ft).
11. Install the evaporator tube to the evaporator.
12. Install the evaporator tube nut to the evaporator.
Tighten
Tighten the nut to 16 Nm (12 lb ft).
13. Evacuate and recharge the system. Refer to Refrigerant Recovery and Recharging.