
Camaro V6-173 2.8L (1983)
Intake Manifold: Service and Repair
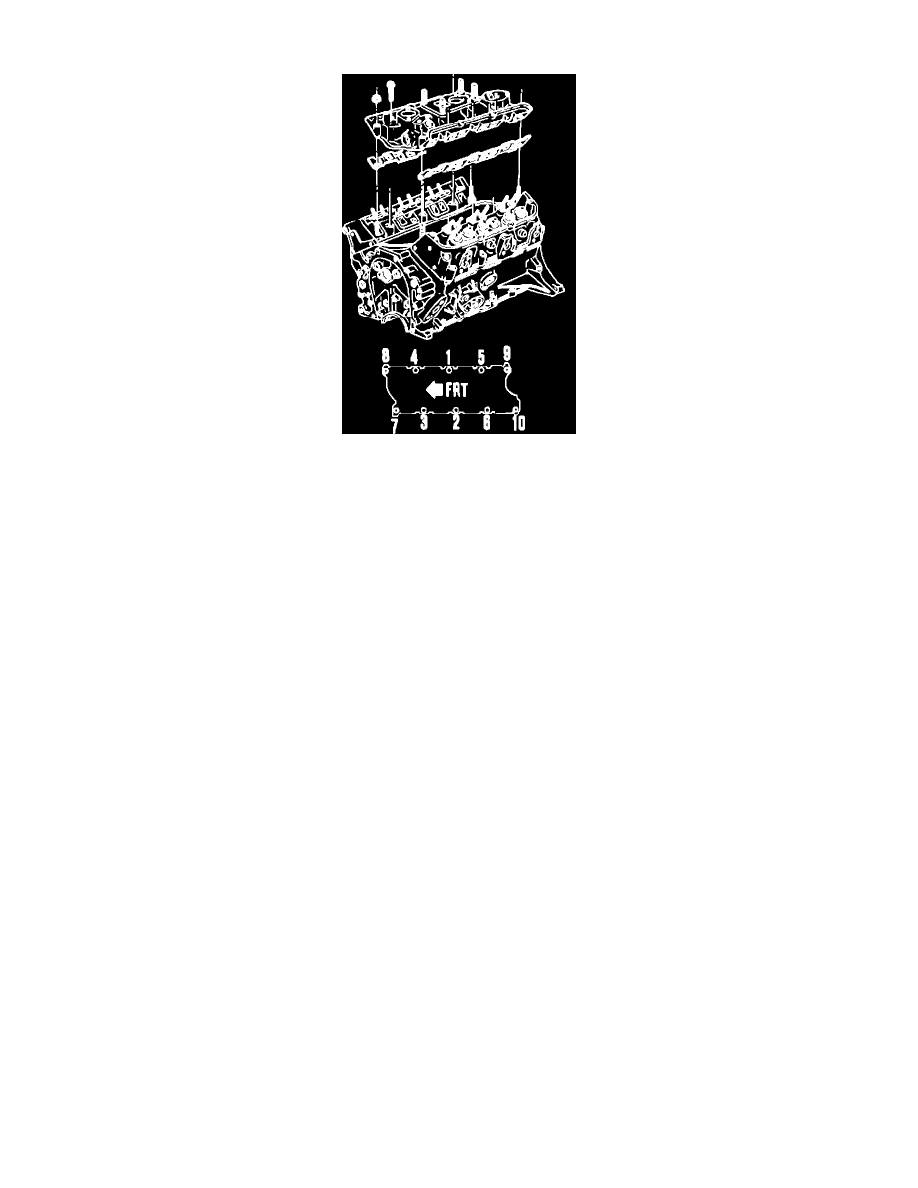
Fig. 4 Intake manifold tightening sequence. V6-173
V6-173
1982-84
1.
Disconnect battery ground cable, remove air cleaner and drain cooling system.
2.
Disconnect necessary electrical connectors and vacuum hoses, noting position for installation.
3.
Disconnect fuel line and accelerator, cruise control and transmission cables, as equipped.
4.
Disconnect high tension leads from spark plugs and disconnect wiring from coil.
5.
Remove distributor cap and plug wire assembly.
6.
Rotate crankshaft until No. 1 cylinder is at TDC on compression stroke, mark position of distributor rotor and remove distributor.
7.
Remove air injection hoses, disconnect canister hose and remove pipe bracket from left valve cover.
8.
Remove left valve cover and air management bracket, then remove right valve cover.
9.
Disconnect upper radiator and heater hoses from manifold.
10.
Disconnect coolant switches and remove manifold retaining bolts.
11.
Remove manifold and thoroughly clean old gasket and sealer from mating surfaces.
12.
Ensure surfaces are clean and dry, then apply 3/16 bead of RTV sealer on each block ridge, install gaskets and secure gasket position by extending
bead of sealer approximately 1/4 inch onto gasket ends. New gaskets must be cut to fit behind pushrods. When installing gaskets, note left
and right side markings.
13.
Install manifold and retaining bolts, ensuring areas between case ridges and manifold are completely sealed.
14.
Torque manifold bolts to specifications in sequence shown in Fig. 4, then reverse remaining procedure to complete installation.