
Camaro V6-3.8L VIN K (1995)
6. Nuts (101).
7. Mirror assembly (109).
INSTALL OR CONNECT
1. Mirror assembly (109).
2. Tighten nuts (101) to 6 Nm(53 lb. in.).
3. Electrical connector, if equipped.
^
Connect electrical connector.
^
Push rosebud clip on electrical connector into hole in mirror assembly (109).
4. Front side door trim assembly, if removed.
5. Remote handle to bezel assembly (84), if equipped.
^
Align slot in remote handle to tab on bezel assembly (84).
^
Push remote handle into bezel assembly (84) to engage threads on remote handle onto metal clip in bezel assembly (84).
6. Bezel assembly (84).
^
Align retainers in bezel assembly (84) to holes in applique assembly.
7. Tighten bolt/screw (85) to 4 Nm (35 lb. in.).
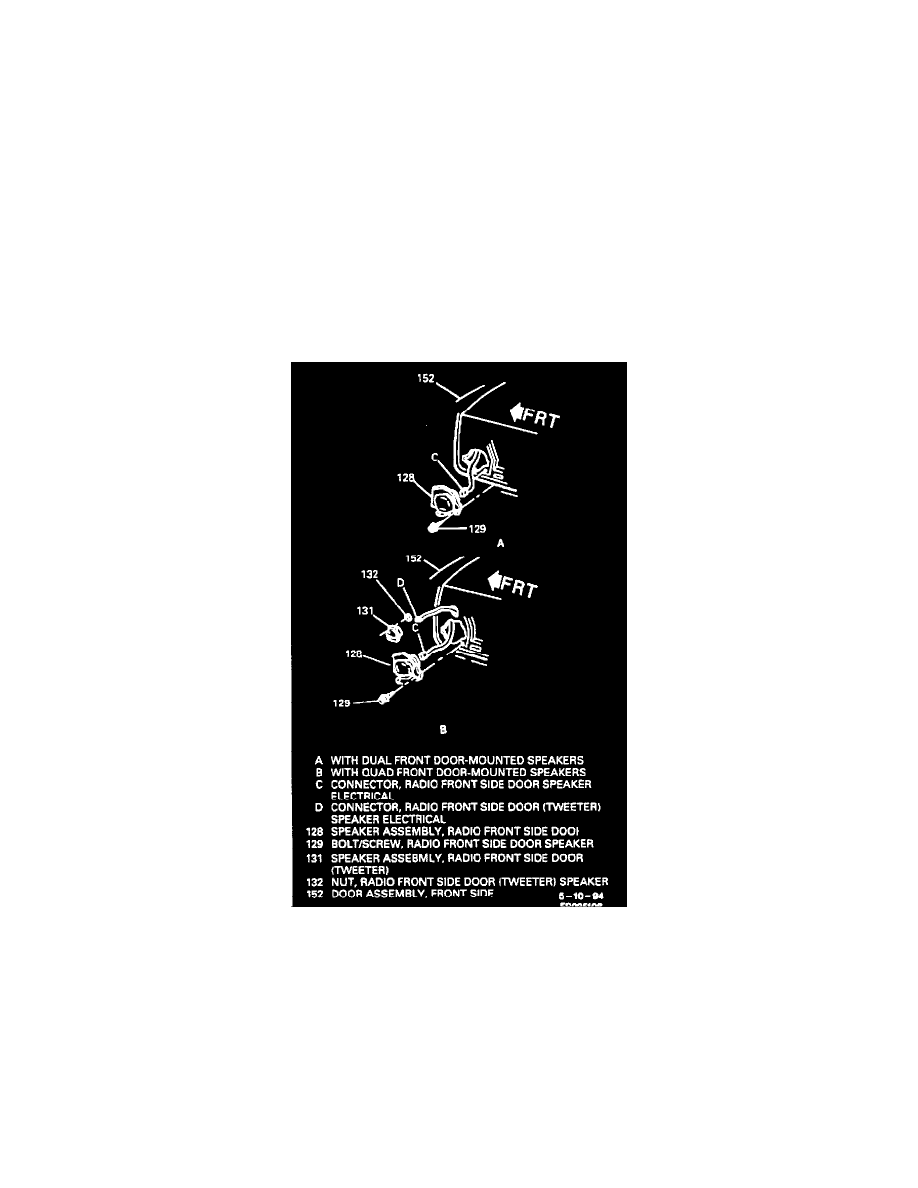
Radio Front Side Door (Tweeter) Speaker Assembly
Removing Radio Front Side Door Speaker Assembly -(Pontiac)
Firebird Shown (Camaro may be similar)
REMOVE OR DISCONNECT
1. Front side door trim assembly.
2. Nuts(132).
3. Speaker assembly (131).
INSTALL OR CONNECT
1. Speaker assembly (131).
2. Nuts (132).
3. Front side door trim assembly.