
Camaro V8-6.2L (2010)
Body Emblem: Technical Service Bulletins
Accessories - Molded Splash Guard Revised Installation
INFORMATION
Bulletin No.: 09-08-111-003
Date: May 12, 2009
Subject: Accessory Molded Splash Guard - Revised Installation Instructions
Models:
2010 Chevrolet Camaro
Built Prior to VIN Breakpoint A9107218
Inspection
When installing accessory molded splash guards, the "GM" emblem mounted on the lower front fender may interfere with the splash guard. This
interference may prevent the splash guard from fitting flush with the painted surface of the fender.
The factory placement of the GM "Mark Of Excellence" emblem may prevent a flush contact between the molded splash guard and the painted surface
of the fender. There should be a 10 mm (0.40 in) gap between a properly installed molded splash guard and the GM "Mark Of Excellence" emblem.
Before attempting to install the molded splash guard kit, measure the distance between the front edge of the GM emblem and the wheel opening. Ensure
that the distance is at least 82 mm (3.2 in). If this dimension is correct, proceed with the installation instructions provided
with the molded splash guard kit.
Revised Installation Instruction
If the measurement is less than 82 mm (3.2 in), proceed with the following steps to relocate new emblems in the correct location.
1. Clean the area using a general purpose adhesive cleaner.
2. Install a piece of masking tape along the lower edge of the existing emblem. Ensure that the tape is parallel with the lower edge of the fender.
Caution:
Use a plastic, flat-bladed tool to prevent paint damage when removing an emblem/name plate.
3. Remove the existing emblem. Clean any adhesive residue with general purpose adhesive cleaner.
4. Measure back 82 mm (3.2 in) from the wheel opening. Mark this location on the tape.
5. Install the new emblem with the front edge of the emblem even with the marked location.
6. Repeat Steps 1-5 on the opposite side of the vehicle.
7. Proceed with the installation instructions provided with the molded splash guard kit.
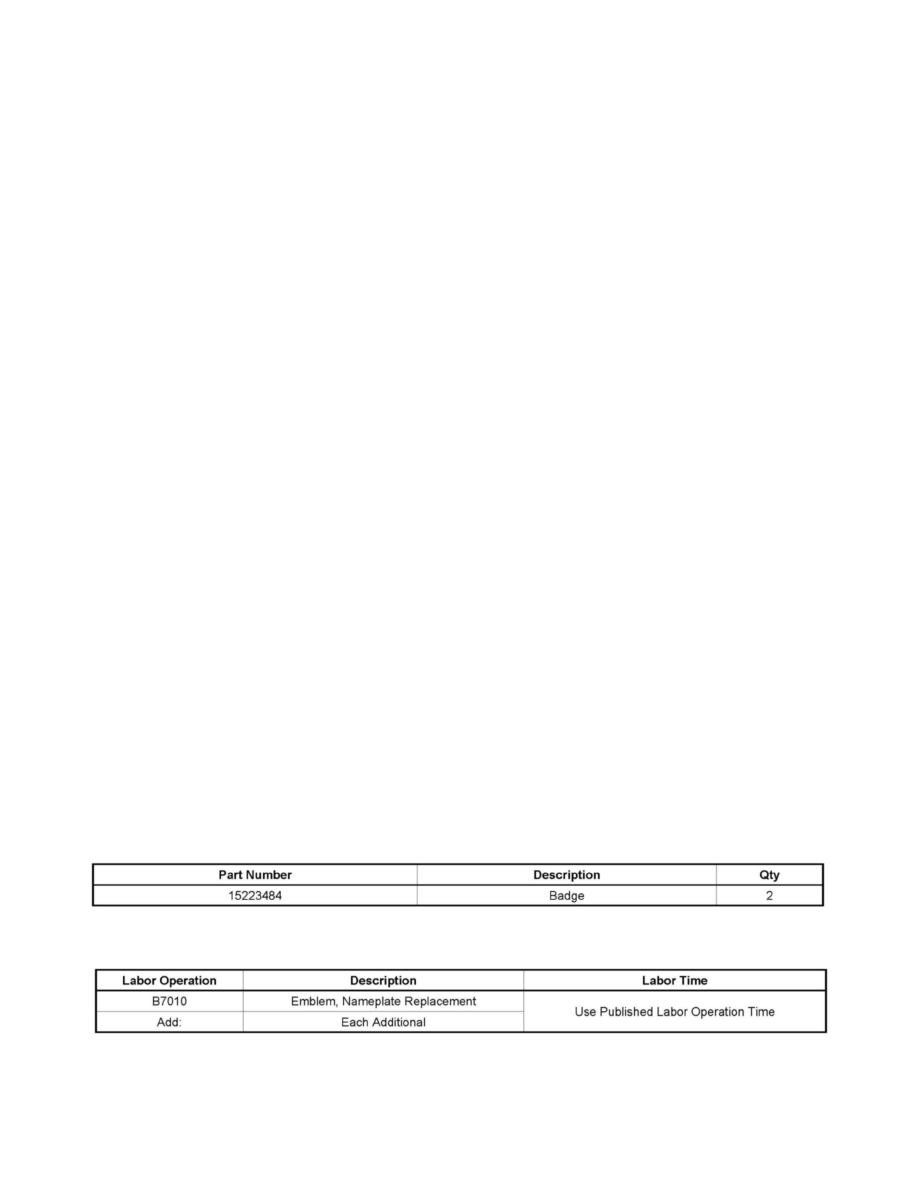
Parts Information
Warranty Information