
Camaro V8-6.2L (2010)
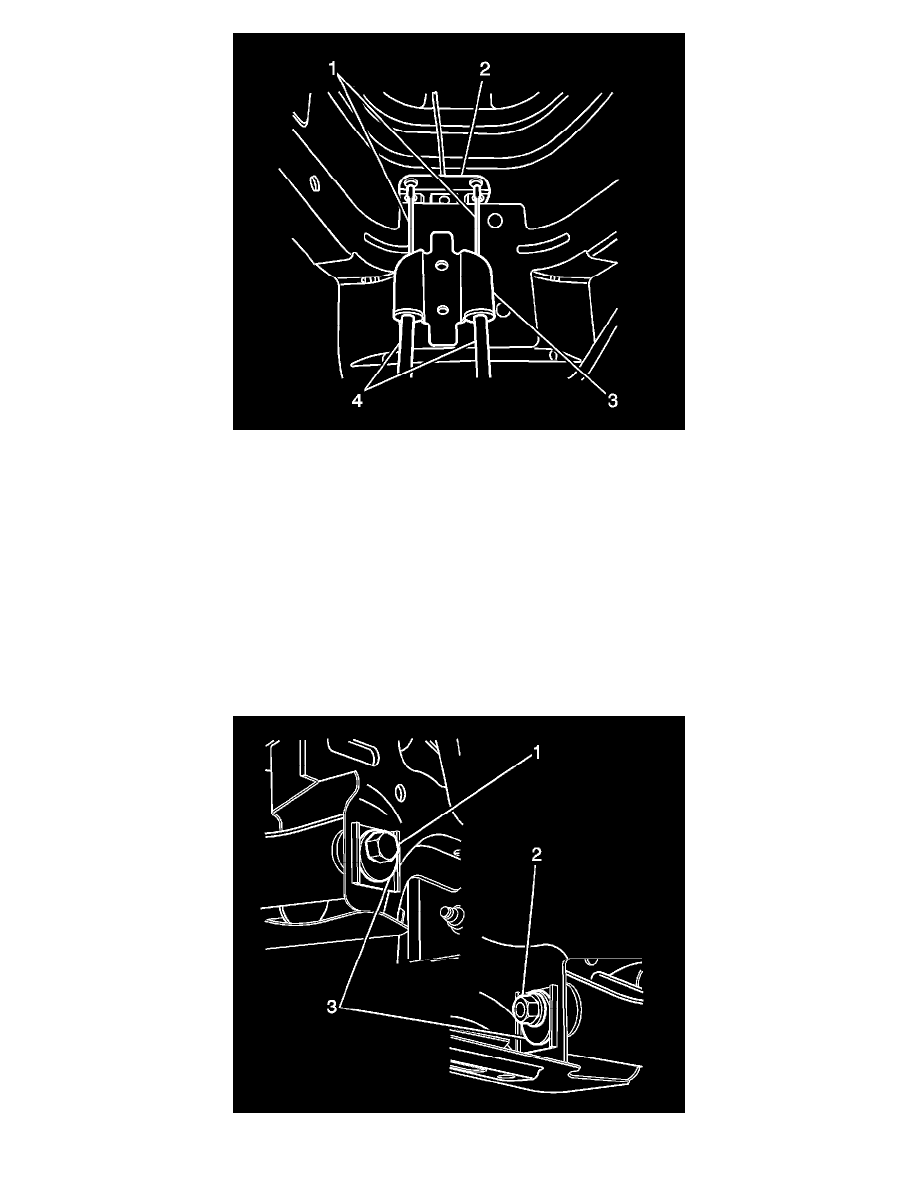
36. Install the outer cable (4) to the vehicle underbody bracket (3).
Make sure that the outer cables (4) are properly seated in the vehicle underbody bracket (3).
Note: Wrap a workshop cloth around the rear inner cable (1) to protect it from damage. Using pliers, pull the rear inner cable (1) forward and
downwards to install the ball nipple to the front park brake cable and equalizer bracket assembly (2).
37. Install the rear inner cables (1) to the front park brake cable and equalizer bracket assembly (2).
38. Install the differential. Refer to Differential Replacement ().
39. Install the drive shafts. Refer to Rear Wheel Drive Shaft Replacement ().
40. Install the rear strut assembly. Refer to Shock Absorber Replacement ().
41. Install the propeller shaft. Refer to Two-Piece Propeller Shaft Replacement ().
42. Install the exhaust system. Refer to Exhaust Muffler with Resonator, Exhaust, and Tail Pipe Replacement ().
43. Install the rear wheel. Refer to Tire and Wheel Removal and Installation ().
44. Lower the vehicle to the ground.
45. Bounce the vehicle several times to settle the suspension.
Note: The lower control arm to the subframe retaining bolt (1) and nut (2) eccentric washers (3) are used to adjust rear suspension camber.