
Camaro V8-6.2L (2010)
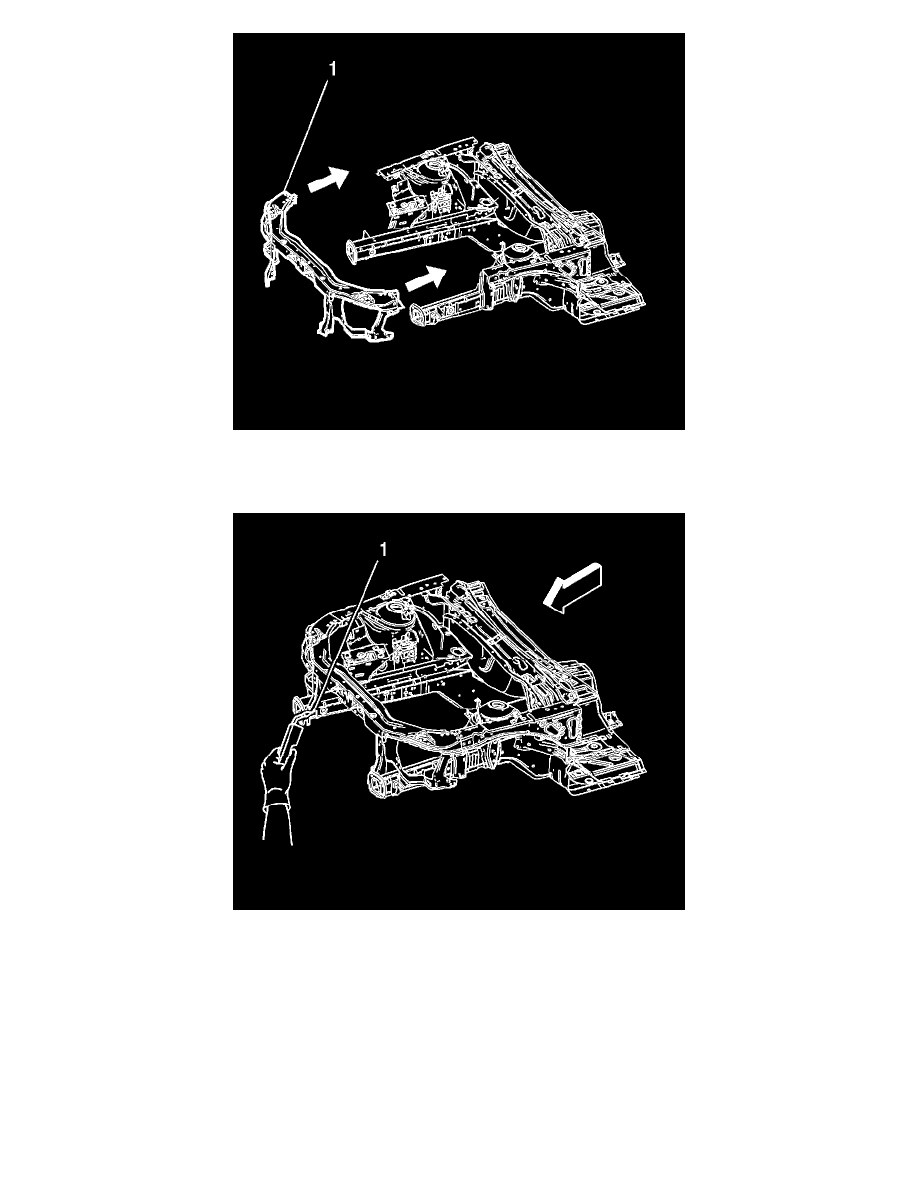
4. Position the new front end upper tie bar (1).
5. Clamp service parts in position.
6. Inspect the vehicle for proper dimensions using 3-dimensional equipment.
7. Plug weld accordingly (1).
8. Clean and prepare all welded surfaces.
9. Apply the sealers and anti-corrosion materials to the repair area, as necessary. Refer to Anti-Corrosion Treatment and Repair ().
10. Paint the repair area. Refer to Basecoat/Clearcoat Paint Systems (See: Paint, Striping and Decals/Paint/Application and ID/Basecoat/Clearcoat
Paint Systems).
11. Install all related panels and components.
12. Connect the negative battery cable. Refer to Battery Negative Cable Disconnection and Connection (See: Starting and Charging/Battery/Battery
Cable/Negative/Service and Repair/Battery Negative Cable Disconnection and Connection).
13. Enable the SIR system. Refer to SIR Disabling and Enabling (See: Interior Moulding / Trim/Dashboard / Instrument Panel/Air Bag(s) Arming
and Disarming/Service and Repair).