
Camaro V8-6.2L (2010)
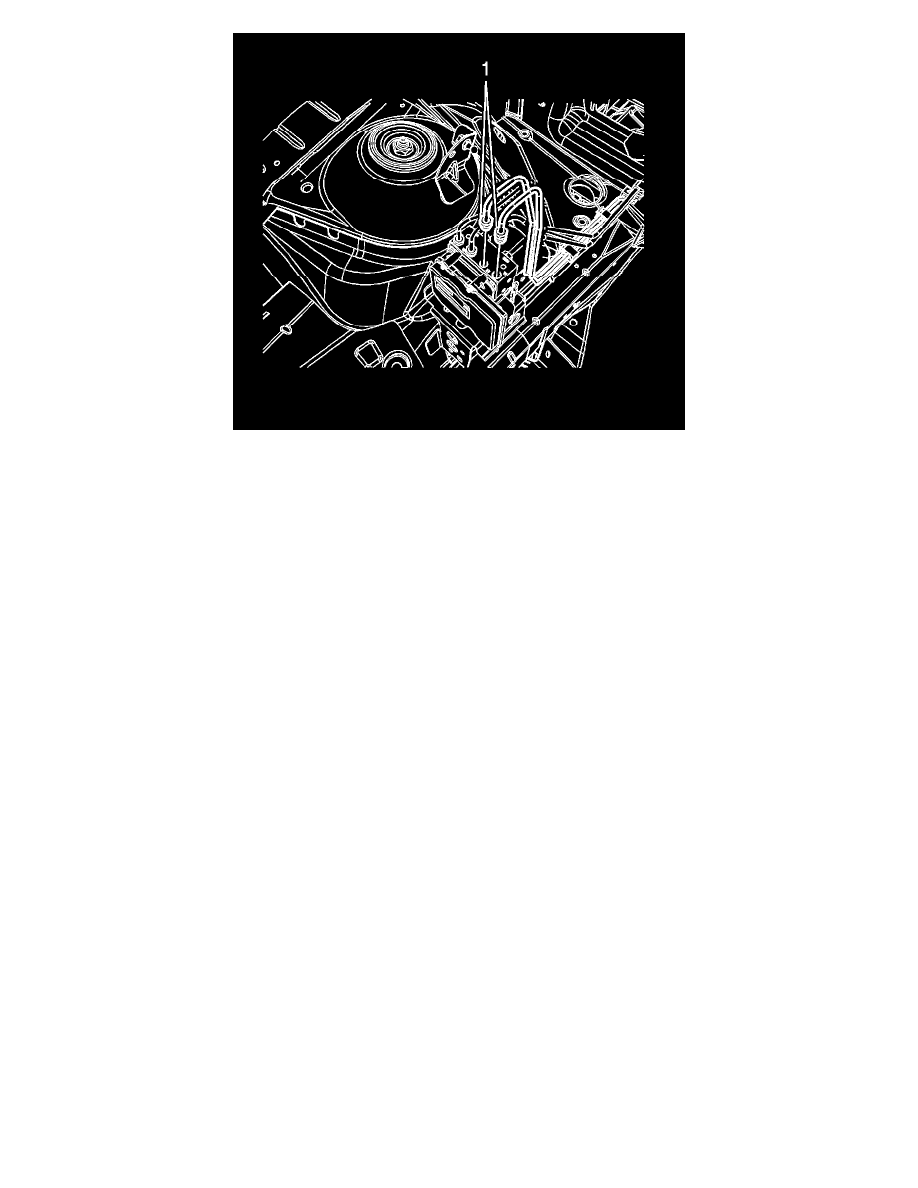
Note: Note the brake pipe locations for proper installation.
8. Connect the rear brake pipe fittings (1) to the BPMV and tighten to 16 Nm (12 lb ft).
9. Connect the EBCM electrical connector.
10. Bleed the hydraulic brake system. Refer to Hydraulic Brake System Bleeding (See: Brake Bleeding/Service and Repair).
11. Perform the Diagnostic System Check - Vehicle (See: Testing and Inspection/Initial Inspection and Diagnostic Overview/Diagnostic System
Check - Vehicle).
12. Observe the brake pedal feel after performing the diagnostic system check. If the pedal now feels spongy, air may have been in the secondary
hydraulic circuit of the brake modulator which may have been introduced into the primary circuit. If the pedal feels spongy, perform the Antilock
Brake System Automated Bleed (See: Brake Bleeding/Service and Repair).