
Camaro V8-6.2L (2010)
Do not attempt to order the calibration number from GMSPO. The calibration numbers required for this service procedure are programmed into control
modules via a Multiple Diagnostic Interface (MDI) and TIS2WEB with the calibration update. Use TIS2WEB on or after 09/16/09 to obtain the
calibration. If you cannot access the calibration, call the Techline Customer Support Center and it will be provided.
For step-by-step programming instructions, please refer to SI and the Techline Information System (TIS) terminal.
1. Verify that there is a battery charge of 12 to 16 volts. The battery must be able to maintain a charge during programming. Only use an approved
Midtronic 165-PSC charger to maintain proper battery voltage during programming.
2. Reprogram the HVAC Control Module. Refer to SI and Service Programming System (SPS) documentation for programming instructions, if
required.
1. Connect the MDI to the vehicle.
2. Select J2534 MDI and Reprogram ECU from the Select Diagnostic Tool and Programming Process screen.
3. Select ECC Remote Heater and Air Condition Control Module - Programming from the Supported Controllers screen. Refer to SI and Service
Programming System (SPS) documentation for programming instructions, if required.
4. Follow the on-screen instructions.
3. Using the MDI and GDS, clear all DTCs if required.
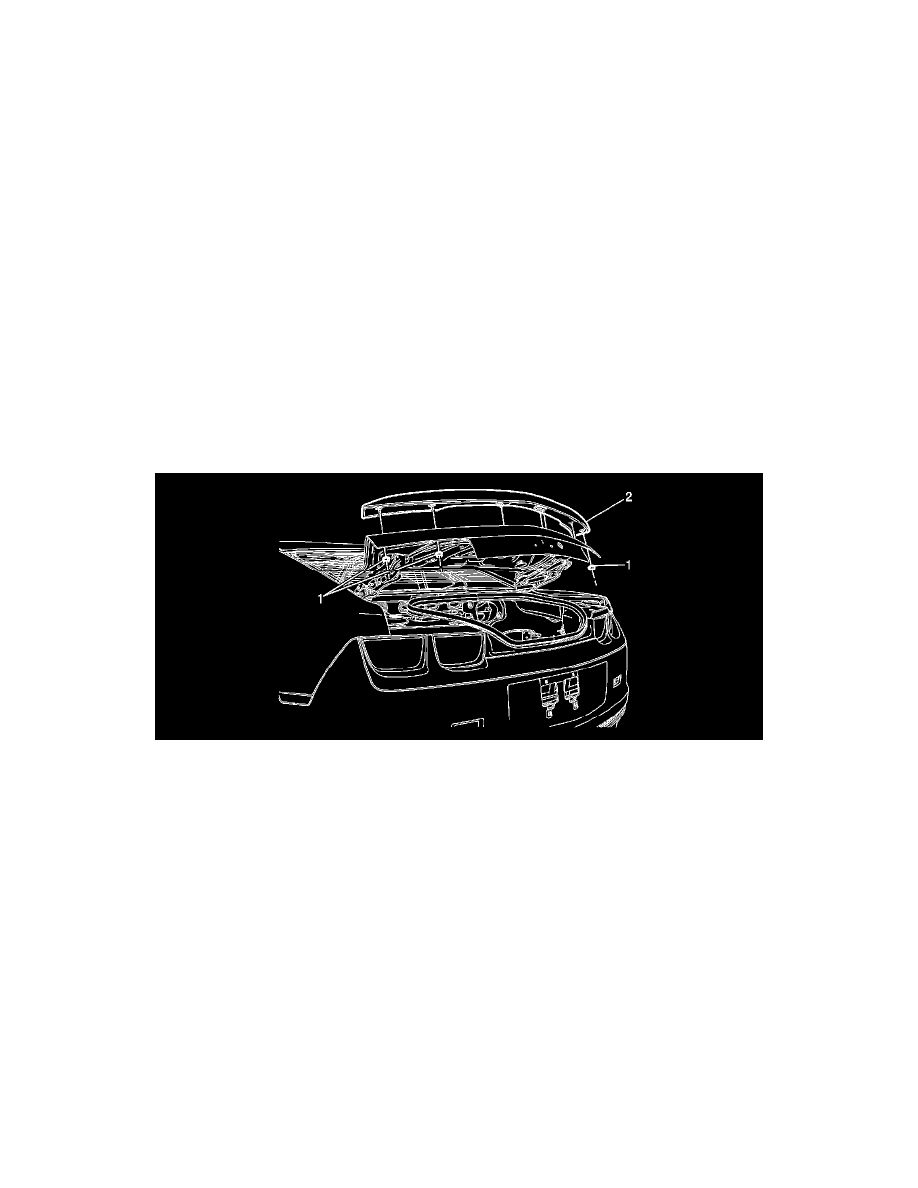
Vehicles Equipped with a Rear Spoiler
Note
This procedure is to be performed on vehicles with a rear spoiler and a VIN that is A9126194 or lower. VINs higher than A9126194 do not
require this repair.
Note
Perform the Rear End Spoiler repair during the programming event.
1. Remove six nuts that secure the rear spoiler to the compartment lid. Refer to Rear End Spoiler Replacement in SI. If any nuts are missing, locate
them to ensure that they are not trapped where they can cause a rattle. If you cannot find them, replace them.
2. Apply LOCTITE(R) 242(R) to the rear spoiler studs.
3. Install and tighten six nuts to the rear spoiler studs. Tighten nuts to 6 Nm (53 lb in).
All Vehicles Equipped with a V8 Engine
Note
Perform the hose clamp-to-harness bracket clearance inspection during the programming event.
1. Open the hood.