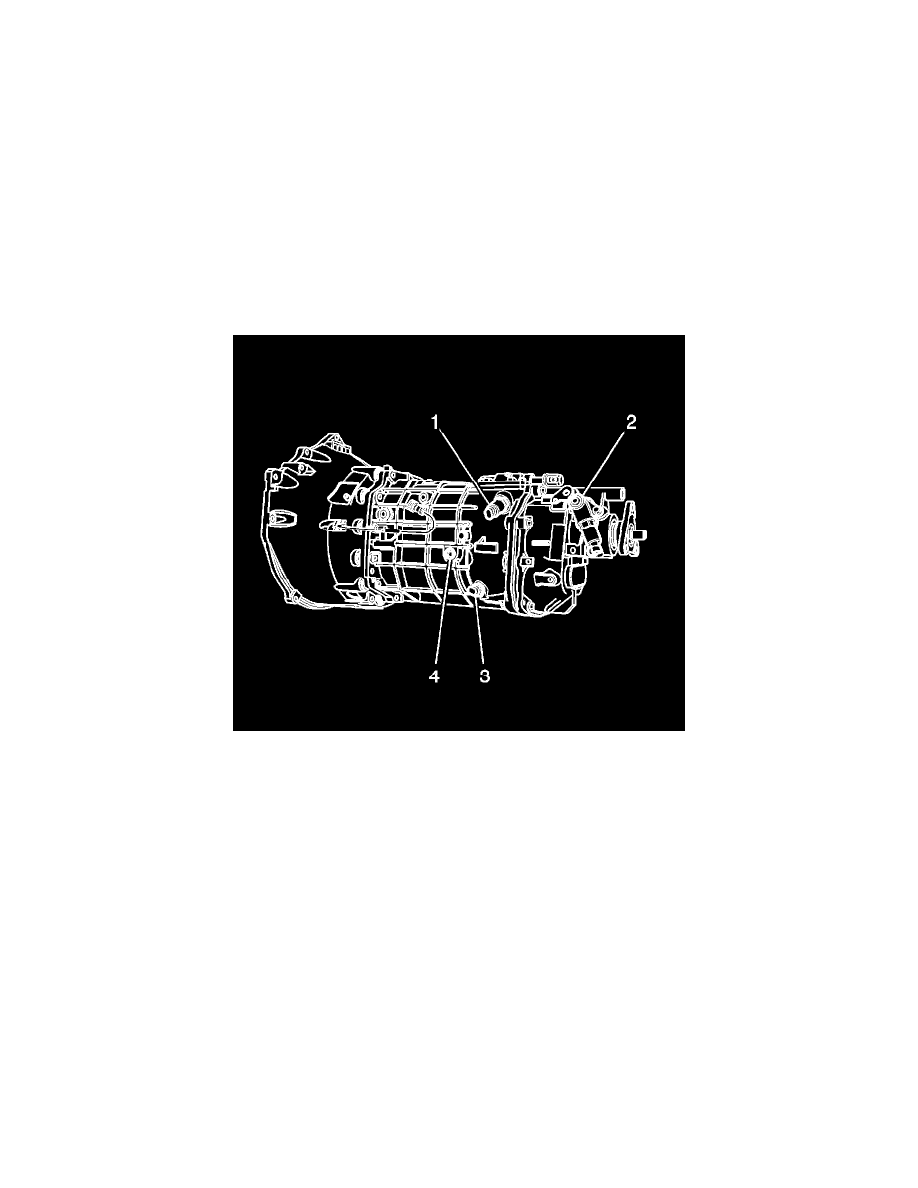
Camaro V8-6.2L (2010)

Shift Solenoid: Service and Repair
Gear Select/Skip Shift Solenoid Replacement
Gear Select/Skip Shift Solenoid Replacement
Removal Procedure
1. Raise and suitably support the vehicle. Refer to Lifting and Jacking the Vehicle (See: Maintenance/Vehicle Lifting/Service and Repair)
2. Remove the exhaust system. Refer to Exhaust Muffler with Resonator, Exhaust, and Tail Pipe Replacement (See: Engine, Cooling and
Exhaust/Exhaust System/Muffler/Service and Repair/Exhaust Muffler with Resonator, Exhaust, and Tail Pipe Replacement)
3. Remove the propeller shaft. Refer to Two-Piece Propeller Shaft Replacement (See: Drive/Propeller Shafts, Bearings and Joints/Drive/Propeller
Shaft/Service and Repair/Two-Piece Propeller Shaft Replacement)
4. Support the transmission with a suitable jack.
5. Remove the transmission support retaining fasteners from the vehicle body.
6. Slightly lower the transmission to gain access to the solenoid.
7. Disconnect the solenoid electrical connector.
8. Remove the solenoid (1) from the transmission.
Installation Procedure
