
Camaro V8-6.2L (2010)
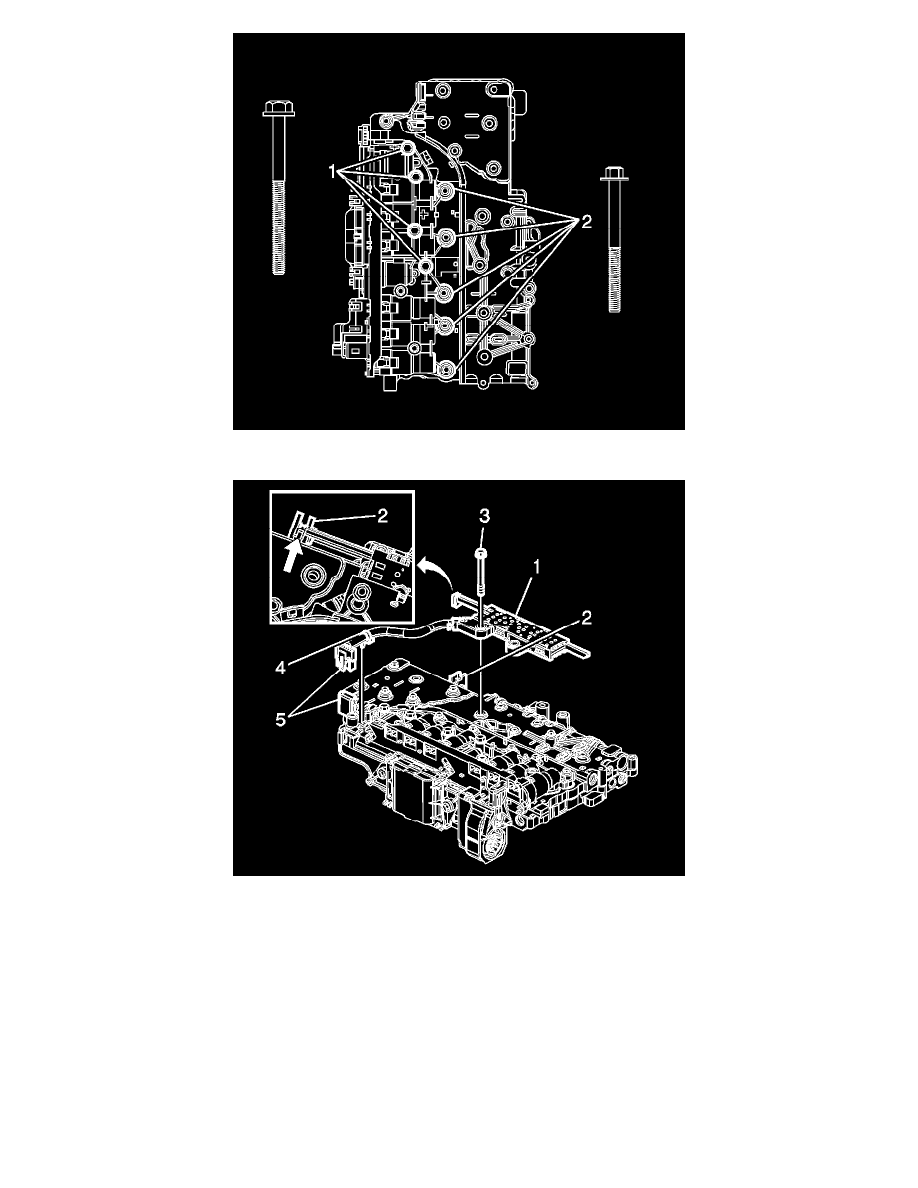
4. Install the 4 bolts (1) and 5 bolts (2) securing the control solenoid valve assembly to the control valve lower body assembly. Hand tighten only.
5. Install the manual shift shaft position switch assembly (1). Align the switch activator slide with the manual valve link. Secure with 1 bolt (3). Hand
tighten only.
Note: The wiring harness clip (4) on the manual shift shaft position switch does not need to be replaced if damaged or missing. The clip functions
only as a manufacturing assembly aid to keep the harness clear during an automated bolt installation process. If the clip is damaged, simply
remove and discard.
6. Connect and lock the manual shift shaft position switch electrical connector (5) to the control solenoid valve assembly and attach the wiring
harness clip (4).