
Camaro V8-6.2L (2010)
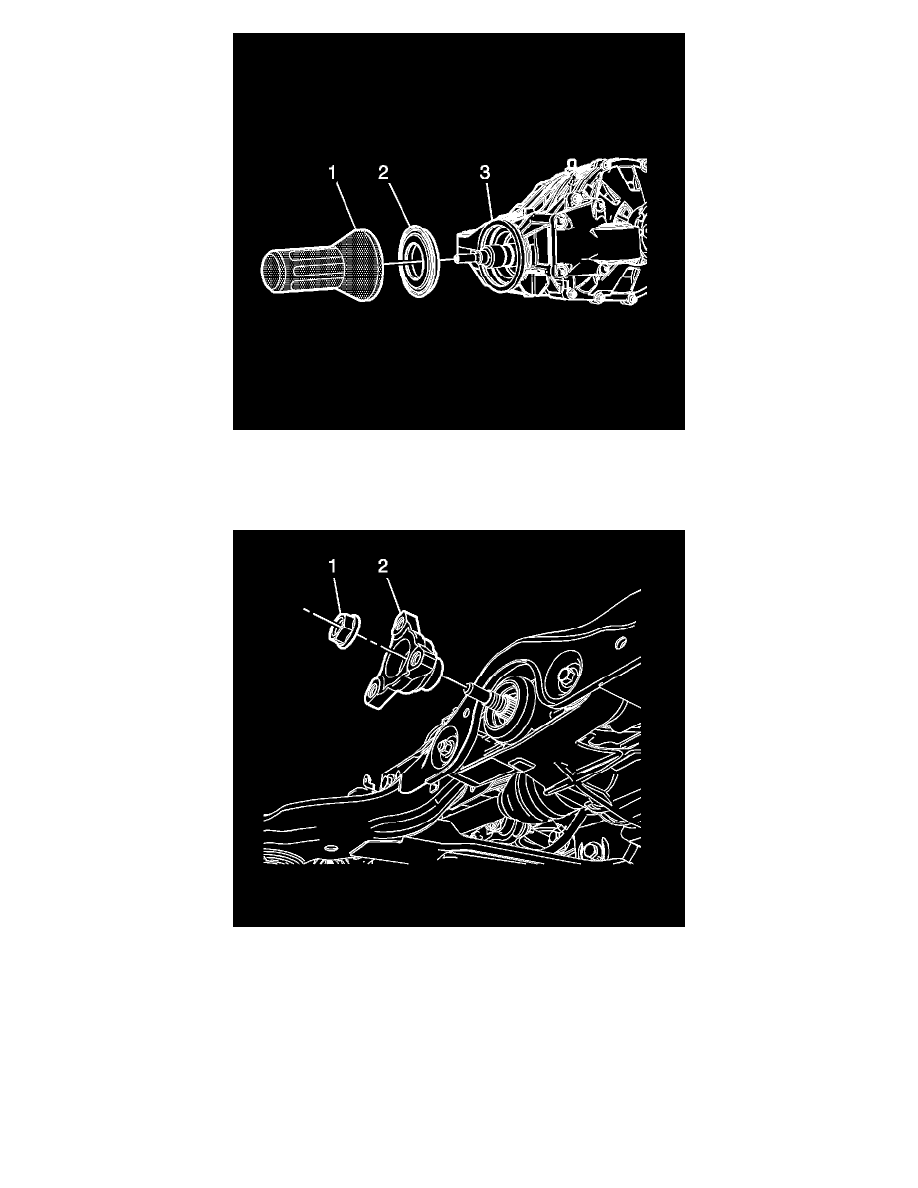
2. Using the appropriate tool (1), install the drive pinion seal (2) in the rear axle housing (3).
*
For the 195 mm rear differential, use the J 21128 - installer.
*
For the 218 mm rear differential, use the J 38694 - installer.
3. Position the drive pinion flange (2) on the drive pinion shaft.
Note: Install the drive pinion flange on the drive pinon shaft so that there 3 to 4 threads showing.
4. Using a brass hammer, tap the drive flange (2) on the drive pinion shaft.
5. Using the J 45019 - remover, install the drive flange.
6. Hand start the NEW drive pinon nut (1).
Note: Rotate the pinion while tightening the pinion nut to seat the bearings.
7. Using the J 45012 - fixture, tighten the drive pinion flange nut until the pinion end play is just taken up.
8. Using an inch-pound torque wrench and tightening in small increments, measure the rotating torque of the pinion until the reading is the same as