
Caprice Wagon RWD V8-305 5.0L (1991)
4.
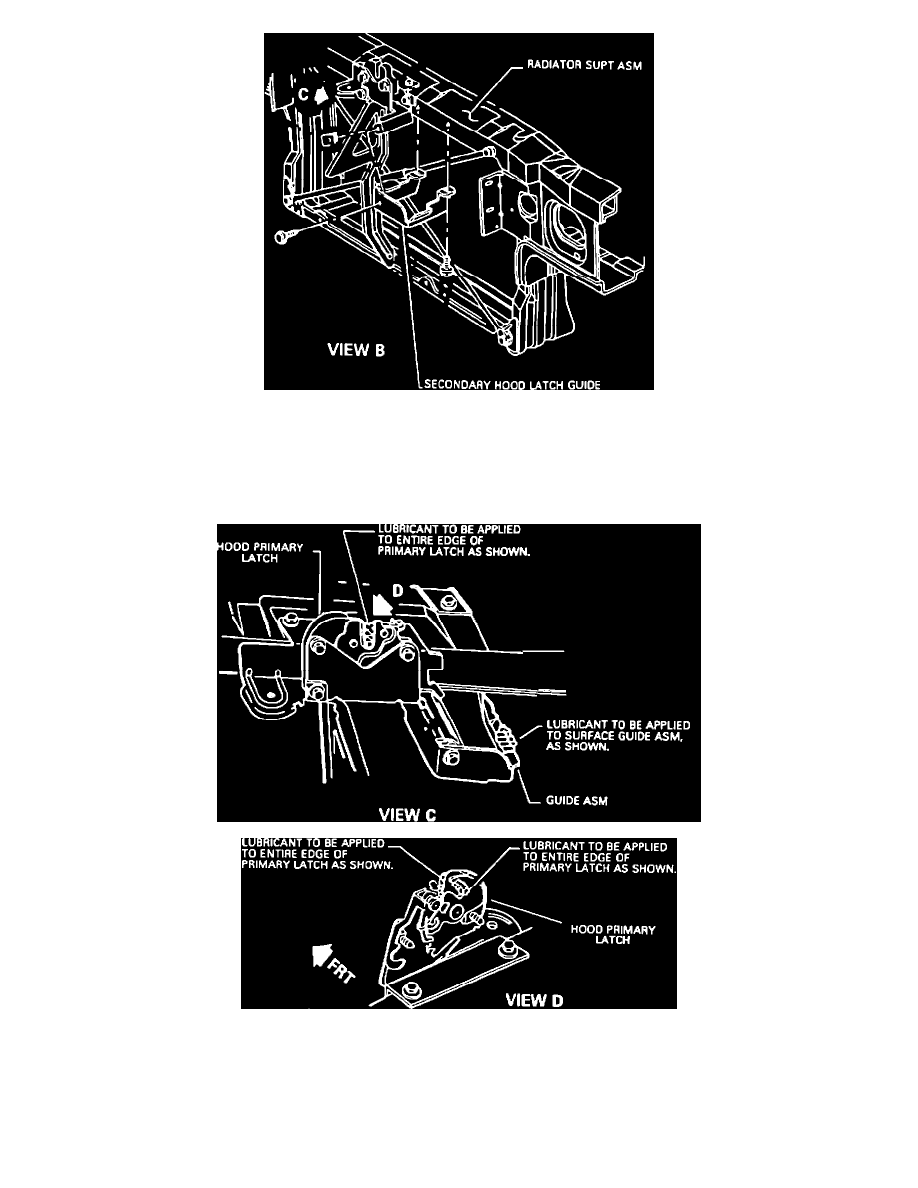
Remove three (3) secondary latch guide attaching bolts and remove guide from upper radiator support, see View B.
NOTICE:
It is helpful to disconnect the wiring harness clip from the radiator support to improve access to the rear attaching bolts.
5.
Position secondary latch guide to upper radiator support, install three (3) attaching bolts and torque to 10 N-m (89 lb.in.). Reconnect wiring harness
clip (removed in step 4) to radiator support.
6.
Apply coating of chassis grease (GM # 1052497 or equivalent) to primary hood latch pawl and contact areas of hood striker, see Views C and D.
7.
Lower hood to closed position several times to ensure proper operation.
8.
Install Campaign Identification Label.
Campaign Identification Label