
Cavalier L4-2.2L VIN 4 (1998)
8. Remove the nut (4) attaching the link (7-11) to the stabilizer shaft (3).
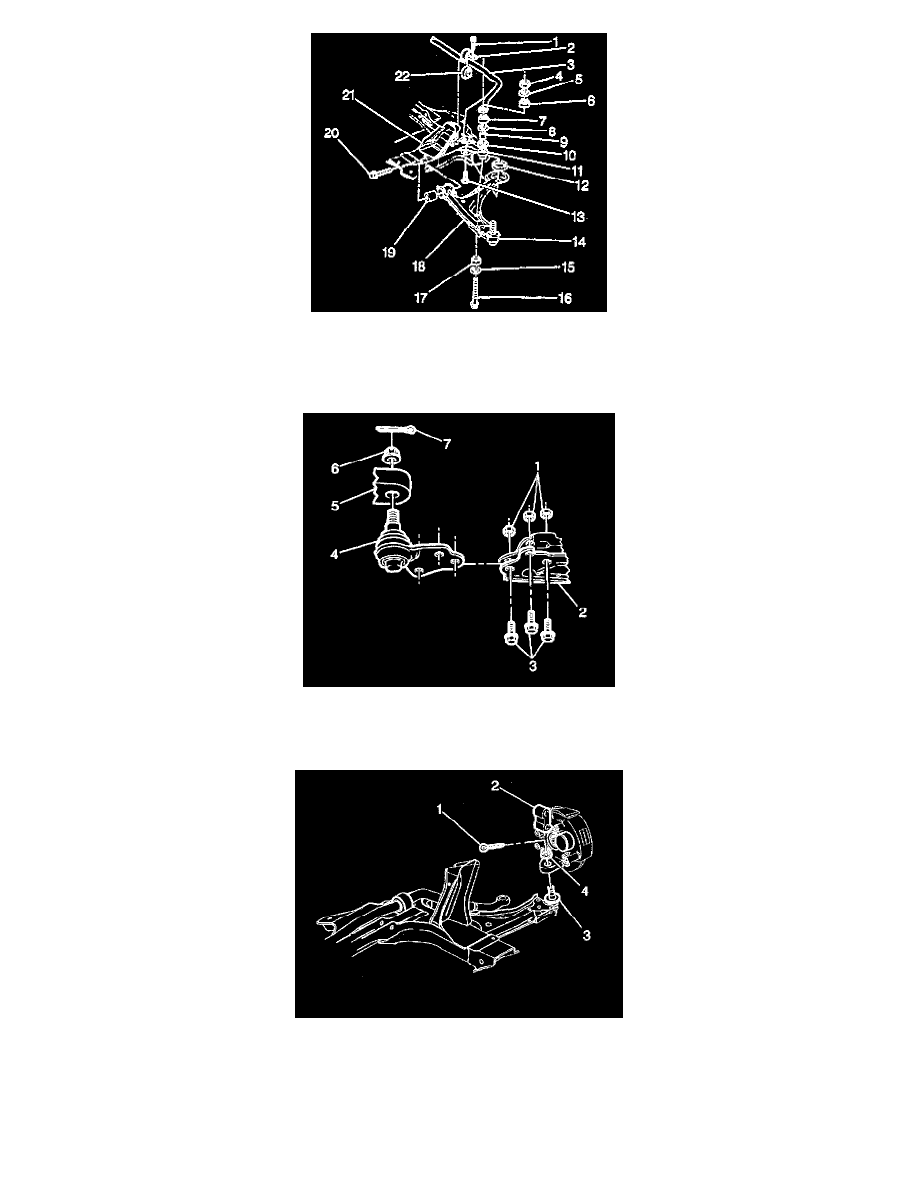
9. Remove the ball joint (4) from the steering knuckle and control arm (2).
INSTALLATION PROCEDURE
1. Install the ball joint (4) into the control arm, (2).
2. Install three ball joint bolts (3) and nuts (1). Follow the instructions from the ball joint kit. Tighten the bail joint bolts (3) according to the
specifications in the instructions.
3. Install the ball joint stud (3) through the steering knuckle (2).
NOTICE: Always use the correct fastener in the proper location. When you replace a fastener, use ONLY the exact part number for that
application. The manufacturer will call out those fasteners that require a replacement after removal. The manufacturer will also call out the
fasteners that require thread lockers or thread sealant. UNLESS OTHERWISE SPECIFIED, do not use supplemental coatings (paints, greases, or
other corrosion inhibitors) on threaded fasteners or fastener joint interfaces. Generally, such coatings adversely affect the fastener torque and joint