
Cavalier/Z24 L4-138 2.3L DOHC VIN D MFI (1995)
7.
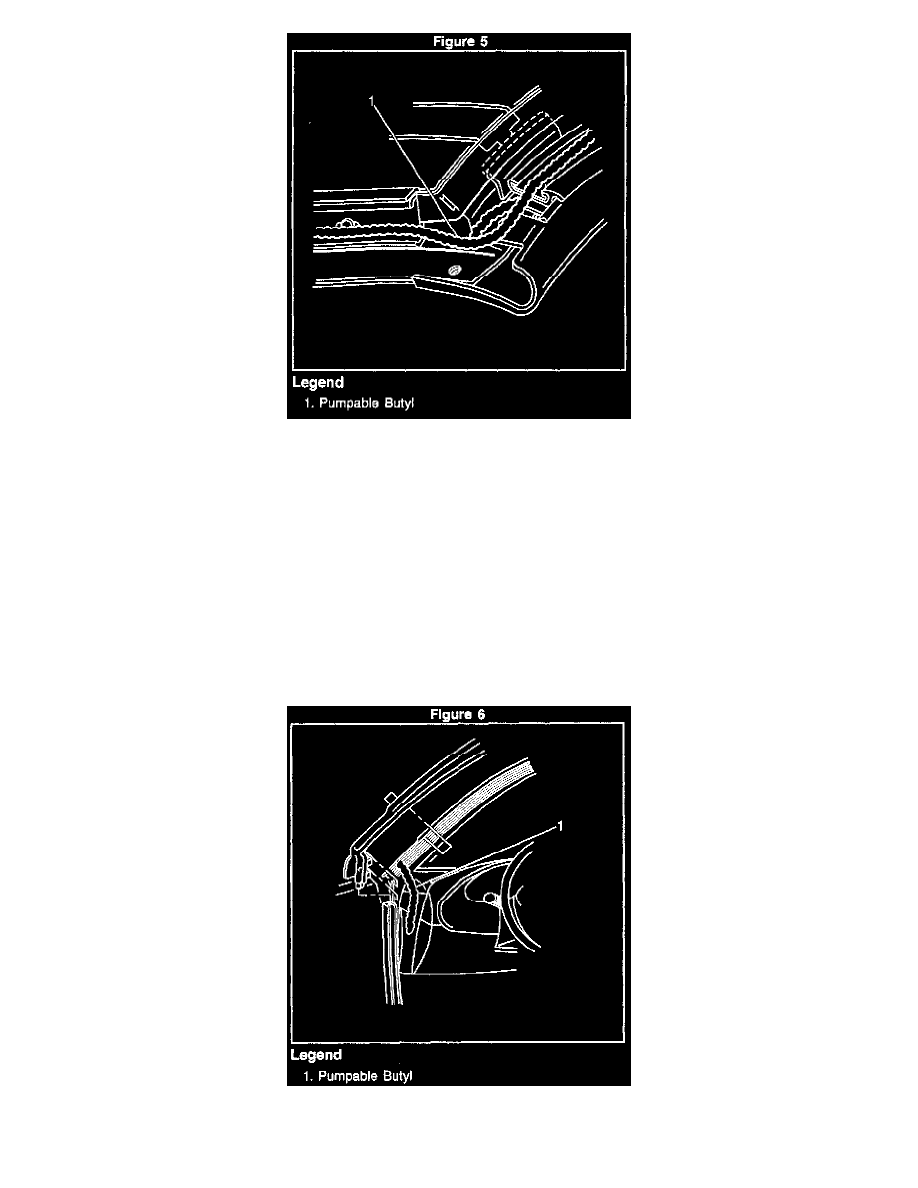
Continuous 4.8 mm (3/16 in.) diameter bead of pumpable butyl inside header weatherstrip retainer, out and down to both A-pillar weatherstrip
retainers. See Figure 5.
8.
Lay front header weatherstrip in position to the header retainer.
9.
Push-pin retainers to secure LH and RH ends of weatherstrip to header corners.
10.
Using a plastic trim stick or wheel-type installation tool, install the front of weatherstrip into the retainer.
11.
Bottom clips of weatherstrip at the A-pillar.
12.
Remove protective backing from the butyl tape.
13.
Smooth out weatherstrip in the header retainer to work out any wrinkles along header and at the A-pillars. Ensure the A-pillar corners of
weatherstrip do not excessively roll downward. Otherwise, the door glass, when closed, will pull seal downward more.
14.
Pumpable butyl at LH and RH bottom ends of the A-pillar part of the weatherstrip. See Figure 6.