
Cavalier/Z24 L4-144 2.4L DOHC VIN T SFI (1996)
5. Connect motor pack electrical connector.
6. Install air box assembly.
7. Clip to engine compartment fuse/relay center.
8. Battery to vehicle.
9. Air cleaner duct clamps and electrical connections.
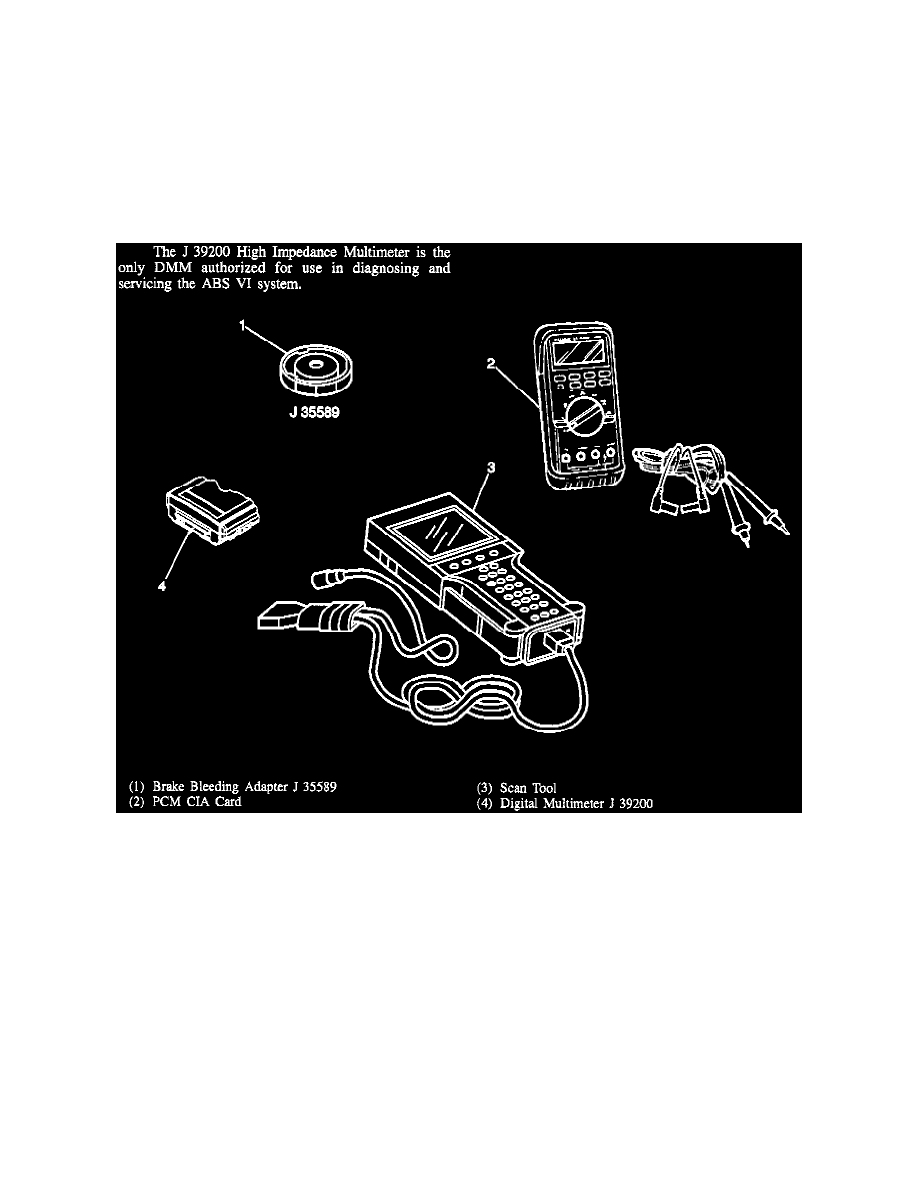
10. Using Tech 1, perform "rehome" procedure.
Gear Replacement
GEAR REPLACEMENT
CAUTION: To help avoid personal injury, due to a retained load on the ABS hydraulic modulator, the gear tension relief function of the
Tech 1 must be performed prior to removal of the ABS hydraulic modulator/master cylinder assembly.
NOTICE: The following service procedures shall be performed only after the ABS hydraulic modulator/master cylinder assembly has been removed
from the vehicle. Do not perform these procedures with the unit installed on the vehicle. Complete overhaul of the ABS hydraulic modulator/ master
cylinder assembly is not authorized -only the following steps. These steps will break the unit down into major components for replacement purposes.
Important
^
Do not attempt to repair damaged motor packs or hydraulic modulators. Other than modulator drive gears replacement, repair of these assemblies
is not authorized. Do not lubricate or oil gears on motor pack.
CAUTION: The modulator drive gears are under spring load and will turn during disassembly. After removing hydraulic modulator drive
gear cover, exercise extreme care not to place fingers into the gear set, since fingers can be pinched by rotating gears.
Remove or Disconnect
1. Hydraulic modulator/master cylinder assembly. Refer to "Hydraulic modulator/master cylinder Assembly" in this section.
2. Torx® head screws attaching gear cover.
3. Four motor pack to hydraulic modulator Torx® head screws.