
Chevette L4-98 1.6L (1982)
-
Repair area by applying a brushable medium body sealer.
-
Re-water test.
-
Reinstall fender and continue diagnosis at Step 5.
C.
Coach Joint Leak
-
Dig out and remove as much of the existing sealer as possible using a suitable tool.
NOTICE:
Loosening of the fender may be required as per windshield pillar to cowl joint flange repair procedure (B).
-
Apply a flow grade paintable sealer to the joint and force the sealer into the gap.
-
Refinish area as required after testing is complete.
-
Retest with water only and continue diagnosis at Step 8.
D.
Mig Weld Windshield Opening Lower Corner
-
Slide the escutcheon located at the lower centerline of the vinyl reveal moulding to one side.
-
Pry one (1) edge of the moulding out of the urethane.
-
When the moulding is removed about 75 mm (3 inches), grasp the moulding by hand and slowly pull away from the body.
-
DO NOT remove the entire moulding but stop about 75 mm (3 inches) up from the bottom of the windshield opening.
-
Cut away any loose urethane that is exposed in the MIG weld area.
-
At this point, inspect for any corrosion or damaged metal around the MIG weld area and repair as necessary using established procedures.
-
Clean and reprime exposed areas with the primer supplied in the windshield repair kit (GM P/N 9636067 or equivalent).
-
Trim the lower barb off the reveal moulding using a sharp knife.
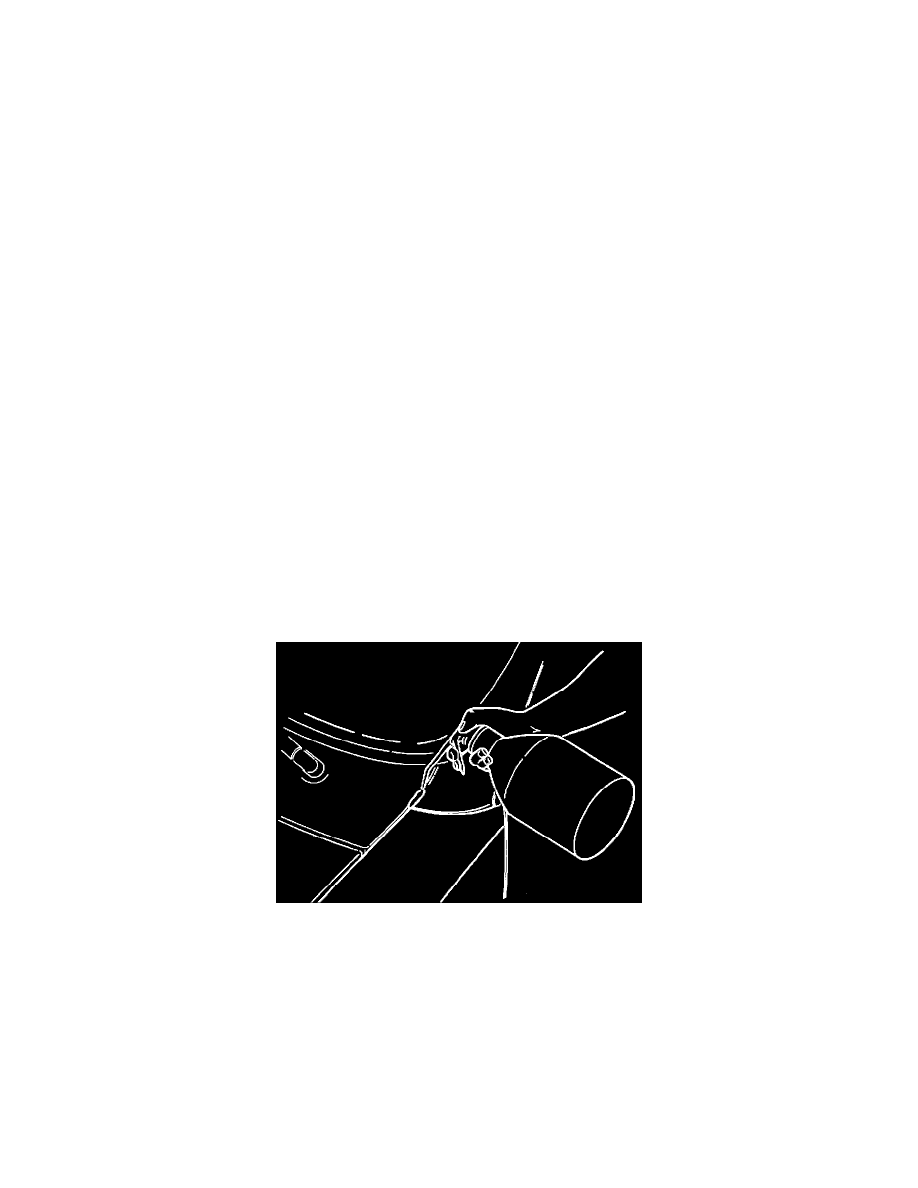
FIGURE 12 - Apply Urethane
-
Apply enough urethane in exposed areas to fill gap and to retain the reveal moulding.
-
Force the moulding back into place.
NOTICE:
Tape may be required to hold the moulding in place until the urethane cures.
-
Flood the area with lukewarm water in order to cure the urethane.
-
Slide the escutcheon back into place.
E.
Windshield Water Leak