
Chevette L4-98 1.6L (1982)
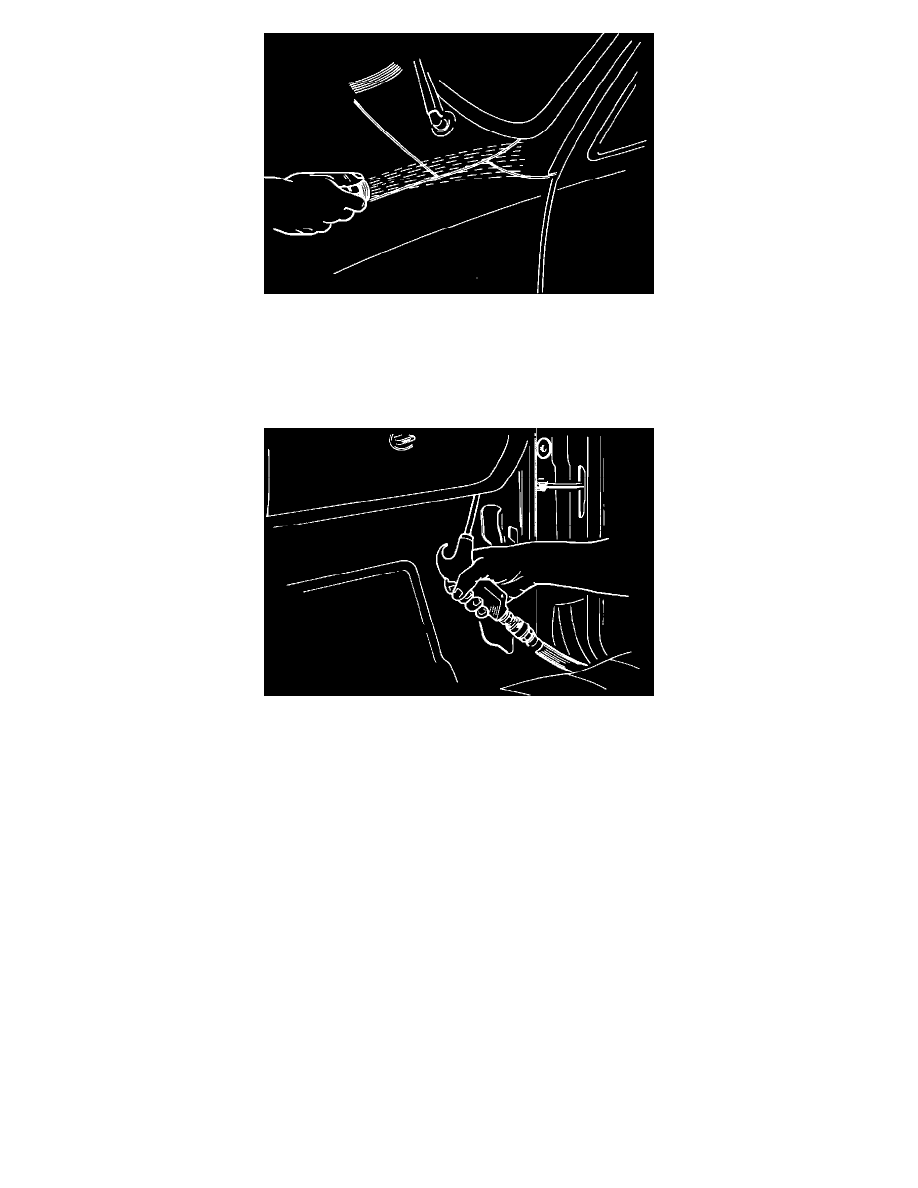
FIGURE 6 - Coach Joint
5.
Remove the tape from coach joint and retest for leaks with an unrestricted water flow as shown in Figure 6.
If not water enters the vehicle, the coach joint and lower windshield opening MIG weld are OK, proceed to Step 8 and water test the windshield for
leaks.
FIGURE 7 - Pressure Application to Access Holes
OR
If water is now entering the vehicle, it may be due to a poor seal at the coach joint, or a gap in the MIG weld at the windshield lower corner.
Proceed as follows to locate the problem.
6.
Insert an air nozzle into one of the upper access holes behind the kick pad and apply low pressure air (less than 205 KPA/30 PSI) (see Figure 7) .
It may be helpful to attach a length of copper tubing to the air gun.