
Colorado 2WD V8-5.3L (2009)
3. Rotate the rear edge of the headliner towards the rear of the cab with the forward edge of the headliner under the steering wheel.
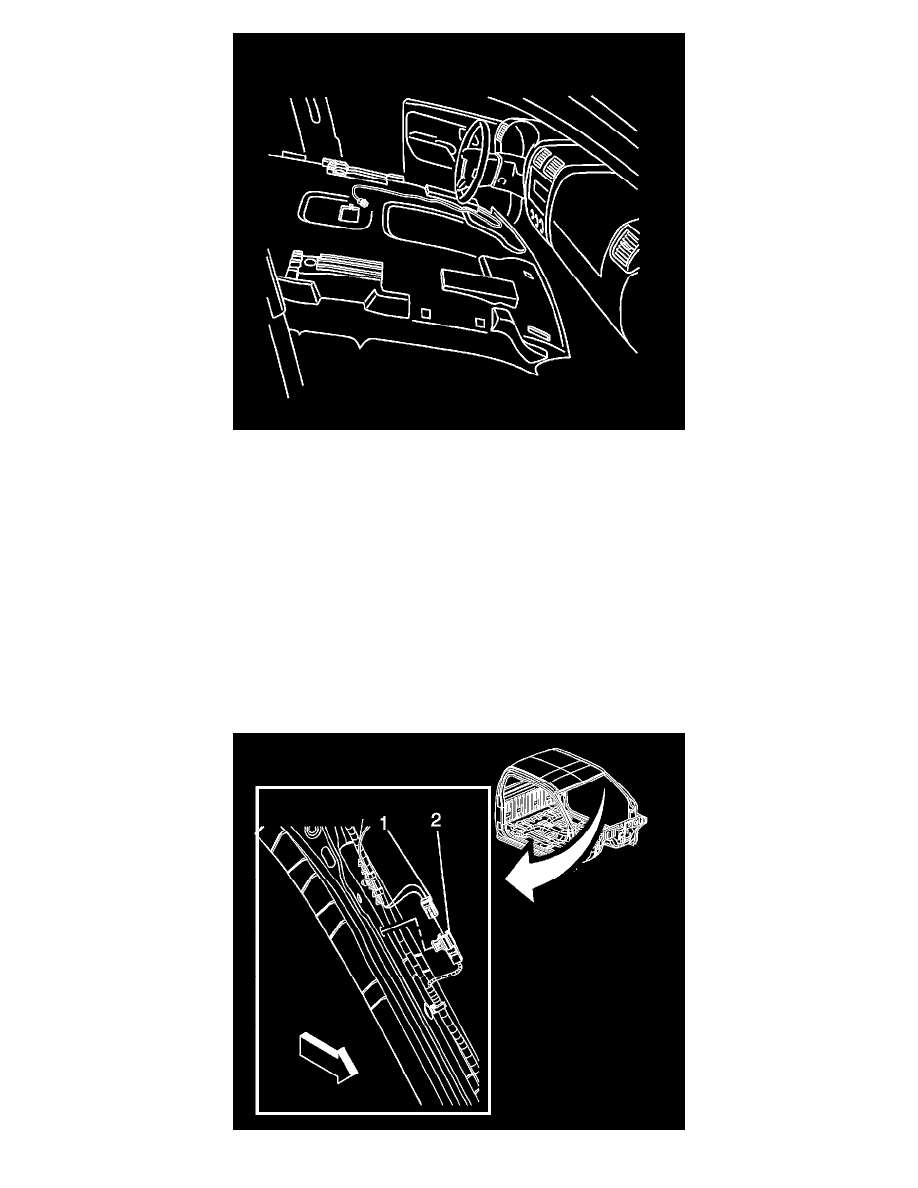
4. Ensure that the roof rail air bag tethers will not be obstructed by the installed headliner.
5. Raise the headliner into position and install the rear push pin into the roof.
6. Install the 6 push pins securing the headliner to the row bow.
7. Install the headliner above the door weather strips.
8. Install the inboard sunshade retainers. Refer to Sunshade Replacement (See: Sun Visor/Service and Repair).
9. Install the sunshades. Refer to Sunshade Replacement (See: Sun Visor/Service and Repair).
10. Install the passenger assist handle and the driver assist handle or assist handle blank. Refer to Assist Handle Replacement (See: Passenger Assist
Handle/Service and Repair).
11. Install the coat hook. Refer to Coat Hook Replacement (See: Service and Repair).
12. Install the dome lamp. Refer to Dome Lamp Replacement (See: Lighting and Horns/Dome Lamp/Service and Repair).
13. Install the upper body rear corner trim panels. Refer to Body Side Upper Trim Panel Replacement (Regular Cab, Extended Cab) (See: Trim
Panel/Service and Repair)Body Side Upper Trim Panel Replacement (Crew Cab) (See: Trim Panel/Service and Repair).
14. Install the lower body rear corner trim panels. Refer to Body Side Rear Lower Trim Panel Replacement (Regular Cab) (See: Trim Panel/Service
and Repair)Body Side Rear Lower Trim Panel Replacement (Crew Cab) (See: Trim Panel/Service and Repair)Body Side Rear Lower Trim Panel
Replacement (Extended Cab) (See: Trim Panel/Service and Repair).