
Colorado 2WD V8-5.3L (2009)
Oil Pan: Service and Repair
Oil Pan Replacement
Removal Procedure
1. Disconnect the negative battery cable. Refer to Battery Negative Cable Disconnection and Connection (See: Starting and
Charging/Battery/Battery Cable/Service and Repair).
2. Remove the oil level indicator tube. Refer to Oil Level Indicator and Tube Replacement (See: Engine Oil Dip Stick - Dip Stick Tube/Service and
Repair).
3. Remove the front differential, if equipped. Refer to Differential Carrier Assembly Replacement (See: Transmission and Drivetrain/Differential
Assembly/Differential Carrier/Service and Repair).
4. Drain the engine oil. Refer to Engine Oil and Oil Filter Replacement (See: Engine Oil/Service and Repair).
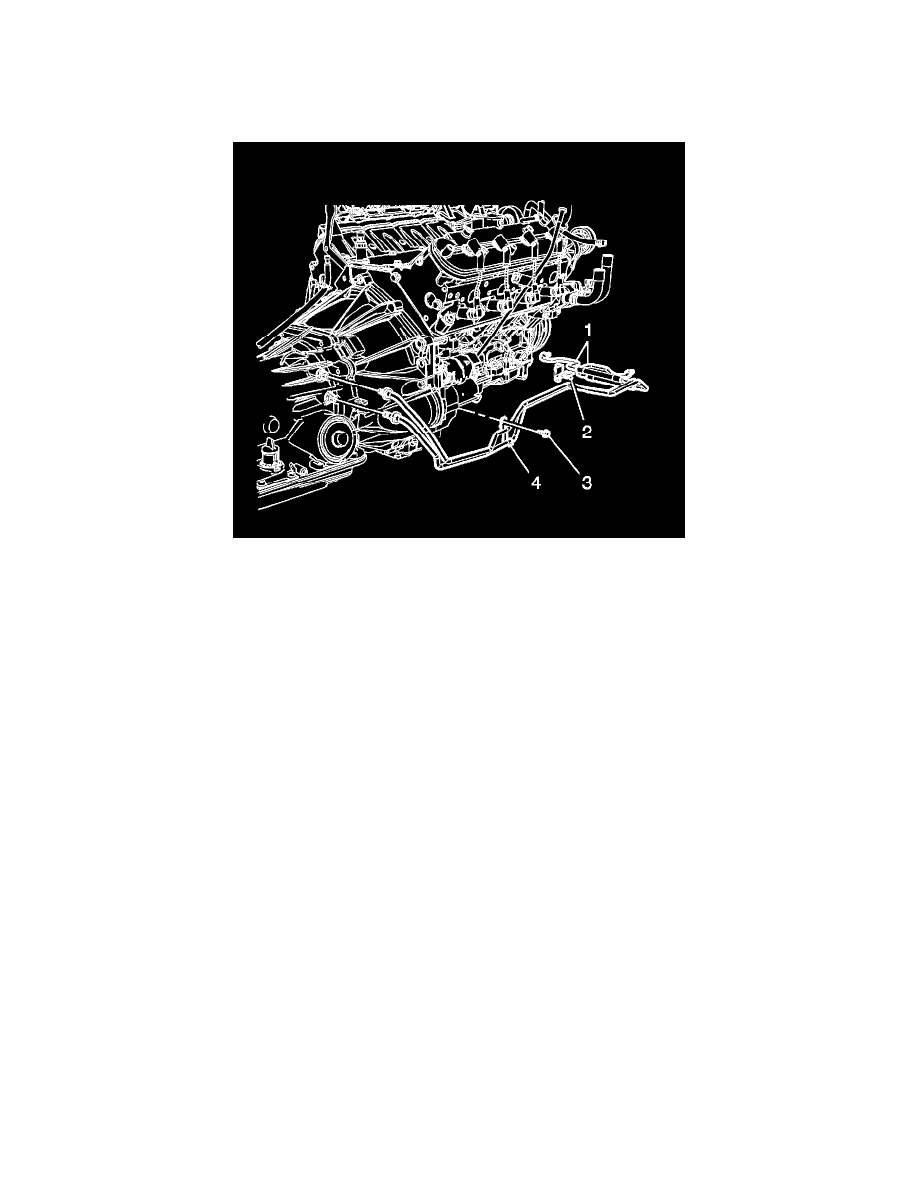
5. Remove the transmission oil cooler lines (1) from the retainer (2).
6. Remove the transmission oil cooler line retaining bracket bolt (3) and bracket (4).
7. Remove the inner axle shaft. Refer to Front Drive Axle Inner Shaft and Inner Shaft Housing Replacement (See: Transmission and
Drivetrain/Differential Assembly/Service and Repair/Removal and Replacement/Front Drive Axle/Front Drive Axle Inner Shaft and Inner Shaft
Housing Replacement).
8. Remove the starter. Refer to Starter Motor Replacement (LLV/LLR) (See: Starting and Charging/Starting System/Starter Motor/Service and
Repair)Starter Motor Replacement (LH8) (See: Starting and Charging/Starting System/Starter Motor/Service and Repair).
9. Remove the flywheel inspection cover from the left side of the transmission.