
Colorado 2WD V8-5.3L (2009)
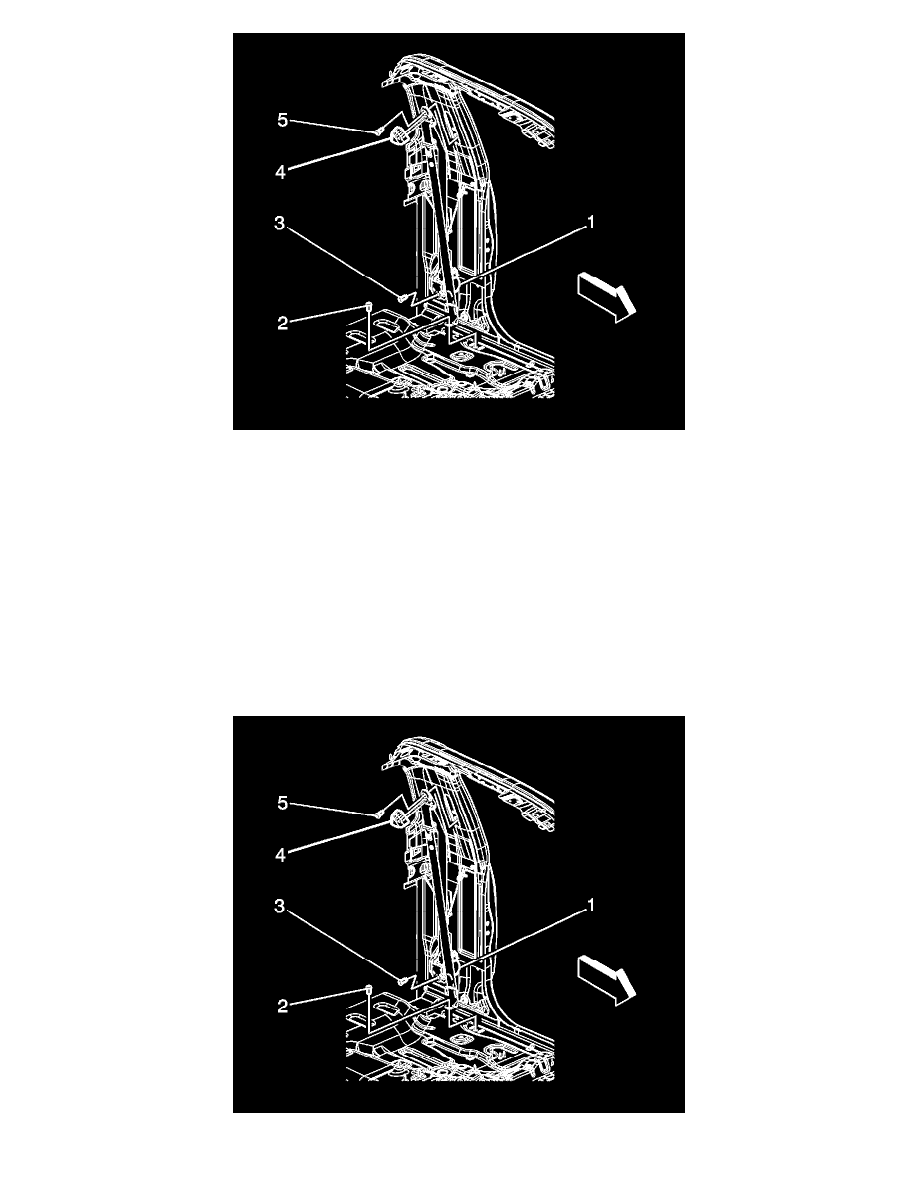
2. Open the front seat belt upper guide shoulder bolt trim cover (4).
3. Remove the front seat belt upper guide shoulder bolt (5).
4. Remove the body rear corner trim panel. Refer to Body Side Rear Lower Trim Panel Replacement (Regular Cab) (See: Body and Frame/Interior
Moulding / Trim/Trim Panel/Service and Repair)Body Side Rear Lower Trim Panel Replacement (Crew Cab) (See: Body and Frame/Interior
Moulding / Trim/Trim Panel/Service and Repair)Body Side Rear Lower Trim Panel Replacement (Extended Cab) (See: Body and Frame/Interior
Moulding / Trim/Trim Panel/Service and Repair).
On extended cab models, the front seat belt retractor/pretensioner is located in the rear door, not the rear corner of the cab.
5. Remove the front seat belt anchor bolt (2).
6. Disconnect the electrical connector from the retractor/pretensioner (1).
7. Remove the bolt (3) that retains the seat belt retractor/pretensioner assembly to the body.
8. Remove the front seat belt assembly from the vehicle.
Installation Procedure
1. Position the rear seat belt retractor/pretensioner assembly to the vehicle.
Caution: Refer to Fastener Caution (See: Service Precautions/Vehicle Damage Warnings/Fastener Caution).