
Colorado 4WD L4-2.8L VIN 8 (2004)
Drive/Propeller Shaft: Service and Repair
Two Piece
Propeller Shaft Replacement - Two Piece
Removal Procedure
Notice: Refer to Propeller Shaft Notice in Service Precautions.
1. Place transmission in neutral.
2. Release the park brake, if applied.
3. Raise and support the vehicle.
Important: The service procedure will ensure the proper alignment of all U-Joint to the transmission, center bearing support and the rear drive axle
pinion flange.
4. Rotate the propeller shafts so that all the external clips are aligned.
5. Mark the rear propeller shaft to the pinion drive flange, center bearing support, and transmission.
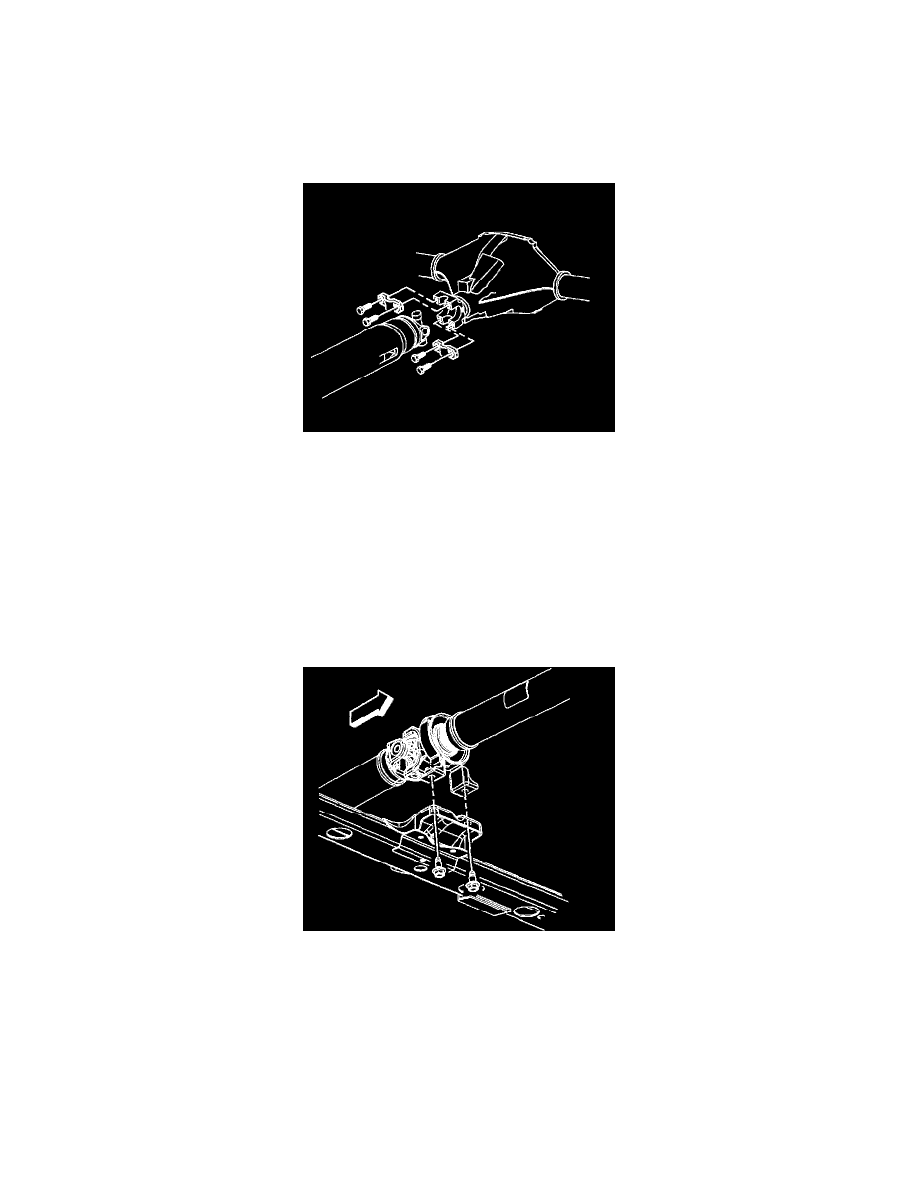
6. Remove the clamps and retaining bolts for the rear propeller shaft at the pinion drive flange and the center bearing.
7. Using tape or a rubber band, wrap the rear U-Joint bearing caps to ensure that they not separate from the U-Joint.
8. Remove the rear propeller shaft from the center bearing.
9. Remove the mounting bolts for the center bearing.
10. Remove the center bearing from the crossmember.
11. Remove the propeller shaft from the transmission.
Installation Procedure