Colorado 4WD V8-5.3L (2010)

Fluid - Differential: Procedures
Front Drive Axle
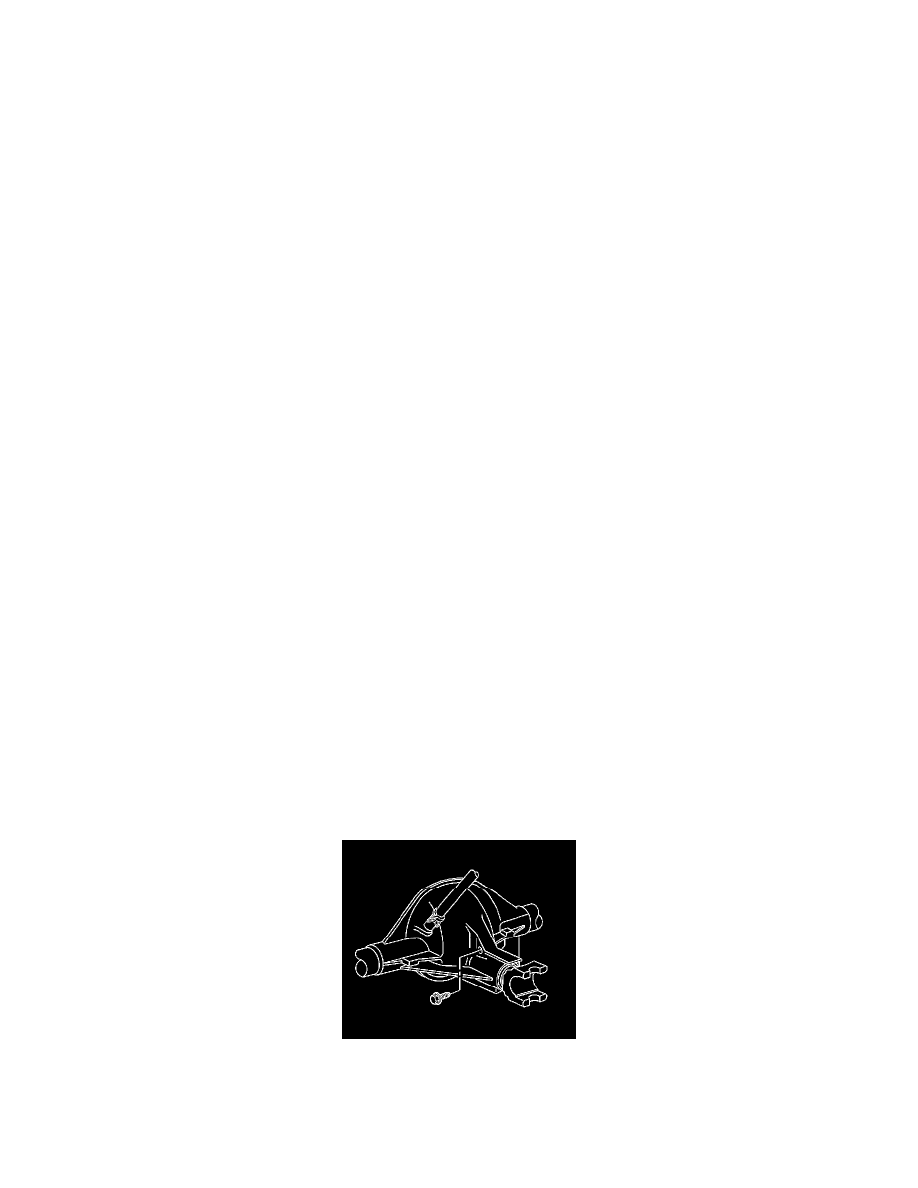
Front Axle Lubricant Level Inspection
1. Raise the vehicle. Refer to Lifting and Jacking the Vehicle (See: Maintenance/Vehicle Lifting/Description and Operation).
2. Ensure the vehicle is level.
3. Inspect the front axle for leaks. Repair as necessary.
4. Remove the engine protection shield (EPS), if equipped. Refer to Engine Protection Shield Replacement (See: Body and Frame/Frame/Skid
Plate/Service and Repair).
5. Clean the area around the front axle fill plug.
6. Remove the front axle fill plug and the washer.
7. Fabricate a dipstick from a pipe cleaner or similar item. Form the pipe cleaner into an "L".
Note: Ensure that the pipe cleaner is resting on the bottom threads of the fill hole.
8. Insert the pipe cleaner into the fill plug opening with the stem "L" is facing down.
9. Remove the pipe cleaner and measure the distance from the bend in the pipe cleaner to the lubricant level.
The oil level should be between 0-8 mm (0-0.4 in) below the fill plug opening.
10. If the level is low, add fluid until the level is within the proper fluid level specification. Use the proper fluid. Refer to Fluid and Lubricant
Recommendations (USA and Canada) (See: Maintenance).
Caution: Refer to Fastener Caution (See: Service Precautions/Vehicle Damage Warnings/Fastener Caution).
11. Install the fill plug and the washer and tighten the plug to 32 Nm (24 lb ft).
12. Install the EPS, if equipped. Refer to Engine Protection Shield Replacement (See: Body and Frame/Frame/Skid Plate/Service and Repair).
13. Lower the vehicle.
Rear Axle Lubricant Level Inspection (8.0 Inch Axle)
Rear Axle Lubricant Level Inspection (8.0 Inch Axle)
Note: All axle assemblies are filled by volume of fluid during production. They are not filled to reach a certain level. When checking the fluid level on
any axle, variations in the readings can be caused by factory fill differences between the minimum and the maximum fluid volume. Also, if a vehicle has
just been driven before checking the fluid level, it may appear lower than normal because the fluid has traveled out along the axle tubes and has not
drained back to the sump area. Therefore, a reading taken five minutes after the vehicle has been driven will appear to have a lower fluid level than a
vehicle that has been stationary for an hour or two. Remember that the rear axle assembly must be supported to get a true reading.
1. Raise the vehicle. Refer to Lifting and Jacking the Vehicle (See: Maintenance/Vehicle Lifting/Description and Operation).
2. Make sure the vehicle is level.
3. Inspect the rear axle for leaks. Repair as necessary.
4. Clean the area around the rear axle fill plug.
5. Remove the rear axle fill plug.
6. Inspect the lubricant level.
The lubricant level should be between 0-10 mm (0-0.4 in) below the fill plug opening.
