
Corsica V6-3100 3.1L VIN M SFI (1996)
1. Valve body cover. Refer to "Transaxle Mount", "Transaxle Support Assembly", "Valve Body Cover".
2. Wiring harness from case electrical connector and leads from pressure switch.
3. Torque converter clutch bolt to auxiliary valve body.
4. 3rd clutch pressure switch.
5. Second clutch switch, if applicable.
INSTALL OR CONNECT
1. Second clutch switch, if applicable.
TIGHTEN
^
Switch to 11 Nm (97 lbs. in.).
2. 3rd clutch pressure switch.
TIGHTEN
^
Switch to 11 Nm (97 lbs. in.).
3. Torque converter clutch bolt to auxiliary valve body. Install new O-ring.
4. Wire harness to case and switches.
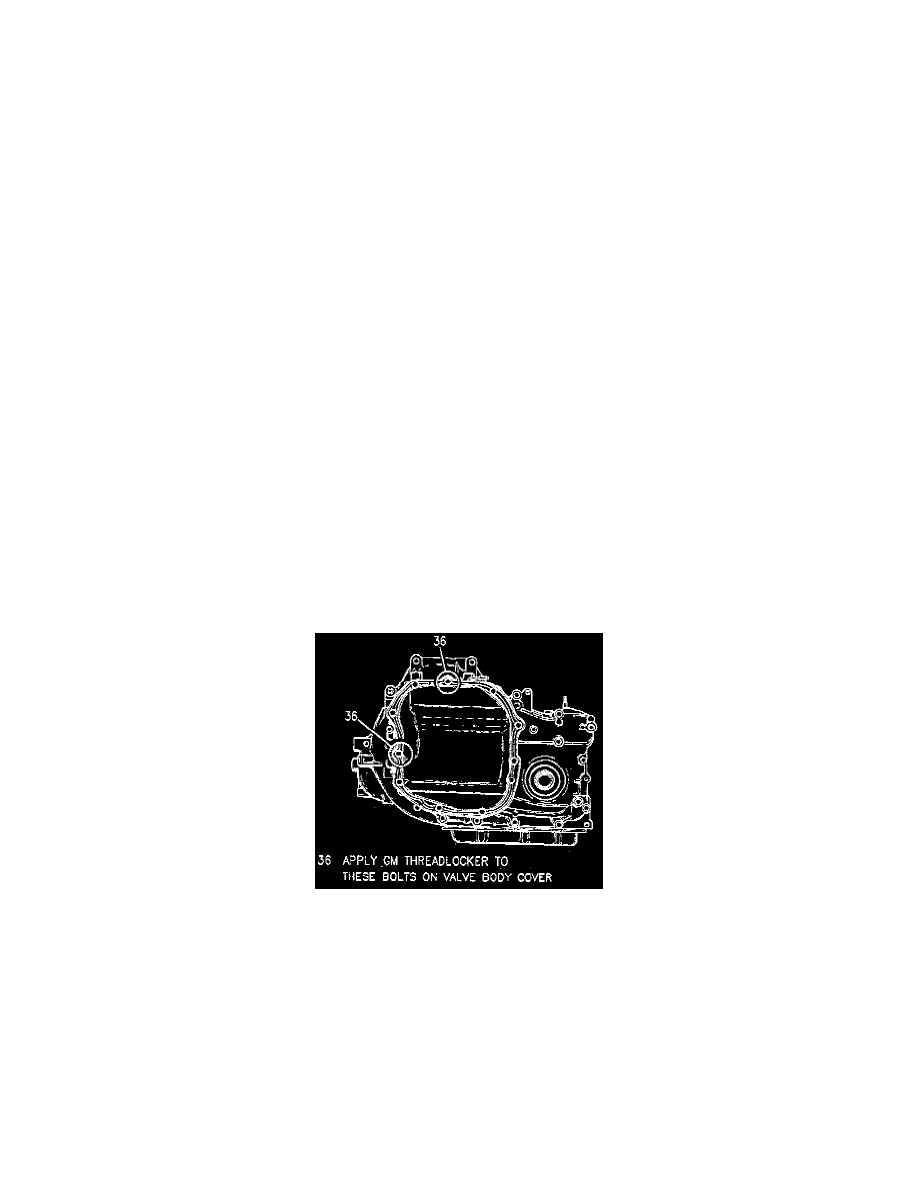
5. Valve body cover with a new gasket.
ADJUST
^
Fluid level.
Valve Body Cover
VALVE BODY COVER
TOOL REQUIRED
^
J 28467-A Engine Support Fixture
REMOVE OR DISCONNECT
1. Negative battery cable.
2. Transaxle bracket, refer to "Transaxle Support Assembly."
3. Valve body cover and gasket.