
Corvette V8-5.7L VIN G (1997)
Hydraulic Control Assembly - Antilock Brakes: Service and Repair
WARNING: FOR SAFETY REASONS, THE BRAKE PRESSURE MODULATOR VALVE ASSEMBLY MUST NOT BE REPAIRED, THE
COMPLETE UNIT MUST BE REPLACED. WITH THE EXCEPTION OF THE EBTCM, NO SCREWS ON THE BRAKE PRESSURE
MODULATOR VALVE ASSEMBLY MAY BE LOOSENED. IF SCREWS ARE LOOSENED, IT WILL NOT BE POSSIBLE TO GET THE
BRAKE CIRCUITS LEAK-TIGHT AND PERSONAL INJURY MAY RESULT.
REMOVAL
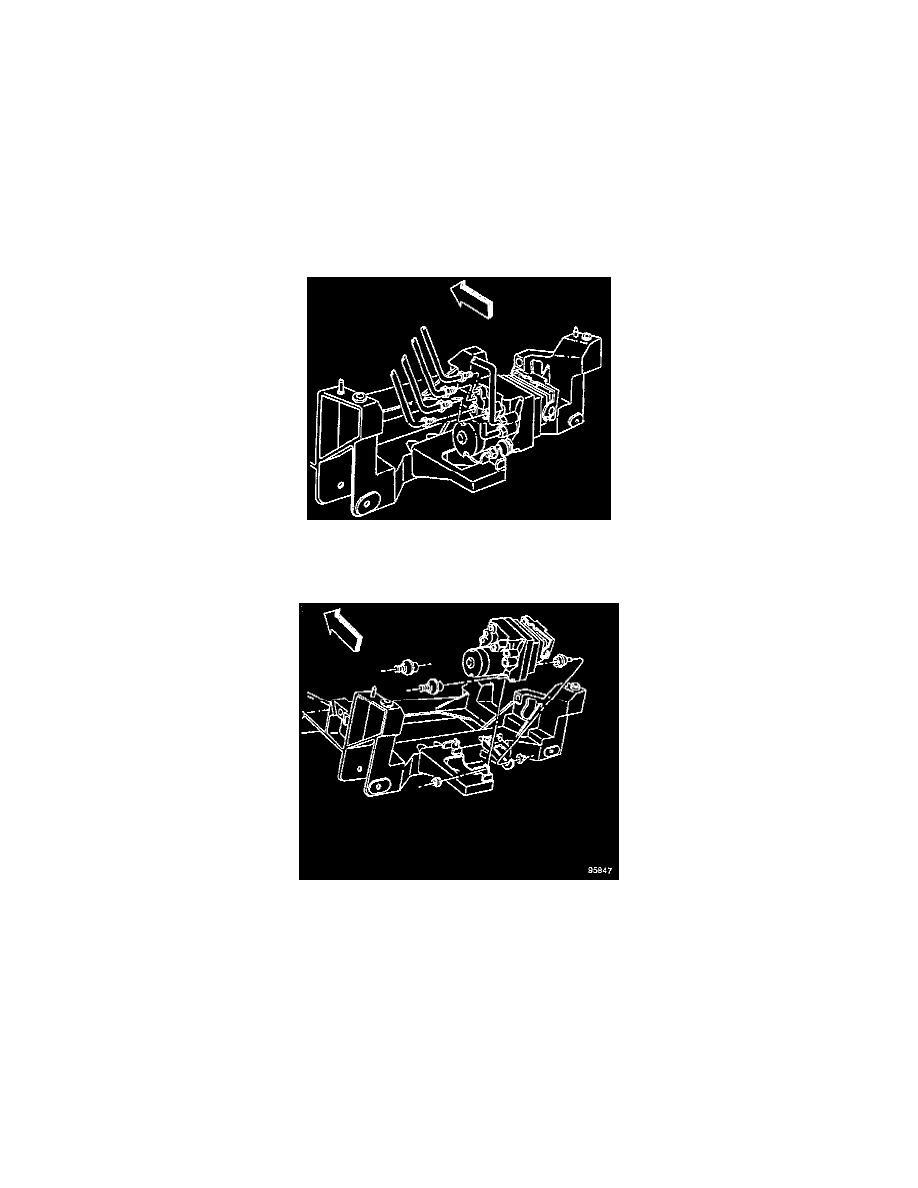
1. Turn the ignition switch to the OFF position.
NOTE: Allow the stabilizer shaft to hang down in order to provide clearance.
2. Remove the RH stabilizer shaft insulator clamp.
3. Remove the LH stabilizer shaft insulator clamp.
4. Remove the brake pipes, noting the location.
5. Disconnect the Electronic Brake/Traction Control Module (EBTCM) harness connector.
6. Remove the Brake Pressure Modulator Valve (BPMV) pump motor ground wire.
7. Remove the right side EBTCM/BPMV bracket (opposite the brake pipes) from the crossmember by removing the three bolts.
8. Remove the EBTCM and the BPMV together as one unit.
9. Remove the insulator mounting bolt from the EBTCM.
10. Remove the four EBTCM to BPMV bolts.